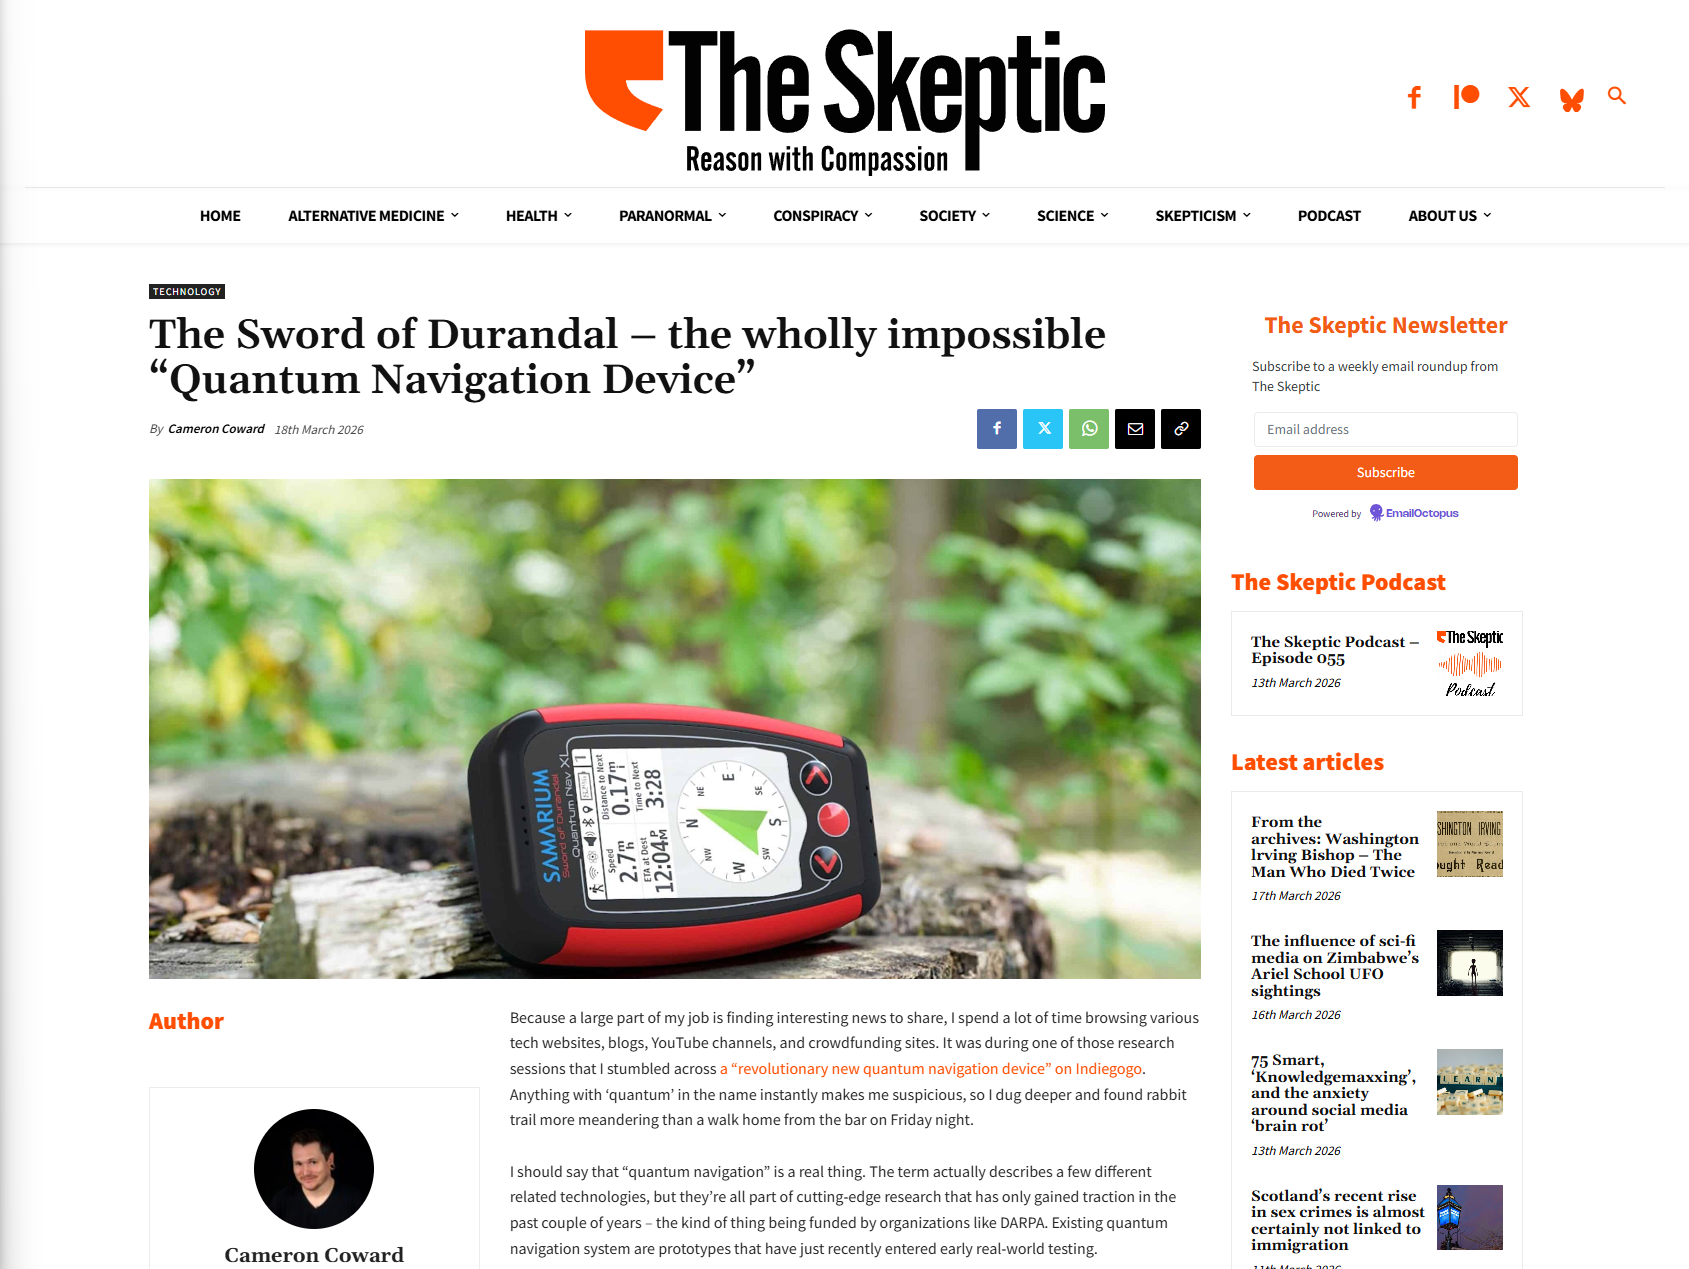
I am very proud to share that my article on The Sword of Durandal “quantum navigation device” and Dr Guido Demedici is now published on the website of The Skeptic (UK).
Author: Cameron Coward
-
What Americans Can Learn from Chinese Makers
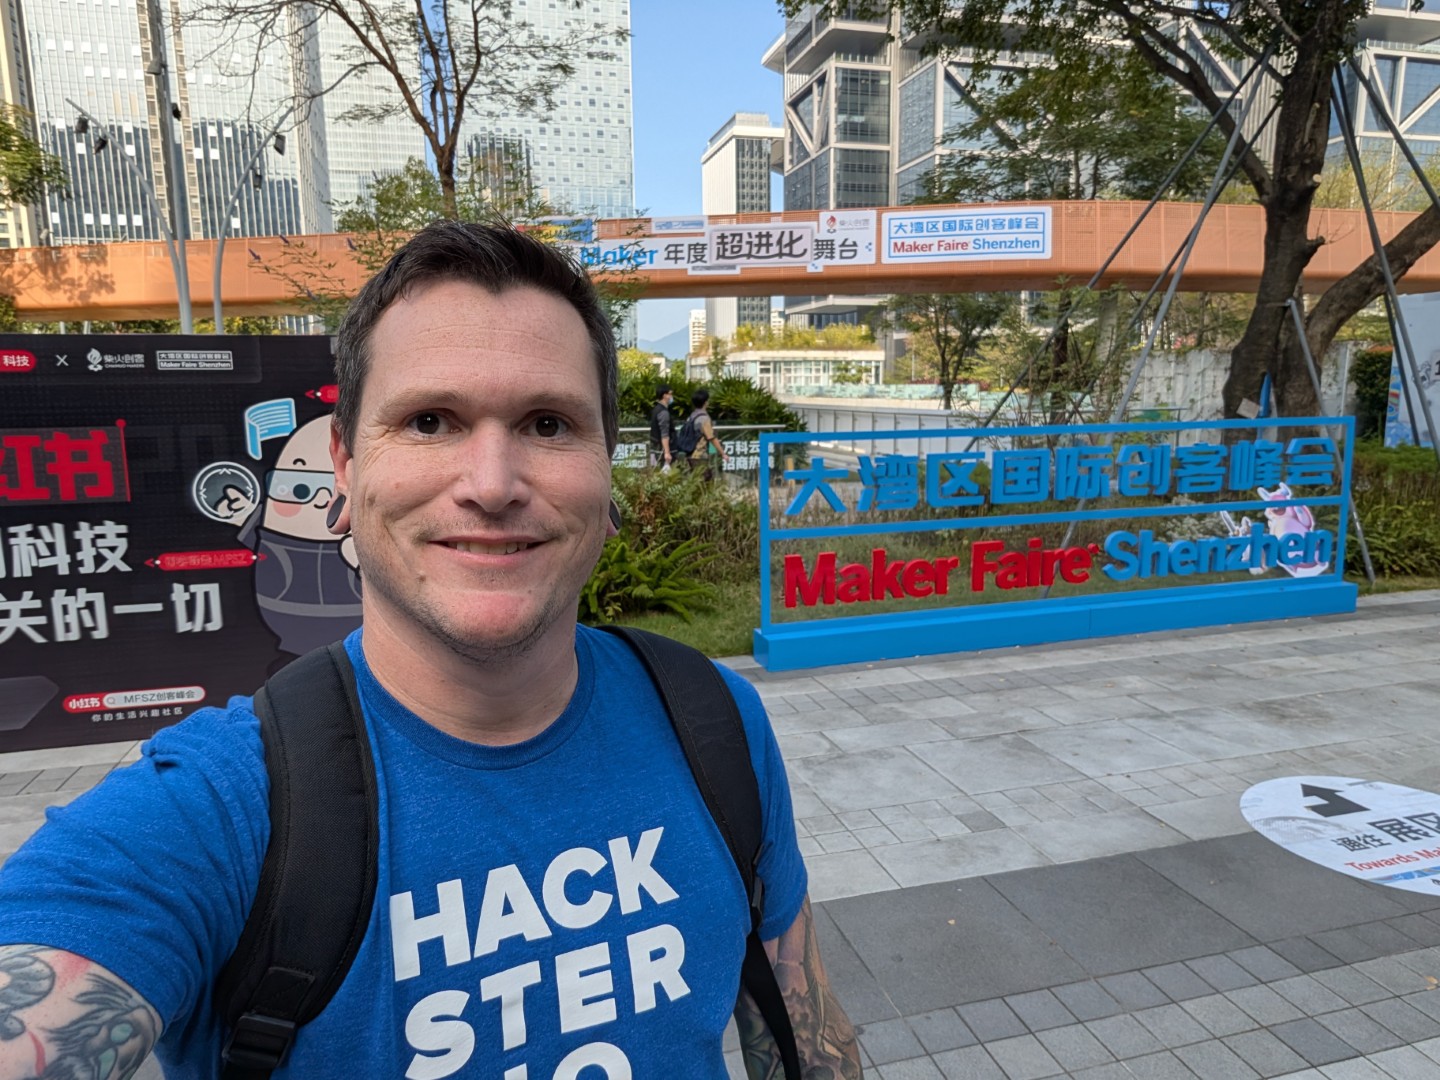
I just returned to the US from a trip to China, where I got to attend Maker Faire Shenzhen. It was a great experience and I was impressed with so much that I saw there. But more than that, I realized that there are a few differences between Chinese and American maker culture that stand out. I’m going to highlight those here and talk about what I think Americans can learn from Chinese makers.
Products vs. Projects
One of the first things that stood out to me was how many of the booths were devoted to designs that were or would become products, rather than simply projects completed purely for hobby purposes.
I want to be very clear that I don’t think everything needs to be a product and that there isn’t anything wrong with building something for oneself, just for fun. In fact, that would probably describe the majority of the projects I’ve personally completed.

Makers building actual products But I found the Chinese product-driven perspective intriguing. As makers, we put a massive amount of time, effort, and money into our projects. Surely, many people would like to see some return on those efforts. So, why aren’t we trying to bring our designs to market as products?
That led me to my next realization…
Investment and Resources
The truth is that it is incredibly difficult to bring a product to market. Designing and building a prototype might actually be the easiest part of the entire process. From there, one needs to enter into the very complex world of manufacturing, logistics, regulatory compliance, warehousing and shipping, billing, customer service, and after-sales support.
Those are so overwhelming that most American makers don’t even bother. Unless a maker can partner with some kind of hardware incubator, it is unlikely that they’ll ever have the resources or expertise at their disposal for a launch.
The situation in China seems to be very different. While free money isn’t available anywhere in the world, development resources and startup investment funds appear to be much more accessible in China—from hardware companies, investment groups, and even the government.

Seeed Studio funds the Chaihuo Makerspace Makerspaces highlight that. All of the makerspaces I’ve visited in the United States cater to hobbyists working on personal projects. But many of China’s makerspaces, such as Chaihuo Maker Space and TroubleMaker (both located in Shenzhen), provide environments where engineers can develop real products and gain access to contacts that can furnish additional resources.
That is something I would love to see in the United States, but it would require involvement and investment from our own technology corporations and government programs.
That even extends to the events themselves. Compare the cost of attending Open Sauce (hundreds of dollars) to that of attending Maker Faire Shenzhen (free), for example.
Diversity and Inclusion
Anyone who has visited a makerspace or maker event in the United States can tell you that they attract a very specific demographic: white men (particularly men in the mid-20s to 50s). People like myself.
That is not to say that we don’t see other demographics. People of other genders and ethnicities do participate, but not nearly to the extent that I would like.

Women and children at Maker Faire Shenzhen 2025 Maker Faire Shenzhen, on the other hand, had a great deal of young people present and what appeared to be a 50/50 split of men and women. That was very refreshing to see. Of course, Shenzhen is a very ethnically homogeneous city and so there wasn’t much diversity in that respect, but I don’t think that was due to a lack of acceptance or inclusion.
In the Western world, influential voices have long decried the lack of women in STEM. But though we’ve seen some progress, the needle hasn’t moved nearly as much as many of us have hoped.

Becky Stern’s booth at Maker Faire Shenzhen 2025 What can we do to fix that? I’m not sure. Notable figures in the maker community, such as Becky Stern, Simone Giertz, and Estefannie, are making a difference in the West. But the men in the maker community—including myself—need to be more welcoming and accepting of the women and girls who show an interest in this space.
The Civic Mindset
The takeaway here is that those of us in the United States and in other Western countries should avoid making the mistake of thinking that we’re doing this whole maker thing “right.”
I love the maker community. I’ve devoted both my professional career and a great deal of my personal life to it. But there is so much room for improvement and Maker Faire Shenzhen made that obvious to me.
We need American technology companies, universities, and government programs to invest in our makers. We need to provide those makers with the resources they need to bring their designs to market, if they have the desire to do so. And we need to provide an encouraging and supportive environment for women and girls.

Construction of the New York Public Library – circa 1911 I think, when we really dig down into it, our current faults mirror the general lack of civic pride in modern America. Not nationalism, but a belief that we can and should invest in our country, cities, and local communities.
When we invest in the maker community, everyone benefits. If we can adjust our collective mindset and learn some lessons from Chinese makers, we should see a resurgence in participation and innovation.
-
Why American Makers Don’t Trust Chinese Brands (And How to Fix That)
It can feel frustrating when you work for a Chinese hardware company that makes a great product, but just can’t seem to gain traction in Western markets. That isn’t an engineering problem—it is a trust problem. Let me show you what I mean.
In June of this year, a small startup out of Hong Kong attempted to launch the HELIX 5-axis desktop CNC mill on Kickstarter. By the time the campaign ended, HELIX had only raised $6,181—less than half of the modest funding goal—from just four backers.

The HELIX CNC Kickstarter campaign raised just $6,181 from four backers Why did the HELIX campaign fail so spectacularly? The machine itself was priced competitively at HK$ 23,999 (about $3,088.19) and on paper, the specifications and capabilities seemed promising.
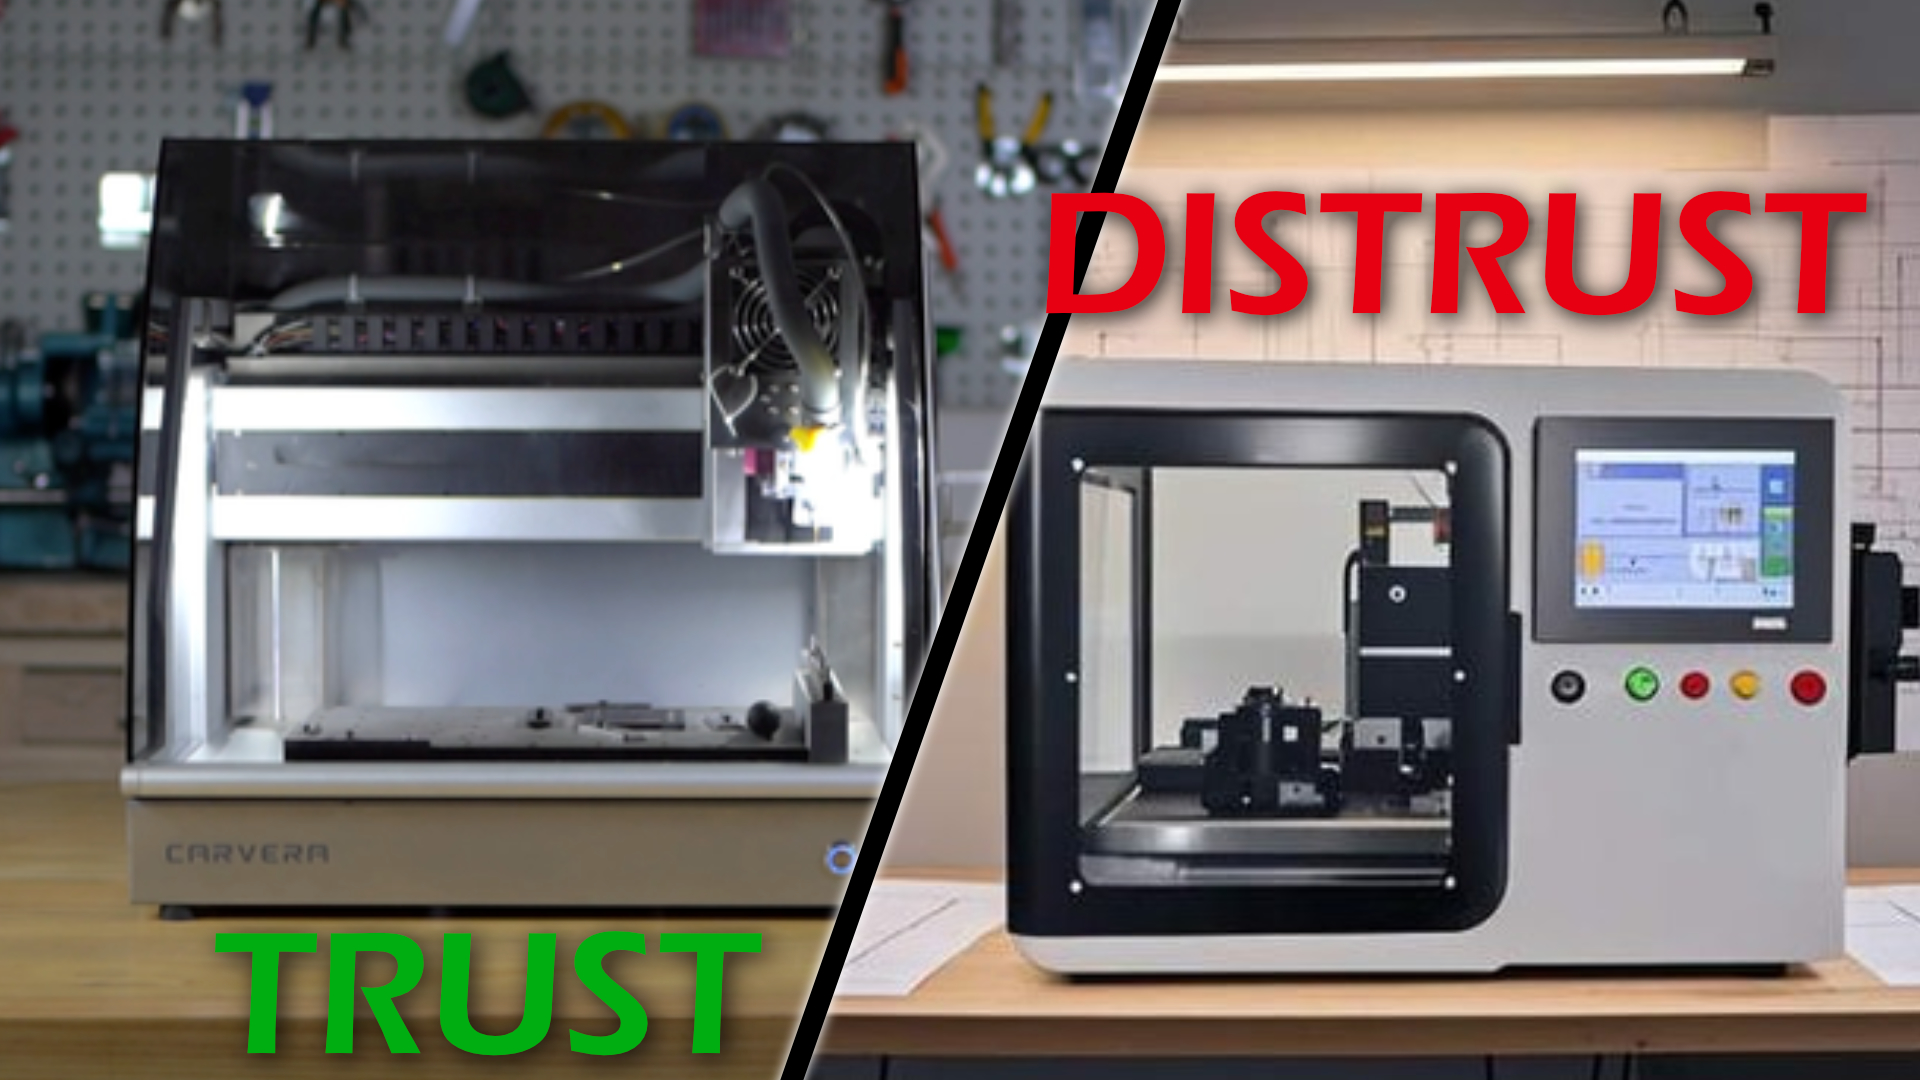
Compare the HELIX campaign to that of the Makera Carvera in 2022. That campaign raised a whopping $1,703,669 from 588 backers. Makera, which is headquartered in Beijing, has since launched two more models, the Carvera Air and Z1, and has enjoyed a great deal of success.
By studying examples like these, we can learn an important lesson: makers in American markets do not implicitly trust Chinese brands. To gain traction in Western markets, Chinese brands must know how to cater to these audiences. That requires a deep understanding of Western culture, which many Chinese brands fail to properly take into account.
American Perception
There are many complex reasons that Americans have a distrust of Chinese brands—particularly new brands that aren’t yet established.
While politics and even xenophobia can play a role, don’t make the mistake of attributing failure to those factors outside of your control. As we saw with Makera, Westerners are happy to support Chinese companies under the right circumstances.
American retailers sell a great deal of products made by Chinese manufacturers and the quality of those products varies dramatically. Unless a Chinese company creates a strong brand to set itself apart, American buyers are unable to differentiate between the good products and the bad. Because it all looks the same to them, they don’t trust any of it.
That problem is further exacerbated by an experience that is common for American buyers: poor after-sales support. From improperly translated product manuals to frustrating warranty claims processes, Westerners have learned that purchasing a product from an unknown Chinese brand often comes with risk.
China arguably has the best manufacturing capabilities in the world at the moment. Chinese products can and do surpass Western alternatives when it comes to features and price. And yet, American consumers have a default perception that Chinese products are inferior.
Those perceptions will be slow to change, but there is good news:
Chinese brands that implement the right marketing and content strategies can build trust among Western makers, ensuring success.
Before I get to those strategies, let’s first look at what kills trust.
What Kills Trust: 4 Critical Mistakes
Building trust is not an easy thing to do, but losing trust certainly is. It only takes a couple of small mistakes for brand to lose their opportunity. These are some of the most common of those mistakes I see that cause Chinese brands to lose the trust of the maker community.
Relying on Machine Translation
This is so prevalent that it is something of a joke among Westerners. Automatic translation services may have improved over the years, but they are still inadequate. That is particularly true when the subject matter is technical in nature.
That is bad enough when it is in a manual or guide, but machine translation is especially problematic when potential customers see it in marketing material and promotional content.
For example, take a look at this copy from the HELIX Kickstarter campaign page:
Five axis CNC machine tools are usually large and mainly used for factory production. They are bulky and cumbersome, and require operators to have professional operational knowledge.
These friends who like to create by themselves are very unfriendly.
The first two sentences are passable—though most native English speakers would consider the writing lacking. The third sentence, however, is nonsensical. It is an obvious machine translation that isn’t comprehensible in English.
Before prospective Kickstarter backers even learned about the product’s features, the bad translation was already creating distrust.
Selling Specs Instead of Potential
Over the course of my career, I have noticed a very prevalent trend: Chinese companies present product value in the form of objective specification sheets and feature lists.
Westerners, on the other hand, perceive value in the form of subjective experiences and emotional feelings.
In American “Introduction to Marketing” classes, one of the first lessons we’re taught is that you sell a lifestyle—not a product.
Because of cultural and linguistic differences, Chinese brands all too often struggle to present a “lifestyle” that Westerners want to buy. They sell a product, rather than an experience.
We see this mistake in the HELIX Kickstarter campaign. The campaign’s copy and imagery attempt to demonstrate the machine’s capabilities rather than the potential possibilities. Consumers don’t just want to know what the machine can do; they also want to know what they can do with the machine.
That is why demonstration builds are a critical part of a successful content strategy, as I’ll explain later in this article.
Pricing Too Low
One massive advantage Chinese manufacturers have over their Western counterparts is lower production costs, which they can leverage to offer products at competitive prices. And competitive pricing is a good thing, but it is a bad idea to take that too far.
Buyers want to feel like they’re getting a good deal, but they don’t want to feel like they’re buying something “cheap.”
In English, the word “cheap” is a synonym for “inexpensive,” but it is also used colloquially to mean “poor quality.” That dual meaning isn’t an accident; it is a direct reflection of the way that people perceive value.
A product priced too low will create the impression—conscious or not—that the item lacks value.
Once again, this was apparent in the HELIX campaign. The price was very low and that left potential backers with the impression that the machine couldn’t possibly meet the campaign’s claims without sacrifices being made somewhere.
By pricing products appropriately, Chinese companies can retain perceived value and also generate more revenue to devote to the content strategies I will cover in this article.
Lack of Community Presence
The HELIX team’s biggest mistake was a failure to establish themselves in the maker community before launch and throughout the campaign.
They relied on entirely on Kickstarter for marketing and awareness, which resulted in just four people choosing to make a pledge.
I cannot overstate how bad that decision was. That alone could have been the cause of their failure.
To understand why, look at it from the perspective of a potential backer:
This was an unknown company asking people to pledge more than $3,000 (more than many people in earn in month) on an unproven product, which may not ever be delivered.
That is the kind of decision that few people will take lightly. People don’t want to take big risks and the best way to make them feel safer is by demonstrating a commitment to the community by involving the community.
Projects and reviews from trusted members of the maker community are a great way to show that commitment. Not only do they prove that a company has confidence in their products, but they show that the brand is part of the community.
How to Build Trust: The Makera Strategy
There are many ways in which a brand can lose trust. But by taking those into account with the right marketing and content strategies, Chinese brands can build trust.

The Makera Carvera Kickstarter campaign raised more than $1.7 million through thoughtful content strategies. As Makera proved, effective strategies generate trust and result in success. Like HELIX, Makera was an unknown brand launching a CNC mill through a Kickstarter campaign. But where HELIX failed, Makera succeeded.
They did so by investing in a team that understands Western audiences, the strategies that foster trust, and importance of community involvement.
We can look at that original Carvera Kickstarter campaign page to learn lessons about the multi-pronged strategy they employed:
Create Native English Content
Makera is based in Beijing, but the campaign copy was written by people who are fluent in English.
It isn’t perfect, but it communicates the message well. It doesn’t read like a machine translation and doesn’t have the hallmark errors of such translations. There are colloquialisms, idioms, and even minor mistakes that make the copy feel authentic.
This illustrates that nicely:
Normally, desktop CNC machines are not equipped with dust collection functions because of the size and limited space.
But we know how it feels without it, chips and dust clutter your work surface and get stuck in every little nook and cranny of your work area. Even worse, some materials like carbon fiber/glass fiber can be very dangerous if you breathe in the machined dust.
Not only are they explaining how they solved a real problem that people in the community actually face, but they did so with language that drives the point home.
Show, Don’t Tell
It is one thing to tell customers “Our machine cuts at feeds up to 150 inches per minute.” But it is far more effective to show the machine performing at high speed to produce a real part. That is something writers learn early in their careers and it applies to marketing more generally, too.
Makera mastered that concept and almost the entire campaign page is a showcase of various objects made on the Carvera machine. Those show finished projects, but also show the machine in action.
Furthermore, they devoted page real estate to showing the Carvera’s functions. The automatic tool changer, for instance, might have been difficult to readers to comprehend. So, Makera included animated GIFs of the tool-changing process.
And then Makera went the extra mile and gave machines to members of the maker community—people who could then produce projects and content that further demonstrated the Carvera’s capabilities.
They were confident in their product and got involved in the community.
Build Community Presence Before Launch
Prior to the Kickstarter launch, Makera partnered with several key figures in the maker community. People like Caleb Kraft and Naomi Wu, who have built trust in the community through many years of genuine content production and quality projects.
It isn’t necessary to partner with such high-profile people and that isn’t always possible. But it is important to work with people in the community who have demonstrated both expertise and integrity.
That integrity is crucial. Honesty, even when it is negative, carries far more weight than overly positive promotion. If a review feels like an ad, the audience will lose trust. And they won’t just lose trust for that creator—they will assume that all pre-launch content is promotional and untrustworthy.
Kraft’s video review, for example, contains his candid opinion that the Carvera’s dust collection system was mediocre. He felt that it was “better than nothing,” but he wasn’t raving about it.
Makera was smart to include that video review prominently on the Kickstarter campaign page. It let backers know that Makera wasn’t trying to hide anything and that a trusted member of the community was providing his real, honest thoughts.
Reviews are a major part of a good pre-launch content strategy, but it doesn’t end there. Projects that make use of the product are also a great idea, as they clearly demonstrate what the product can do.
Remember: show, don’t tell. Sell a lifestyle, not a product.
Prioritize Documentation Quality
Earlier this year, Makera sent me a Carvera Air to review for Hackster.io as part of their launch strategy for that new product, which is a more affordable sibling to the Carvera.
There was a lot that I liked about the Carvera Air (and a couple of things I didn’t like), but what stood out to me most was the stellar documentation. Not only was the “getting started” guide informative and easy to follow, but there was also an entire booklet filled with detailed project instructions.
Those projects were designed to walk the user through machine’s functions, growing in complexity and ultimately ending up with all of the parts necessary to build a cool display light. The projects were fun to do and made it enjoyable to become acquainted with the Carvera Air.
That documentation alone did a lot to build trust for Makera. It ensured that new users learned how to properly use the machine. It gave owners projects to show off within the community. It made owners feel like Makera understood their needs. And because the projects were fun, it generated goodwill.
Strategize Your Market Entry Timeline
You already saw how Makera sent Carvera units to reviewers prior to launch, which was a key strategic decision.
When eufyMake launched their E1 UV printer, they followed the same strategy. In fact, I was the first person to publish a review of that machine.
My coverage helped generate buzz that contributed to the eufyMake E1 Kickstarter campaign becoming the highest-funded crowdfunding campaign in history.
(read my eufyMake E1 case study here)

The eufyMake E1 Kickstarter campaign broke all crowdfunding records. That timing is important and patience pays off. It takes time to create excitement in the community, but launches often experience a snowball effect and the delay can pay off.
Give reviewers time to evaluate the product and to publish content. Then give that content time to permeate through the community and media outlets.
The timing of promotional content—social media ad campaigns and PR announcements—is also important. The goal is to slowly build awareness and hype in the lead up to launch, so buyers are eager when the product becomes available.
Then strategic timing should continue after the launch. Silence after a launch disconcerts the community and you need to show that you’re supporting current owners, and will continue to support future buyers. This is where long-term content strategies come into play and help keep the momentum going.
In particular, sponsored projects and involvement in community events pay dividends.
The Bottom Line
Chinese hardware companies have every advantage except one, which is trust. But it is possible to build trust with a solid content strategy:
- Native English content that feels authentic
- Demonstration projects that showcase possibilities, not just specs
- Early engagement with trusted in Western maker communities
- Strategic pre-launch timing that builds momentum
- High-quality documentation that supports your users
The companies that master these strategies—such as Makera and eufyMake—don’t just succeed. They break records.
Make It Happen
Breaking into Western markets can seem daunting. Engaging target audiences and enticing buyers can feel impossible. But so much of the challenge is about establishing trust and, as you’ve seen throughout this article, there are right and wrong ways to go about doing that.
The truth is that makers throughout North America and Europe are eager for innovative new products. Makera and eufyMake proved that. You just need the right strategy to reach those makers and to avoid the mistakes made by the HELIX team and so many others.
The good news is that you don’t need to do it alone. After spending 15 years creating technical content for the maker community, I am now offering my services as a Technical Content Strategist to Chinese brands. My goal is to use my technical experience and expertise in communication to help you create the content necessary to build trust before, during, and after a product launch.
If you’re planning a Western market launch and want to avoid the mistakes that sink campaigns like HELIX, let’s talk. I offer a free 30-minute consultation where we can discuss your product, your timeline, and the content strategy that will work for your brand.
View my services or email me directly: cameron@cameroncoward.com
-

Dead E. Ruxpin: cassette-tape controlled animatronic
This is a really fun project that I just finished in time for Halloween! It is an animatronic bear inspired by Teddy Ruxpin and it is completely controlled by cassette tapes. It has three servo motors that operate independently, all according to commands on one stereo channel of the tape while the other channel plays the audio!
Full build instructions are available on Instructables here.
-
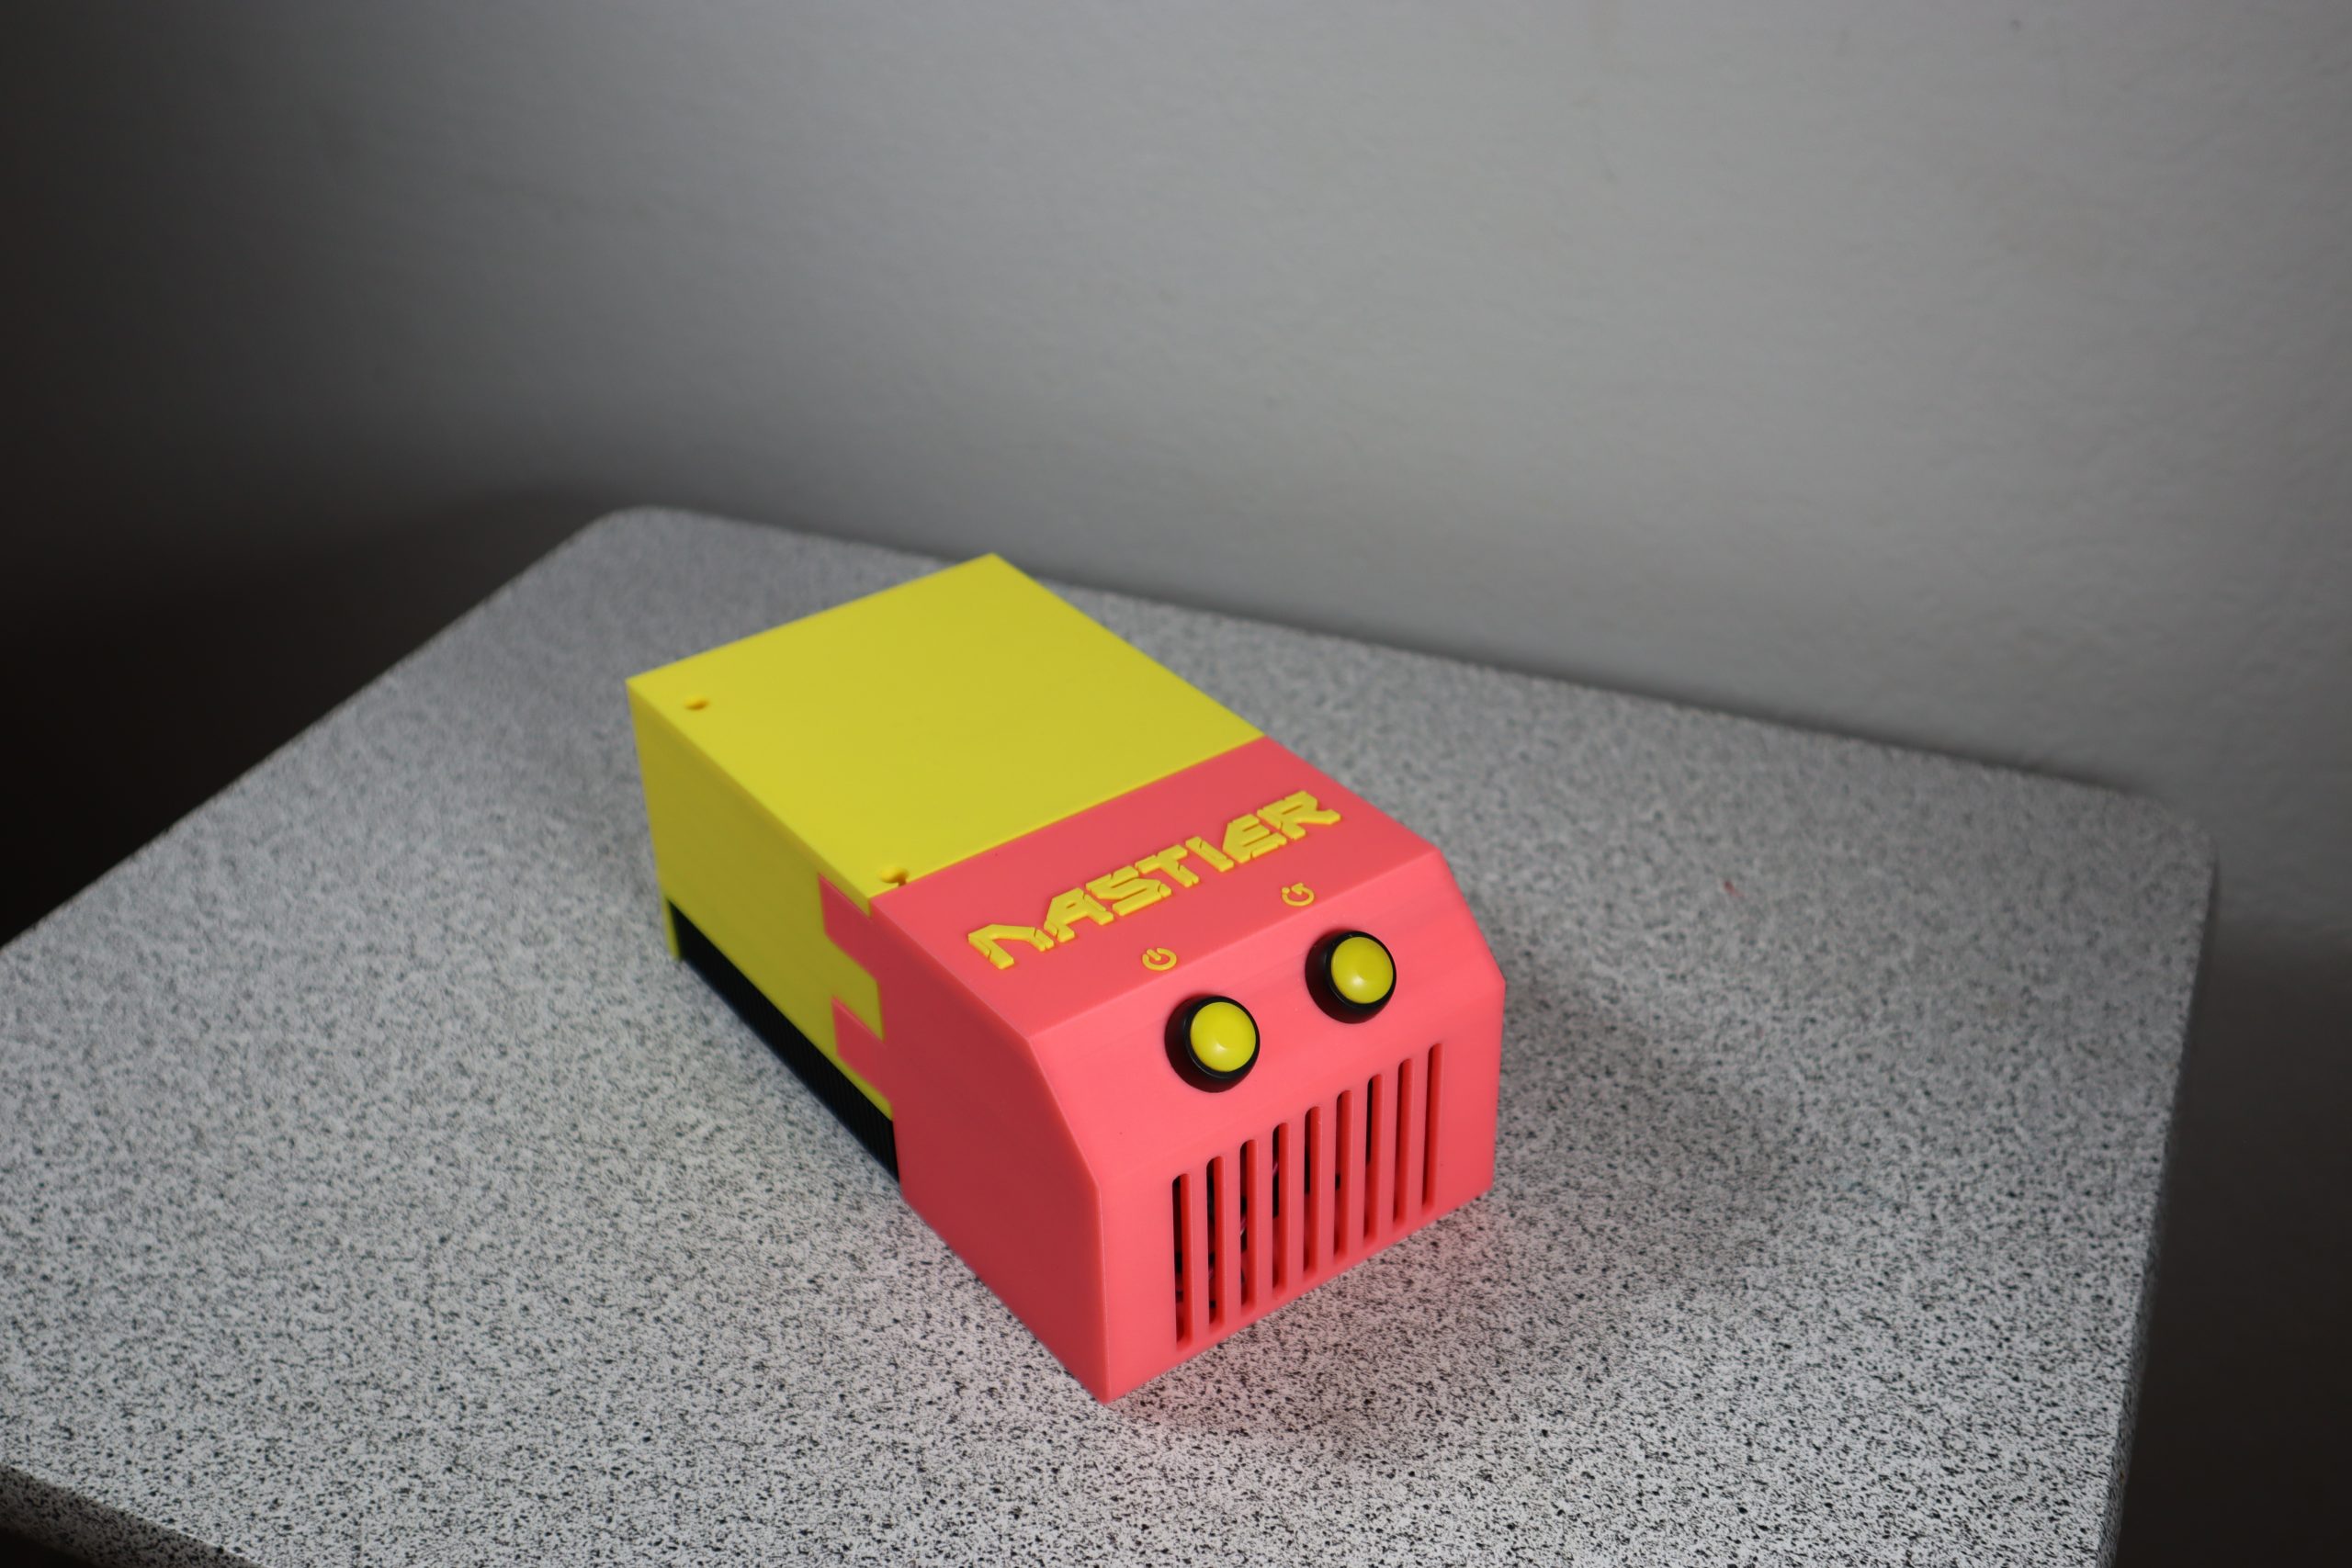
NASTIER: ZimaBlade Redundant Micro NAS
NASTIER (Network-Attached Storage; Tiny; Inexpensive; Easy; Redundant)
A ZimaBlade-based micro NAS with redundant Raid 1 storage and full server capabilities.
Parts:
- ZimaBlade w/ power supply, Y SATA cable, aluminum heat sink/base
- Fanxiang S102 Pro 1TB 2.5″ SSD SATA (x2)
- 12mm (1/2″ mounting) momentary push buttons (x2)
- 3D-printed enclosure
Overview
The folks at ZimaBoard sent me their new ZimaBlade “single-board server” to review for Hackster.io and I needed a project to test it out. NASTIER is the result!
This is a compact, self-contained NAS (Network-Attached Storage) device with Raid 1 redundant SSD storage. It contains two 1TB SSD drives, which means NASTIER provides 1TB of space (since the drives are mirrored). That’s plenty of storage and the redundant backup gives peace of mind.
You can also use NASTIER (and the ZimaBlade in general) for a lot more than just storage. It is a complete server with fairly decent processing power, so the sky is the limit.
I’ll start by showing you how to assembled NASTIER, then I’ll walk you through setting it up for redundant storage (complete with automatic syncing).
Assembly
Before following these steps, you’ll want to 3D-print the two halves of the enclosure. Files are available on Instructables here.
Step 1:
Start by disassembling the case the ZimaBlade comes in. You do that by bending the sides (where the ports are) up and out.

Step 2:
Remove the two screws holding the transparent cover in place.

Do not remove the other two screws that hold the board onto the metal base! That metal base is the heat sink and we’ll be keeping it attached.

Step 4:
Put the the board and heat sink into the back half of the enclosure. The ports should fit into their respective holes.

Then use the two screws you removed earlier to attach the enclosure to the heat sink threads. The holes should be big enough for eyeglass-style screwdrivers.

Step 5:
Attach the two SSDs to the ZimaBlade using the Y cable provided.

Then slide the drives into the slots.

Step 6:
Solder jumpers onto the momentary button wires. You’ll want longer wires than what I have here (I had to add extensions because I cut them too short).

Then plug those button wires into the reset and power pins on the ZimaBlade (in the photo, they’re at the corner closest to the camera and to the right).

Step 7:
Tuck the wires into the front half of the enclosure, then snap that onto the back half.

Step 8:
You’re done! Just plug in the USB-C power and an Ethernet cable to your router, then move on to the next section to set up the system.

Software
Step 1:
Connect both drives via Y SATA cable.
Connect Ethernet cable to router.
Plug in USB-C power adapter.
Step 2:
Wait for boot, then in your browser go to the ZimaBlade’s IP or:
casaos.local(Zima software doesn’t work, can’t find device)
Create login credentials
Step 3:
Open terminal using default login: casaos (username) casaos (password)
Immediately change password:
sudo passwd casaosInstall Cockpit:
sudo apt install cockpitInstall Storage:
sudo apt install cockpit-storagedRestart system.
Step 4:
After system restarts, open browser and go to:
https://ip-address-of-machine:9090(the IP address should be that of the ZimaBlade)
Use your casaos login credentials (with the password created in the terminal in Step 3).
Go to the Storage tab.
At the top-right under Devices, click the button and select “Create RAID device”
Choose a name for the RAID storage (mine is “RedStore” for “Redundant Storage”)
Choose a RAID level. I used Raid 1 (mirror), which means one drive is an exact copy of the other. You lose half your storage, but get 1:1 redundancy. If one drive fails, all of your data is still on the other drive.
Keep the default 512 KiB Chunk size.
Select the drive(s)
Step 5:
Select the RAID device you just created and Create Partition Table.
Choose to overwrite existing data.
Use MBR partitioning for maximum capability.
Step 6:
Create partition.
Use the full storage amount.
Choose to overwrite existing data.
Choose EXT4 Type (unless you have a reason not to).
Pick a name.
Check “Mount now” and leave “Mount read only” and “Custom mount options” unchecked.
Choose a mount point. This will be the location where the drives show up in the files. It can’t be root (that’s used by the ZimaBlade onboard 32GB storage for the OS). I used “/red” and suggest doing something similar. Make sure it is unique and not an existing folder.
Step 7:
If you go back to casaos.local, you should be able to click on “Files” and navigate to the new location. However, CasaOS will not show your new RAID storage under “Storage” properly—you’ll just see the individual drives listed.
I couldn’t find a way around that, which is unfortunate. It would be nice to see the status. Instead, you’ll have to go back to Cockpit to see information on your drive (like storage free space).
But the RAID storage is still there and usable. In CasaOS Files, you can upload files and folders to the RAID storage directory (i.e. “/red”) without any issues.
But for automatic files syncing for redundant storage, we’ll go a little further.
Step 8:
In CasaOS, go to the App Store and install Syncthing.
Then open Syncthing. It will ask you to set credentials for the GUI, so go ahead and do that. You’ll get a unique “Device Identification” number and a unique (longer) ID code for registering with other devices.
Copy the shorter Device Identification number, then go back to Cockpit.
Under Accounts, Create new account using the Device Identification number for the Full name and User name. Set a password. Then click on the account and check the Roles box for Container administrator.
This gives Syncthing permission to access the RAID storage—I think. The roles here are a little confusing, but mine didn’t work until I followed those steps.
Step 9:
Install Syncthing on your desktop PC. I used the SyncTrayzor utility client for Windows, from the Syncthing website.
When you open SyncTrayzor, you’ll get an interface similar to the one in CasaOS.
Once again, setup your credentials.
Now you need to add a Remote Device, which is the ZimaBlade’s Syncthing client. To add it, you’ll need the longer ID code. It may also show up automatically, since you’re on the same network. Give it a name. Once added, go the ZimaBlade Syncthing client and you should have a notification to add your desktop PC. Give it a name, too.
Step 10:
Now the desktop PC and ZimaBlade are linked, you just have to choose what to share/sync. I, for example, chose to sync my entire Documents folder. So anything I save there will be backup up to the redundant storage of the NAS.
In SyncTrayzor, click “Add Folder”.
Choose a folder label (i.e. “Docs”)
Keep the default Folder ID
In folder path, enter the path to the folder you want to sync (i.e. “C:\Users\[you]\Documents”)
On the Sharing tab, select the ZimaBlade device you registered.
Click Save.
On the ZimaBlade Syncthing client, you should get a notification that your desktop PC wants to share files. Accept that and the Add folder window will pop up.
This is where the synced files will go, so it should be a folder within your RAID Storage directory. Choose a name, keep the default Folder ID, and enter the path to the folder you want to use within your RAID storage.
You may also want to enable versioning on this side, which will keep backups of old deleted files and changes to files.
Click Save.
Syncthing and SyncTrayzor should handle everything else. They’ll copy everything in the folder to your RAID Storage over the network. If you keep SyncTrayzor running in the background on your desktop PC, it will automatically copy over any new files or file changes.
Step 11:
You may also want additional redundant storage for other things, aside from the synced backup you already created.
To do this, go to CasaOS files and find your RAID storage and create a new folder (i.e. “NAS Storage”).
Then click the folder options and choose Share.
CasaOS will make that folder available on the network, then give you a link to it. Copy that link.
Open Windows Explorer on your desktop PC and enter that link. When prompted, enter your CasaOS credentials.
If you can access the folder, you’re good to proceed.
In Windows Explore, right-click on Network and select Map Network Drive.
Choose an unused Drive letter and copy the link into Folder. Check Reconnect at sign-in. Then Finish.
The folder in your RAID storage will now show up as a network drive alongside your hard drives, so you can easily access it at any time.
Step 12:
Do other things! The ZimaBlade has quite a bit of power and can do a lot more than just act as a NAS. You can, for example, use it as a Minecraft server or a Home Assistant server, too.
-
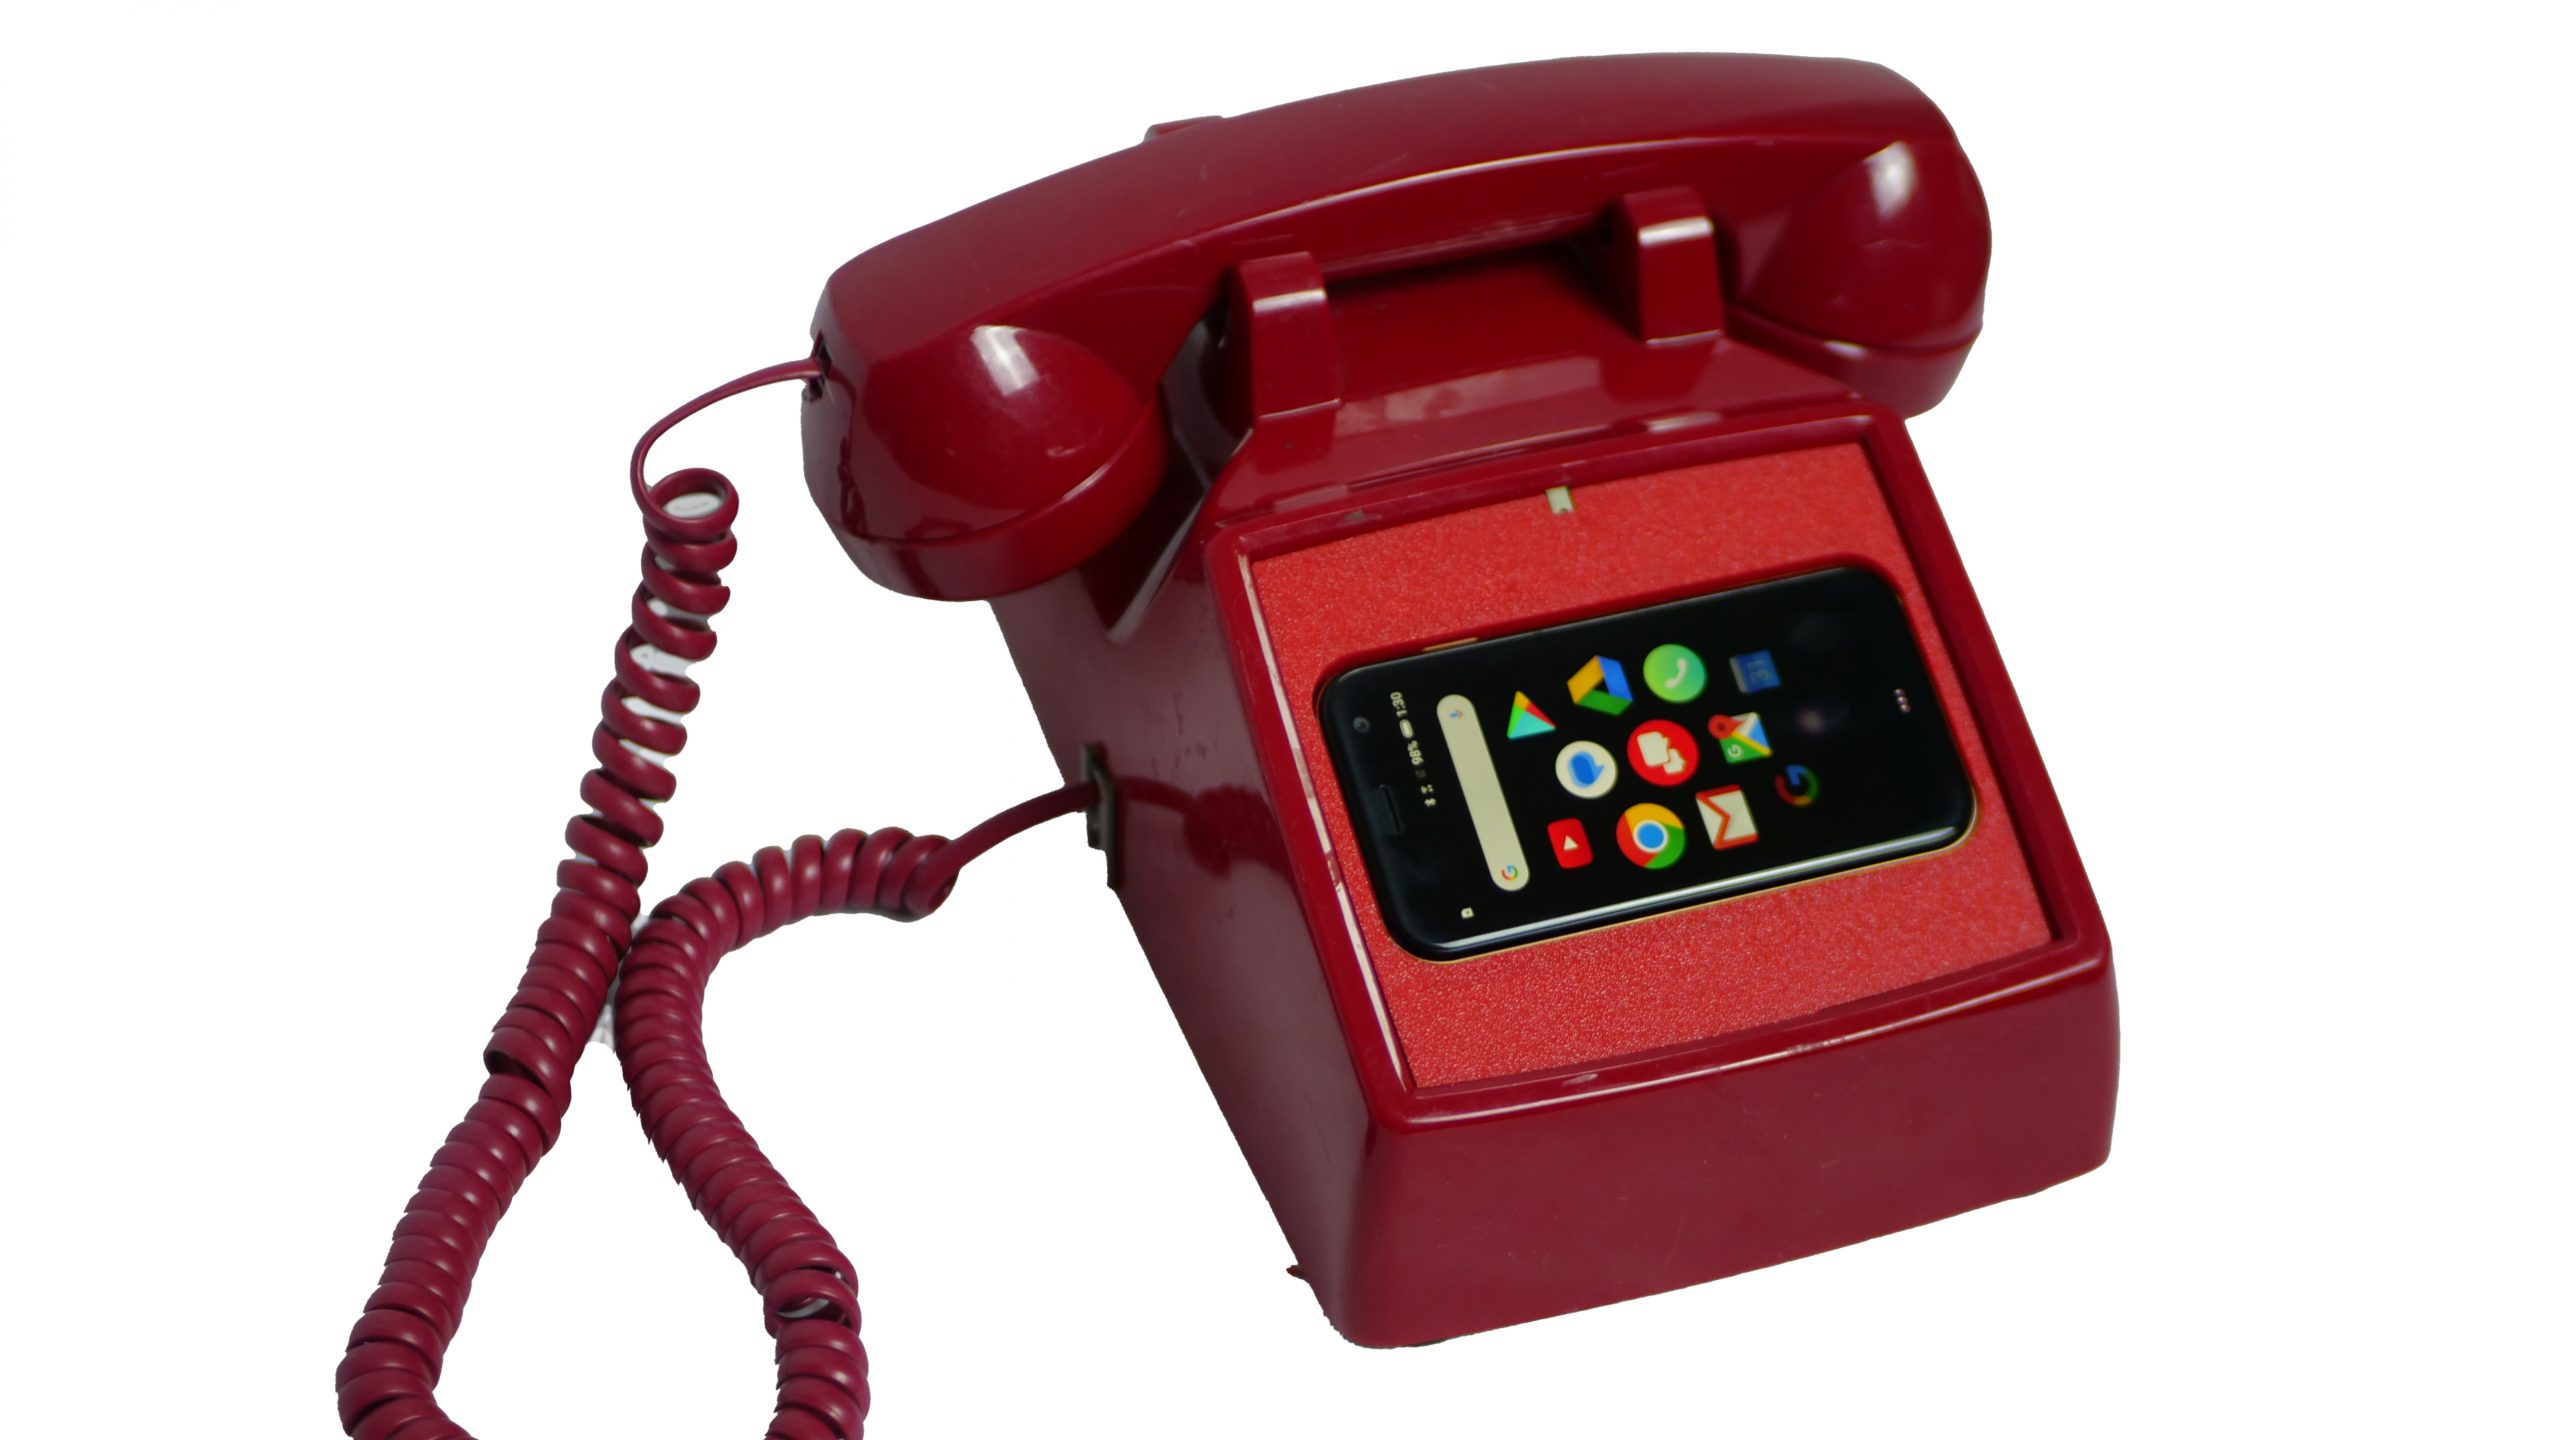
’80s Video Phone
I stumbled across concept art from the 1980s of a Videotex telephone concept and turned it into a real, functional retro-style video phone!
-
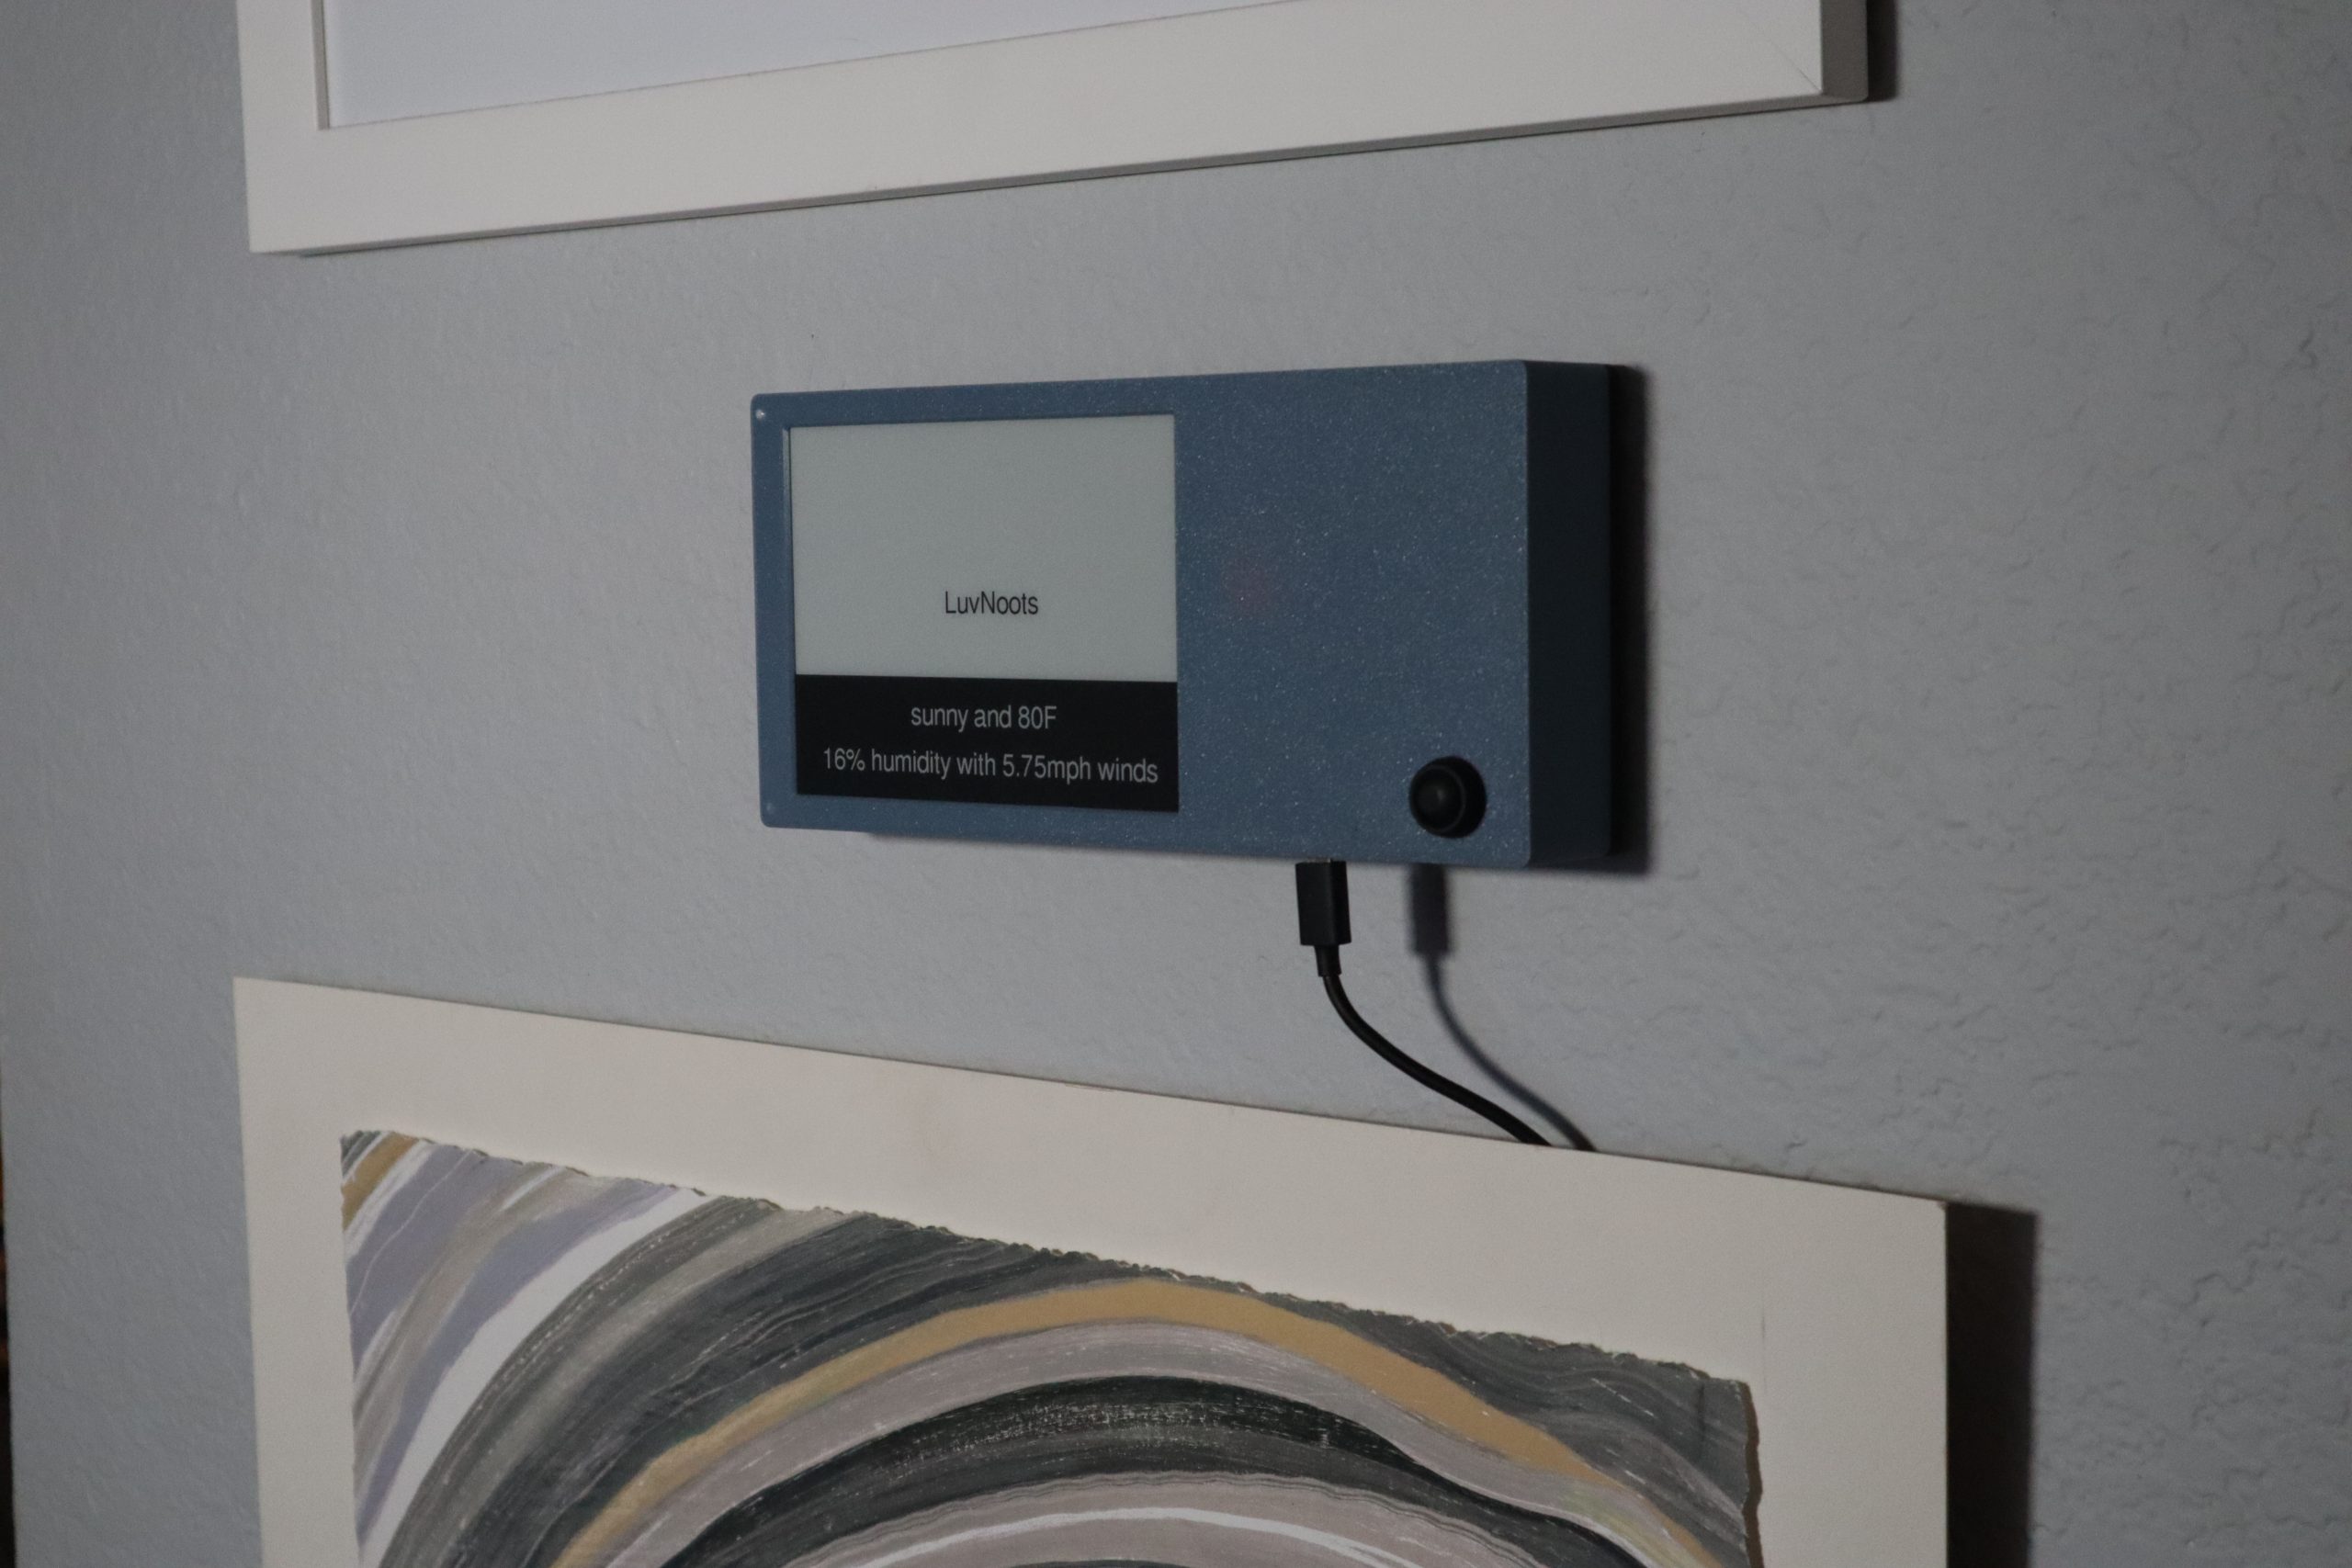
LuvNoots: Wall-Mounted ePaper SMS Display
Do you want a way to leave messages for your loved ones, but you’re actively boycotting 3M and can’t use Post-it Notes?
Then this is the solution for you!
LuvNoots is a wall-mounted display that shows text messages on a large ePaper screen. It also shows the weather, because IoT.
Any plain SMS text message sent to the device’s phone number will show up, so you can give that number to a spouse, family member, or friends and they’ll be able to leave messages.
Build instructions are available here:
-
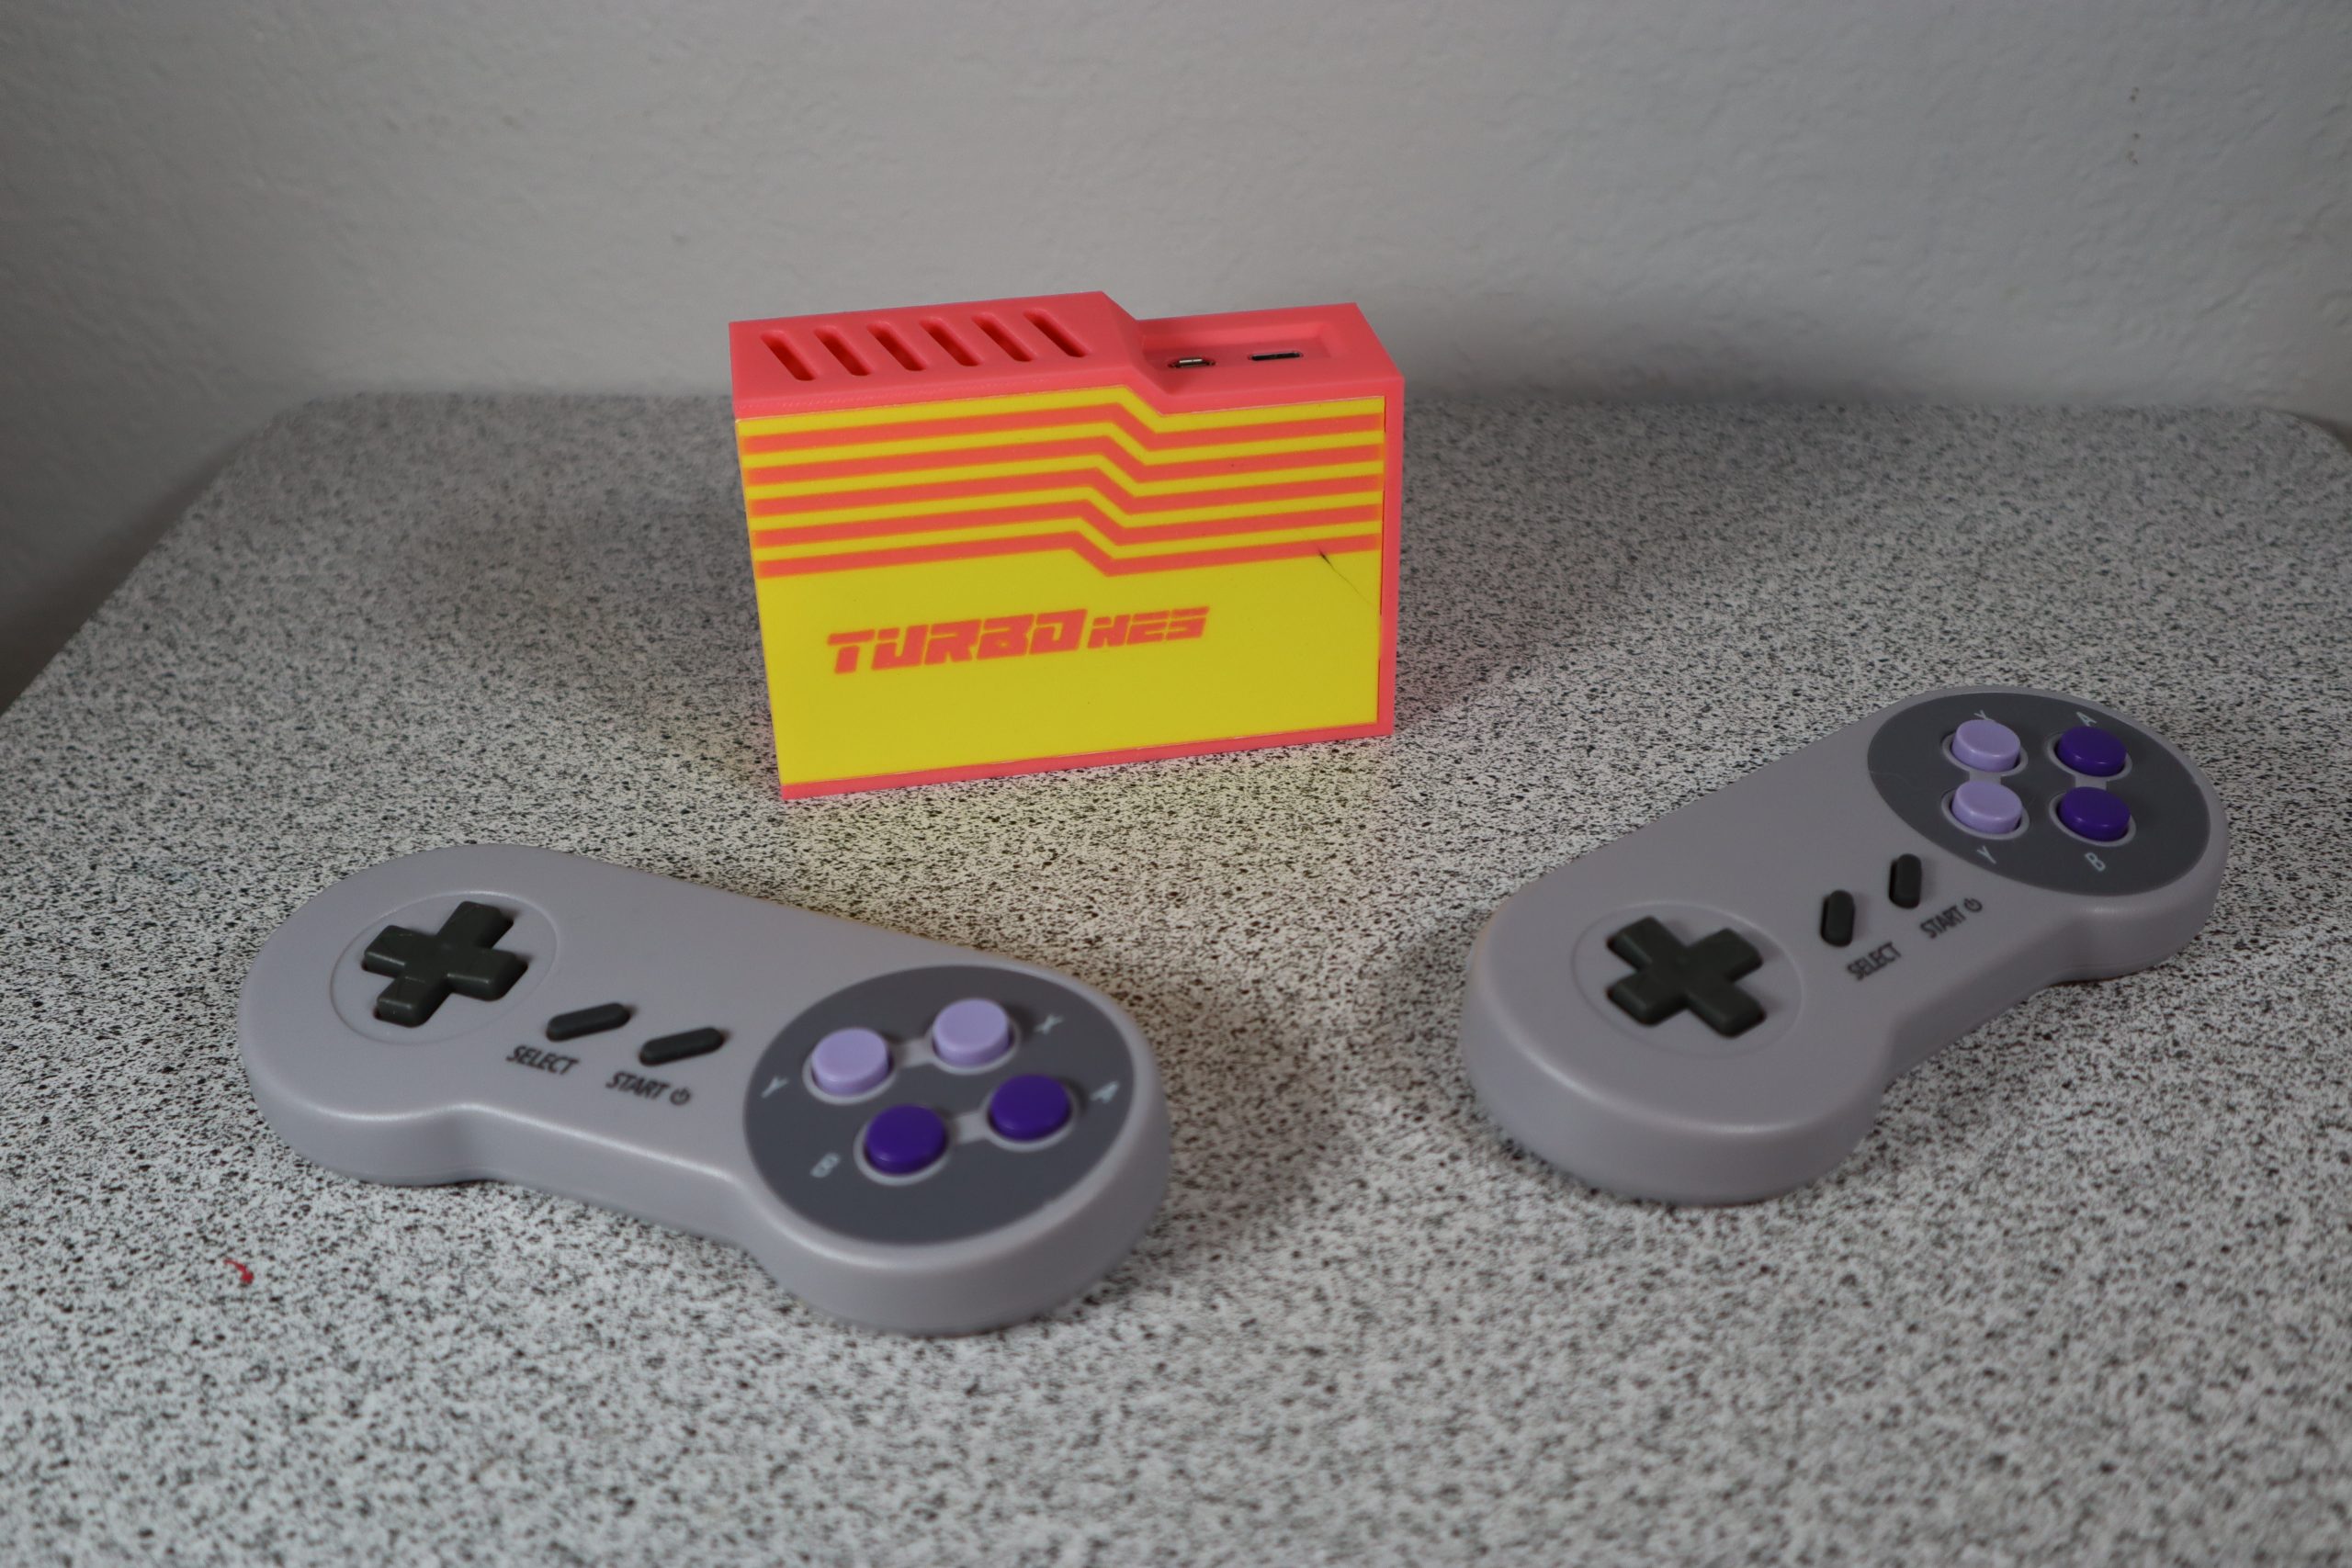
TurboNES: a Simple RetroPie Setup
Years ago, I designed this adapter so that I could use a reproduction ZX Spectrum case to build a RetroPie gaming console. Fast forward a couple of years and I had a roommate that thought it was really cool.
That former roommate (now a former friend) had a birthday coming up, so I made him his own RetroPie system called TurboNES.
On the hardware side, this is very straightforward. It is a Raspberry Pi 4 Model B running RetroPie, with the top 100 ROMs for a variety of consoles. Two wireless SNES controllers (Amazon affiliate link) plug into the USB ports.
Most of my time went into designing the enclosure, which I think looks pretty nice. It hides everything but the USB-C power port and the micro HDMI port. My friend isn’t very tech savvy, so I wanted it to be foolproof. Using my Bambu Lab P1S with AMS, I was able to get a nice two-tone color scheme.


-
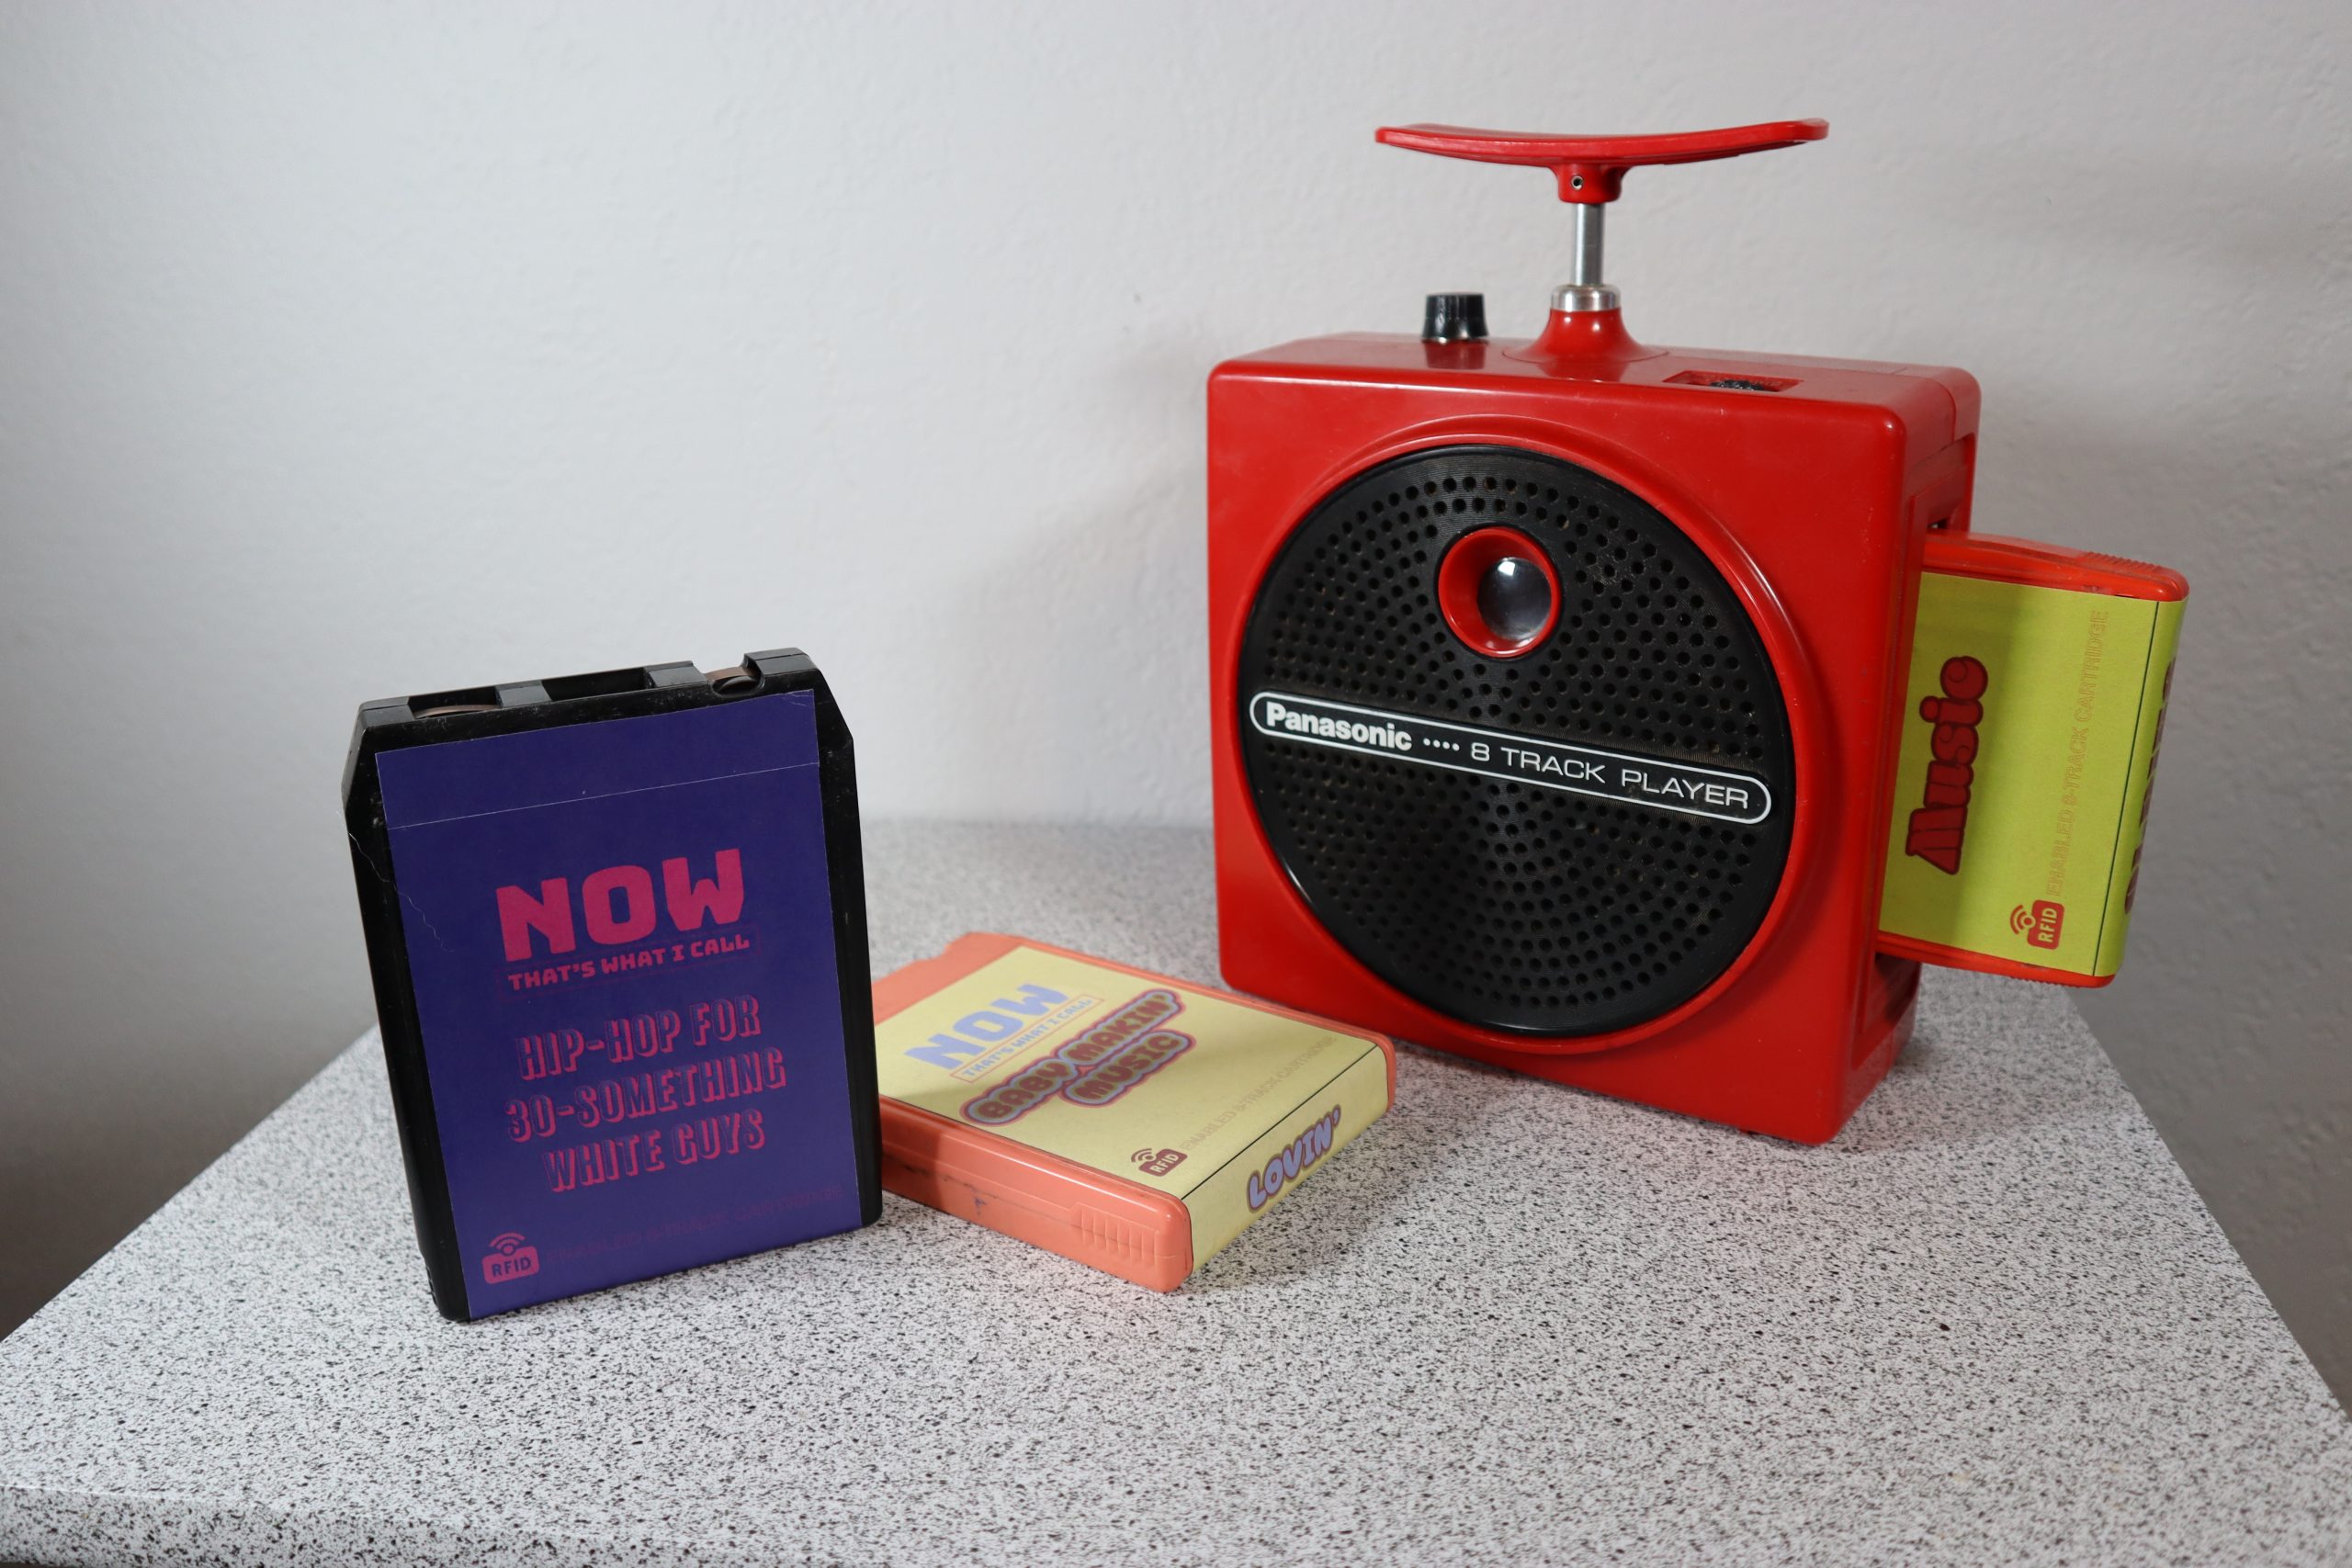
KaboomBox: an RFID 8-Track Player
I built an RFID-controlled music player in the body of a vintage Panasonic “TNT” 8-track player.