Blog
-
Published in The Skeptic!
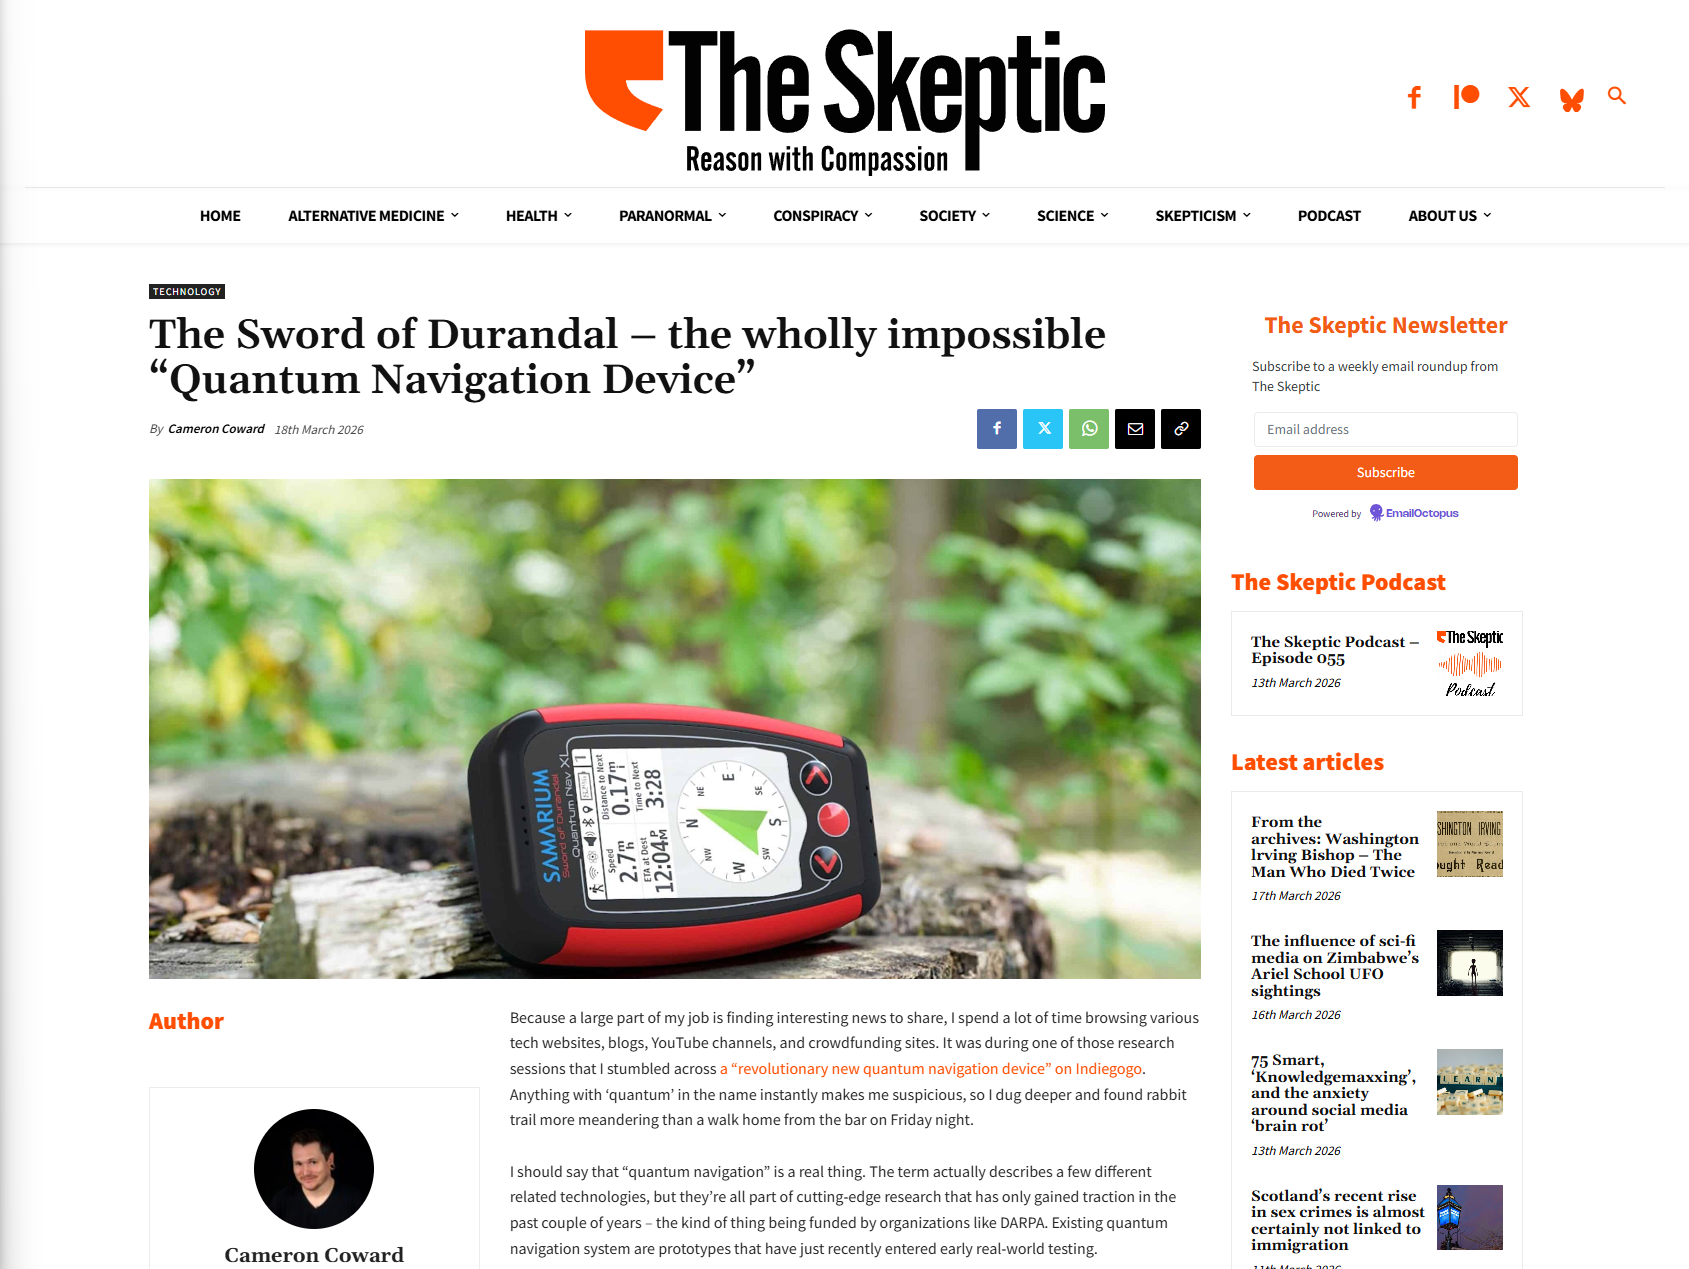
I am very proud to share that my article on The Sword of Durandal “quantum navigation device” and Dr Guido Demedici is now published on the website of The Skeptic (UK).
-
What Americans Can Learn from Chinese Makers

After seeing China’s maker culture in Shenzhen, I have some thoughts about what Americans can learn from Chinese makers.
-
Why American Makers Don’t Trust Chinese Brands (And How to Fix That)
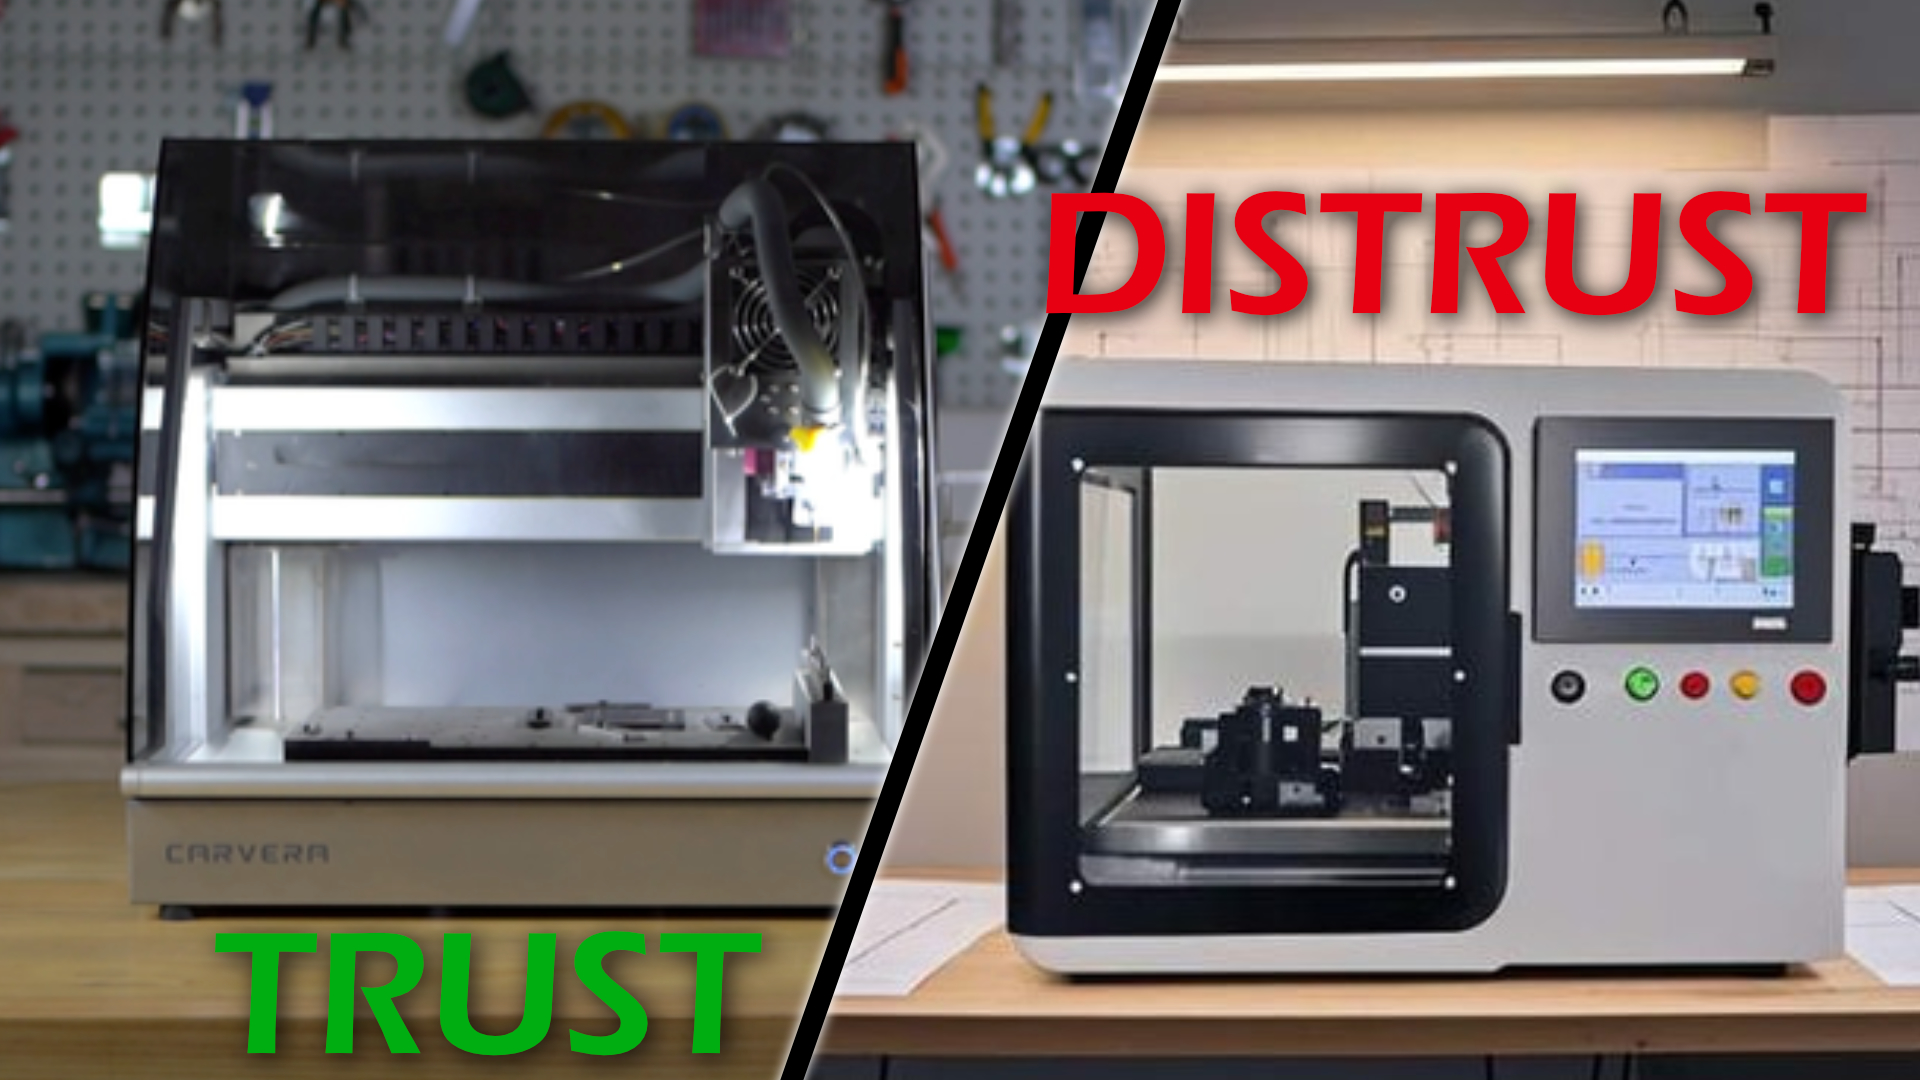
In June of this year, a small startup out of Hong Kong attempted to launch the HELIX 5-axis desktop CNC mill on Kickstarter. By the time the campaign ended, HELIX had only raised $6,181—less than half of the modest funding goal—from just four backers. Why did the HELIX campaign fail so spectacularly?
-
Dead E. Ruxpin: cassette-tape controlled animatronic

An animatronic bear controlled by cassette tapes!
-
NASTIER: ZimaBlade Redundant Micro NAS
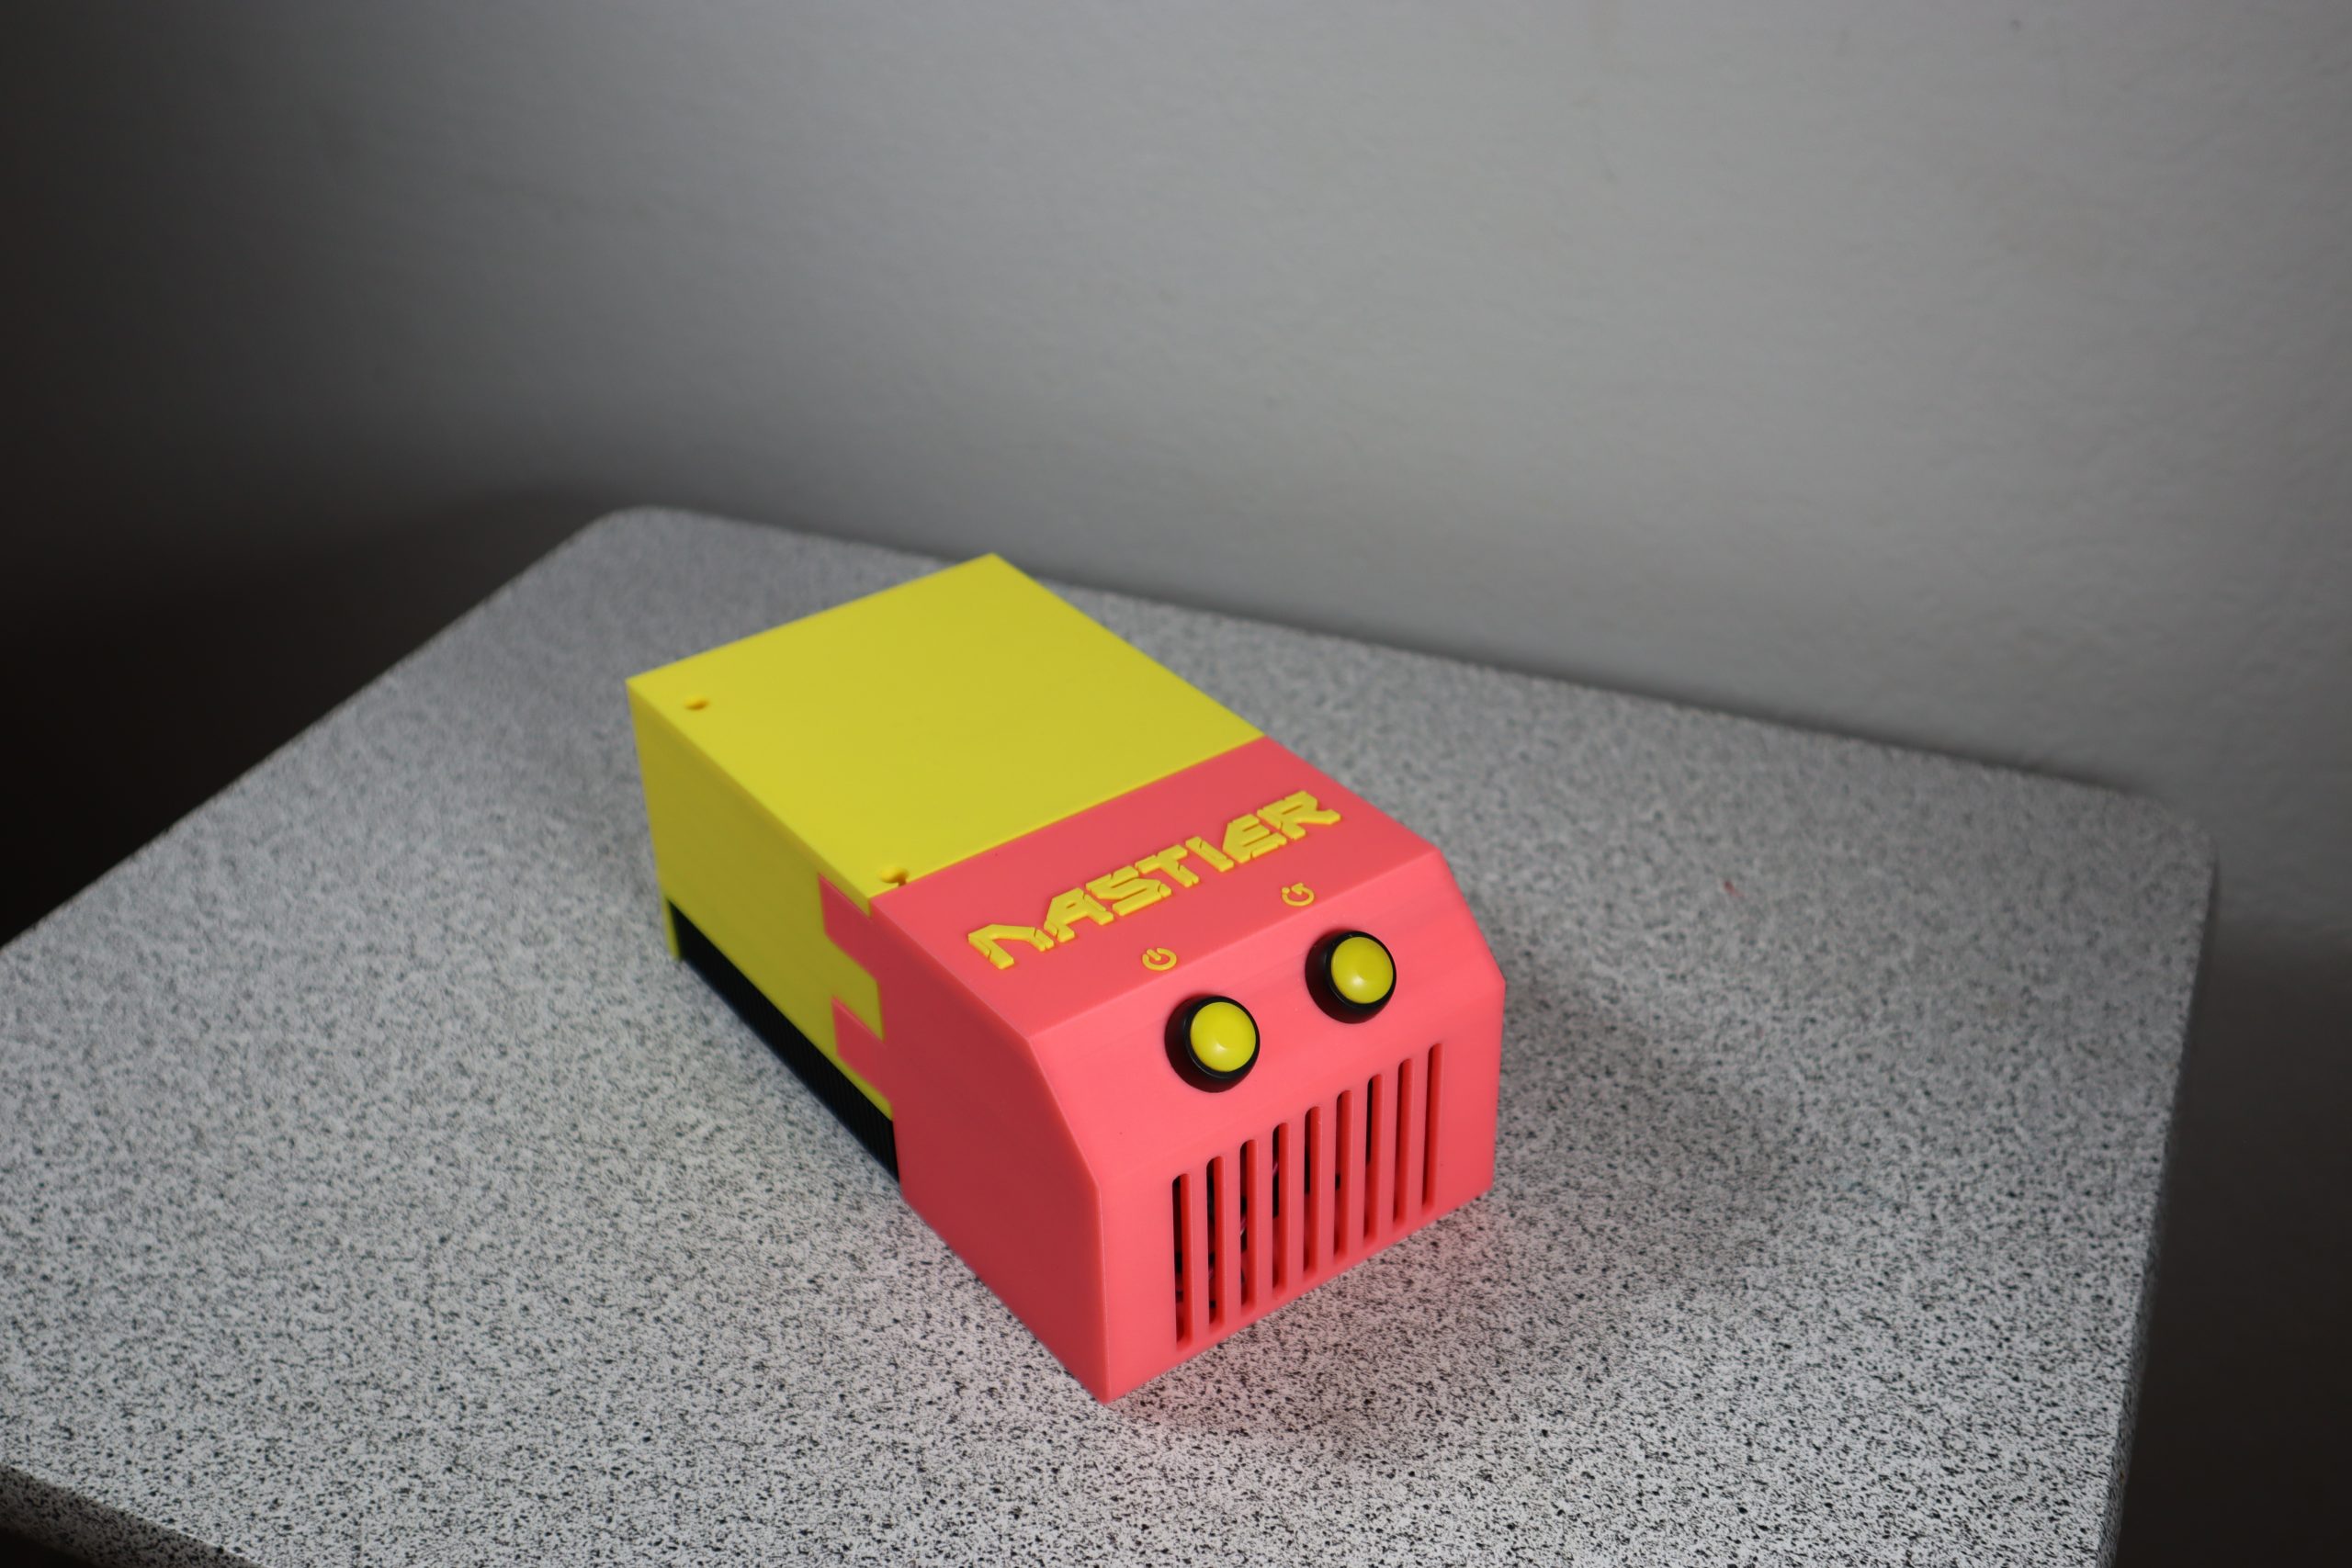
Instructions on how to assemble and configure my NASTIER redundant micro NAS system for ZimaBlade single-board servers.
-
Subscriber Board
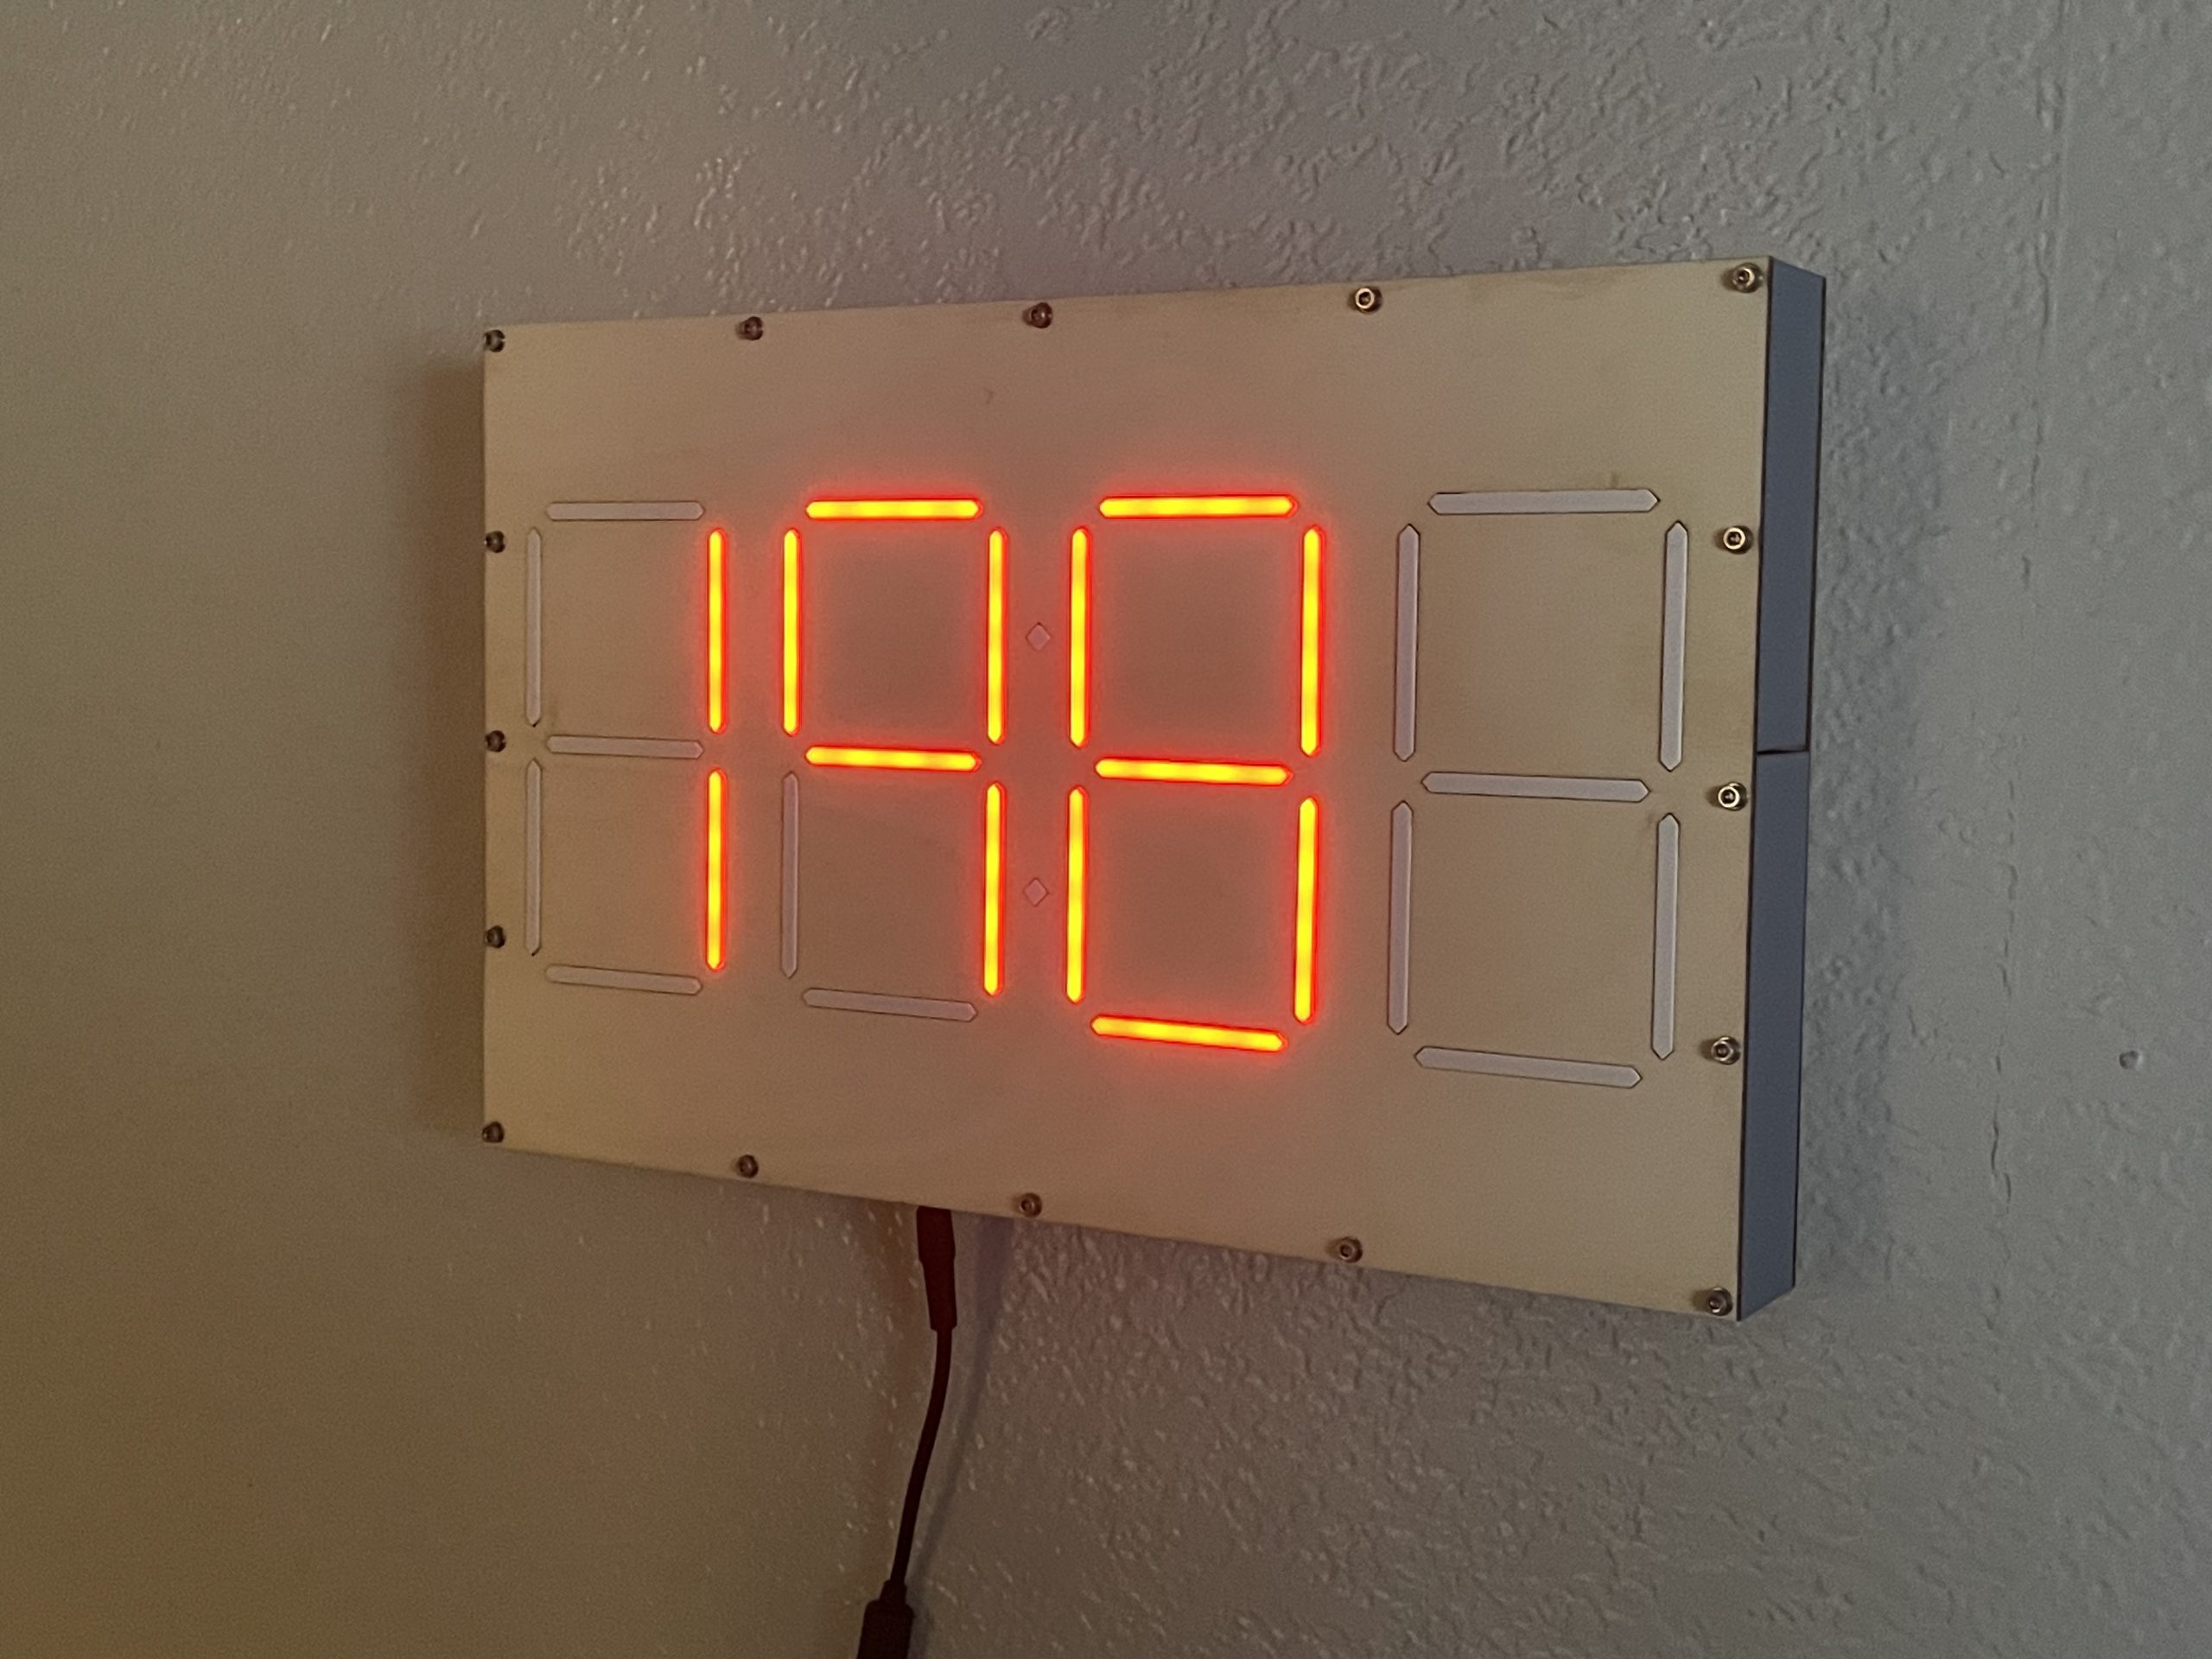
SubscriberBoard is a four-digit, seven-segment display scaled up to a size that makes it perfect for wall art! It connects to a Home Assistant home automation server and can show whatever four-digit numbers that server can send via MQTT.
-
’80s Video Phone
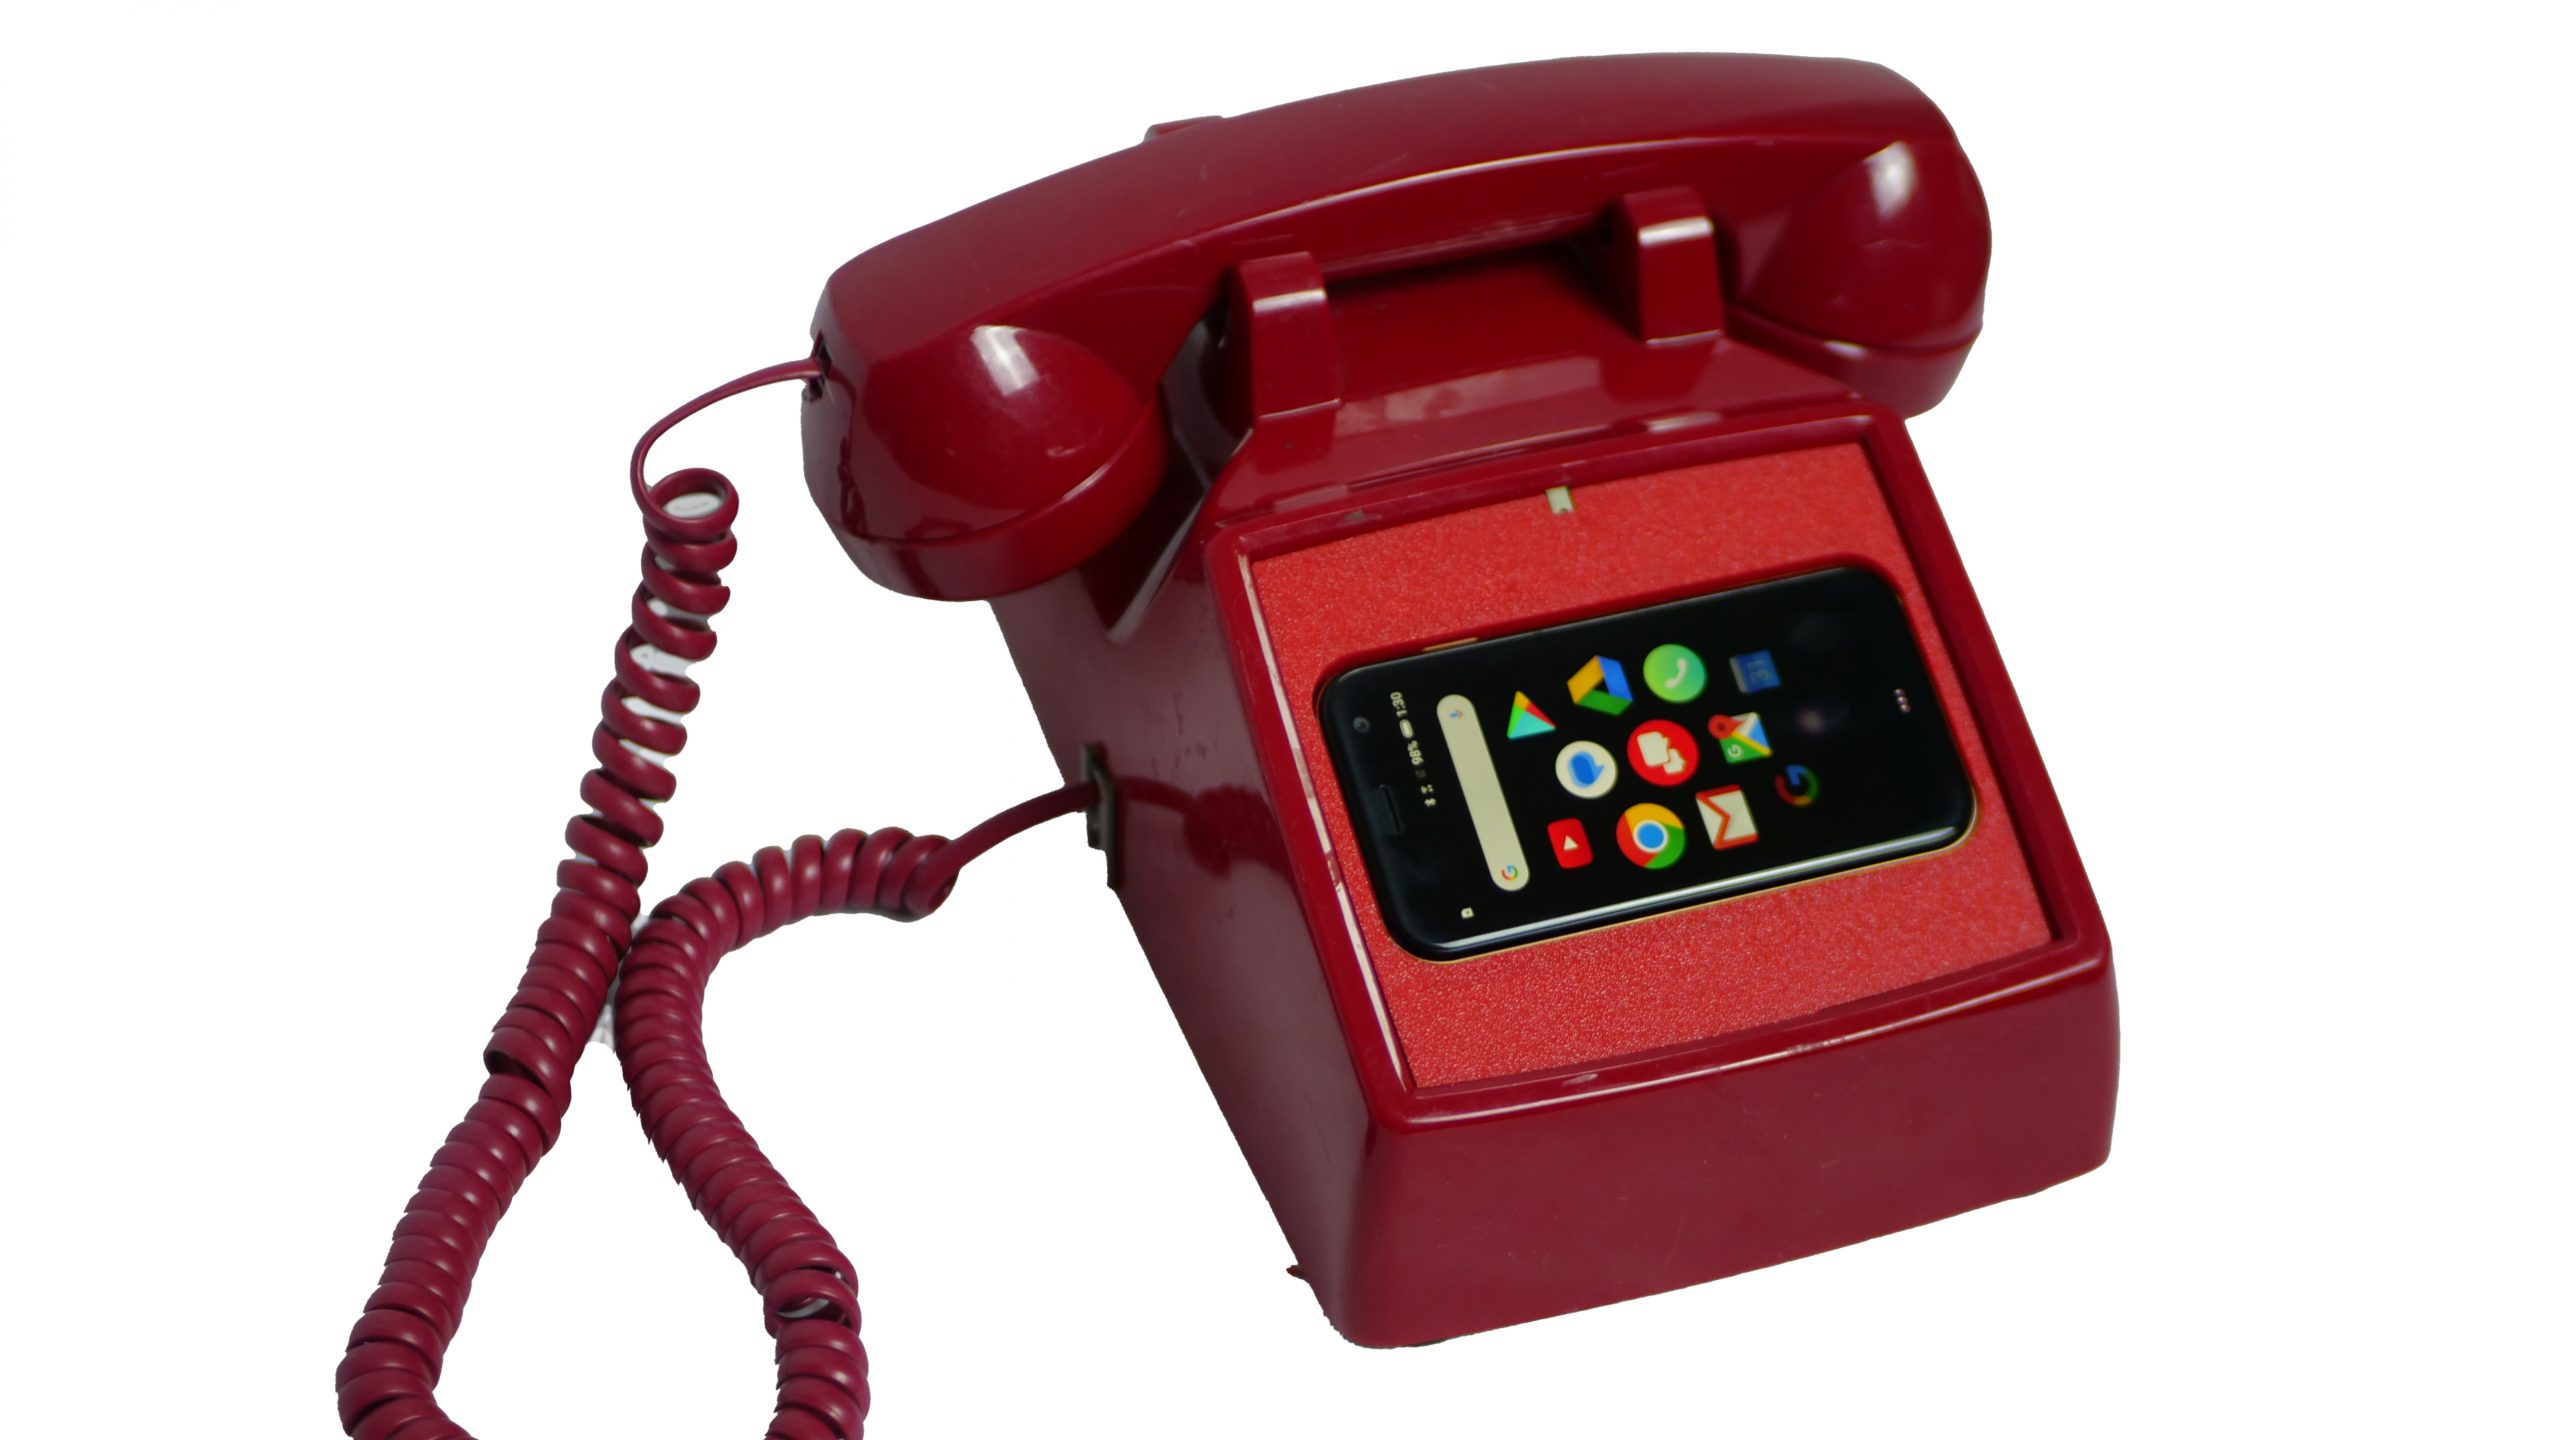
I stumbled across concept art from the 1980s of a Videotex telephone concept and turned it into a real, functional retro-style video phone!
-
LuvNoots: Wall-Mounted ePaper SMS Display
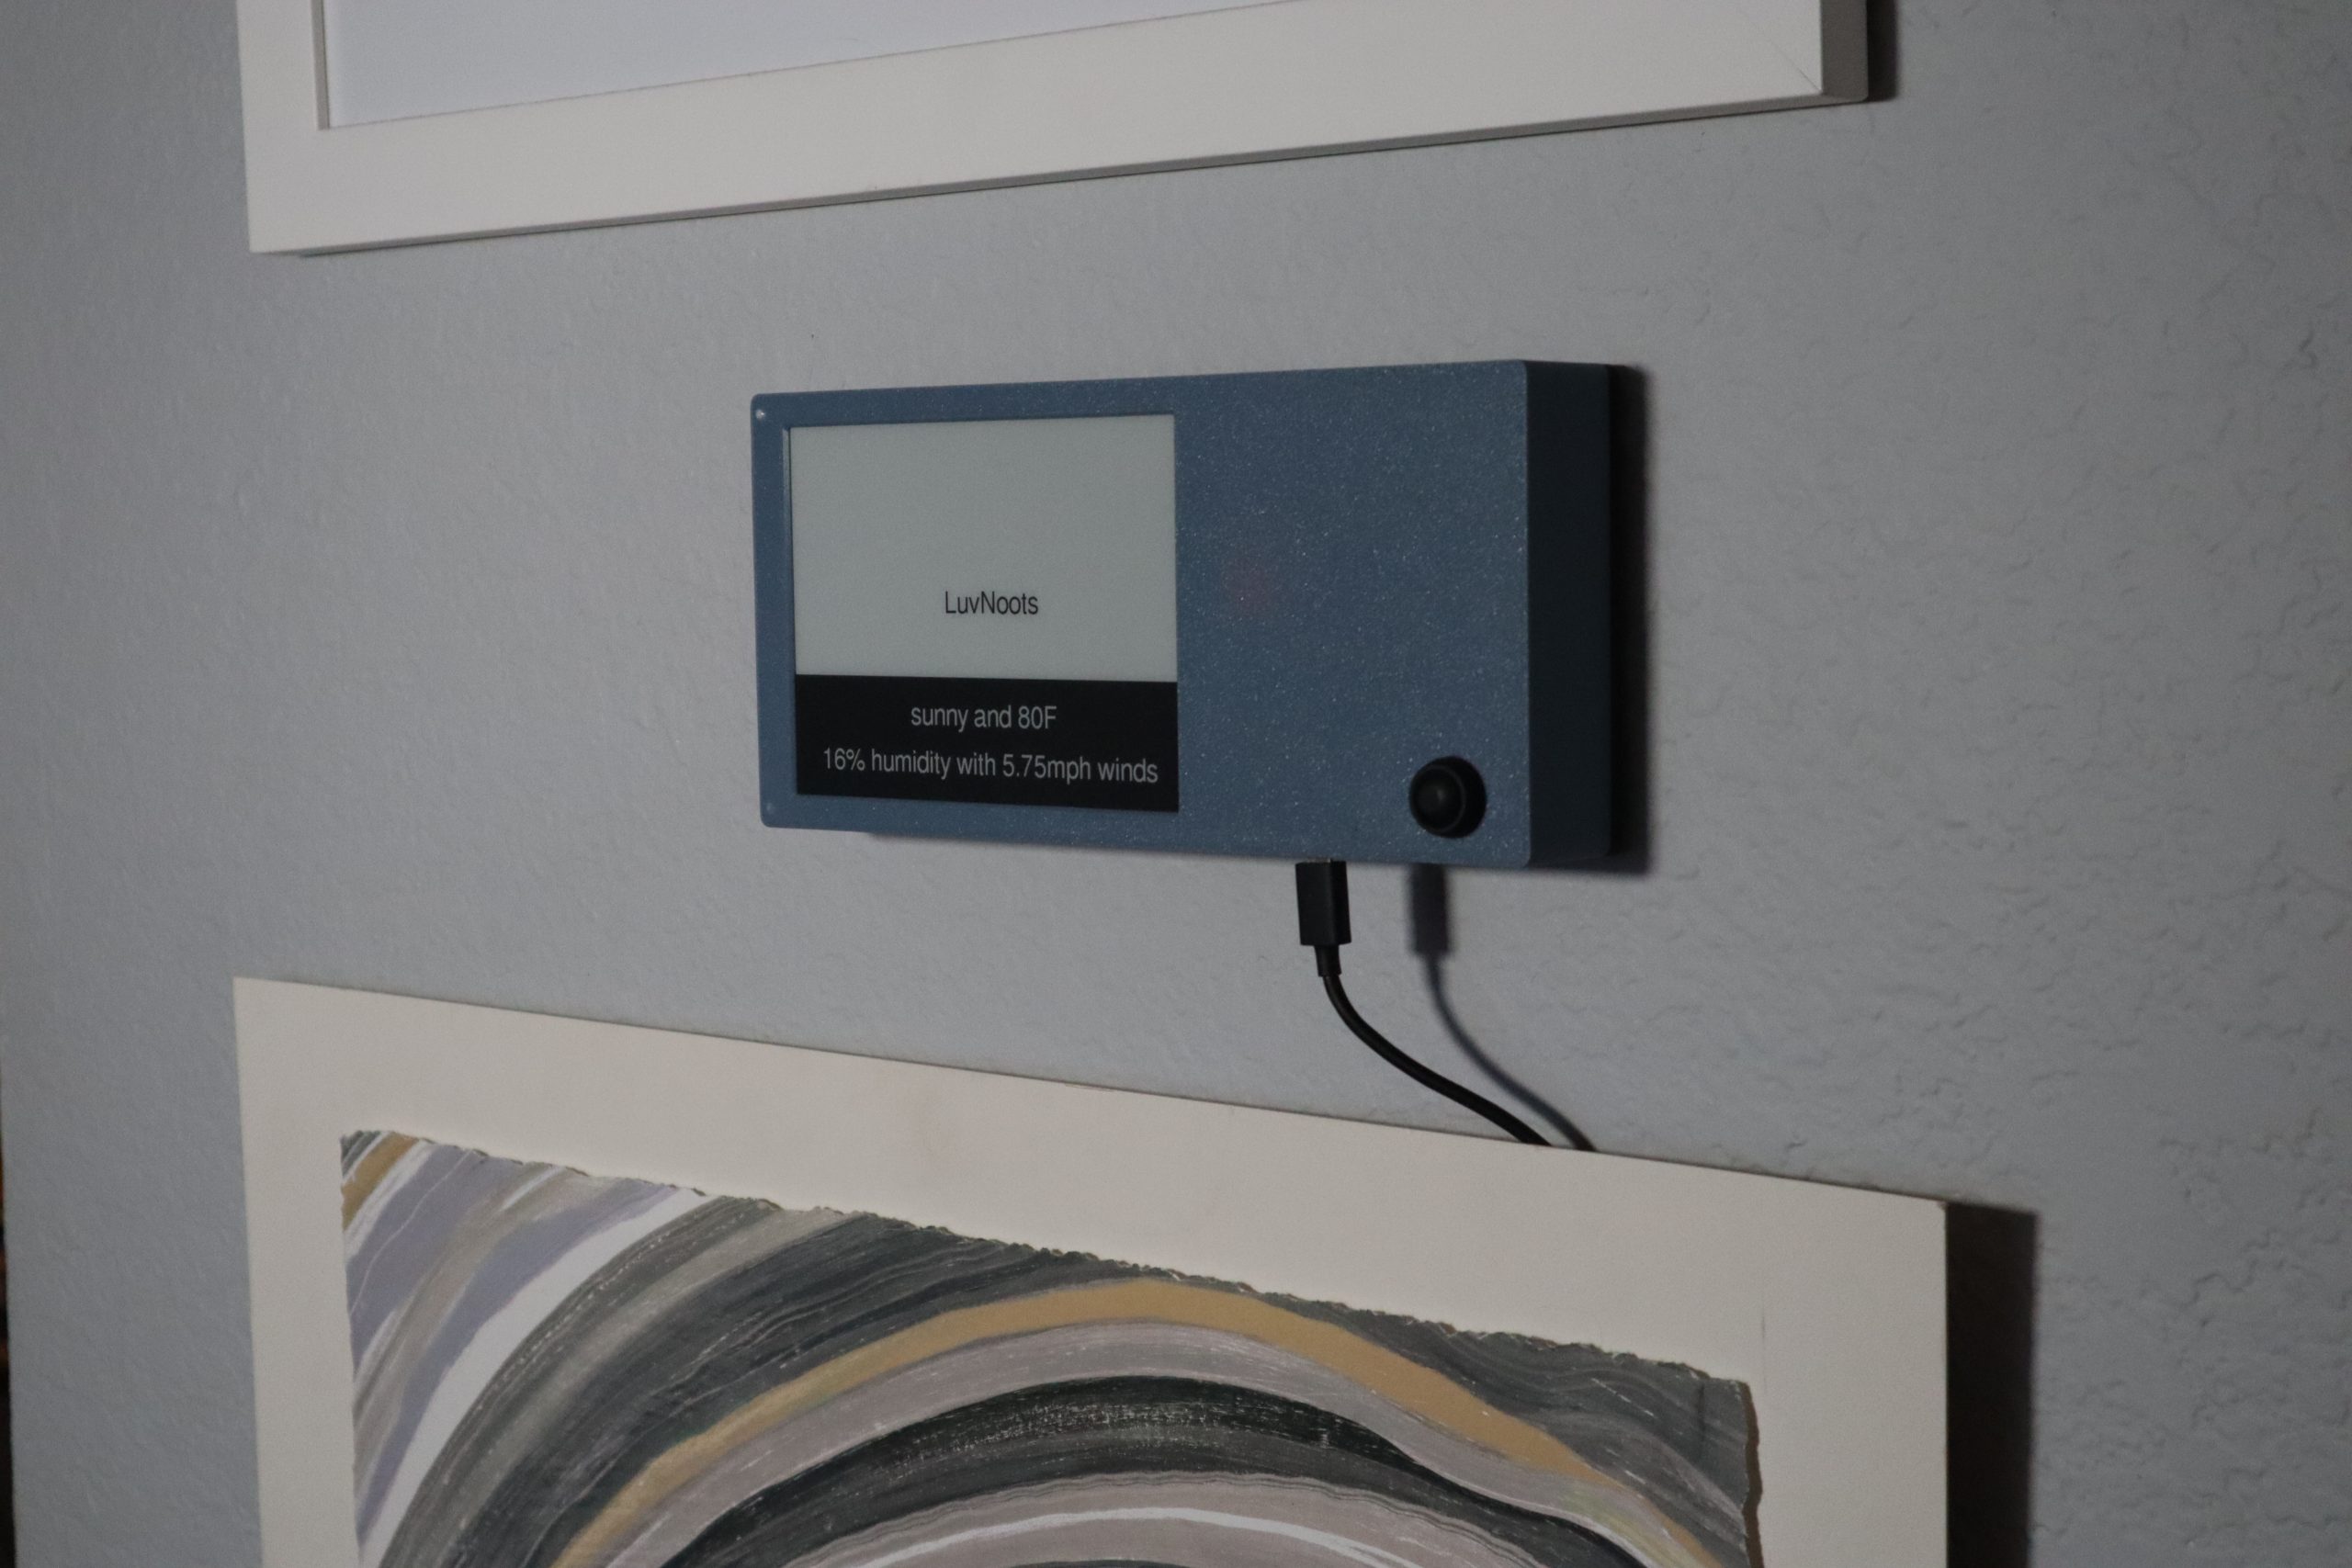
Do you want a way to leave messages for your loved ones, but you’re actively boycotting 3M and can’t use Post-it Notes? Then this is the solution for you! LuvNoots is a wall-mounted display that shows text messages on a large ePaper screen. It also shows the weather, because IoT. Any plain SMS text message…
-
TurboNES: a Simple RetroPie Setup
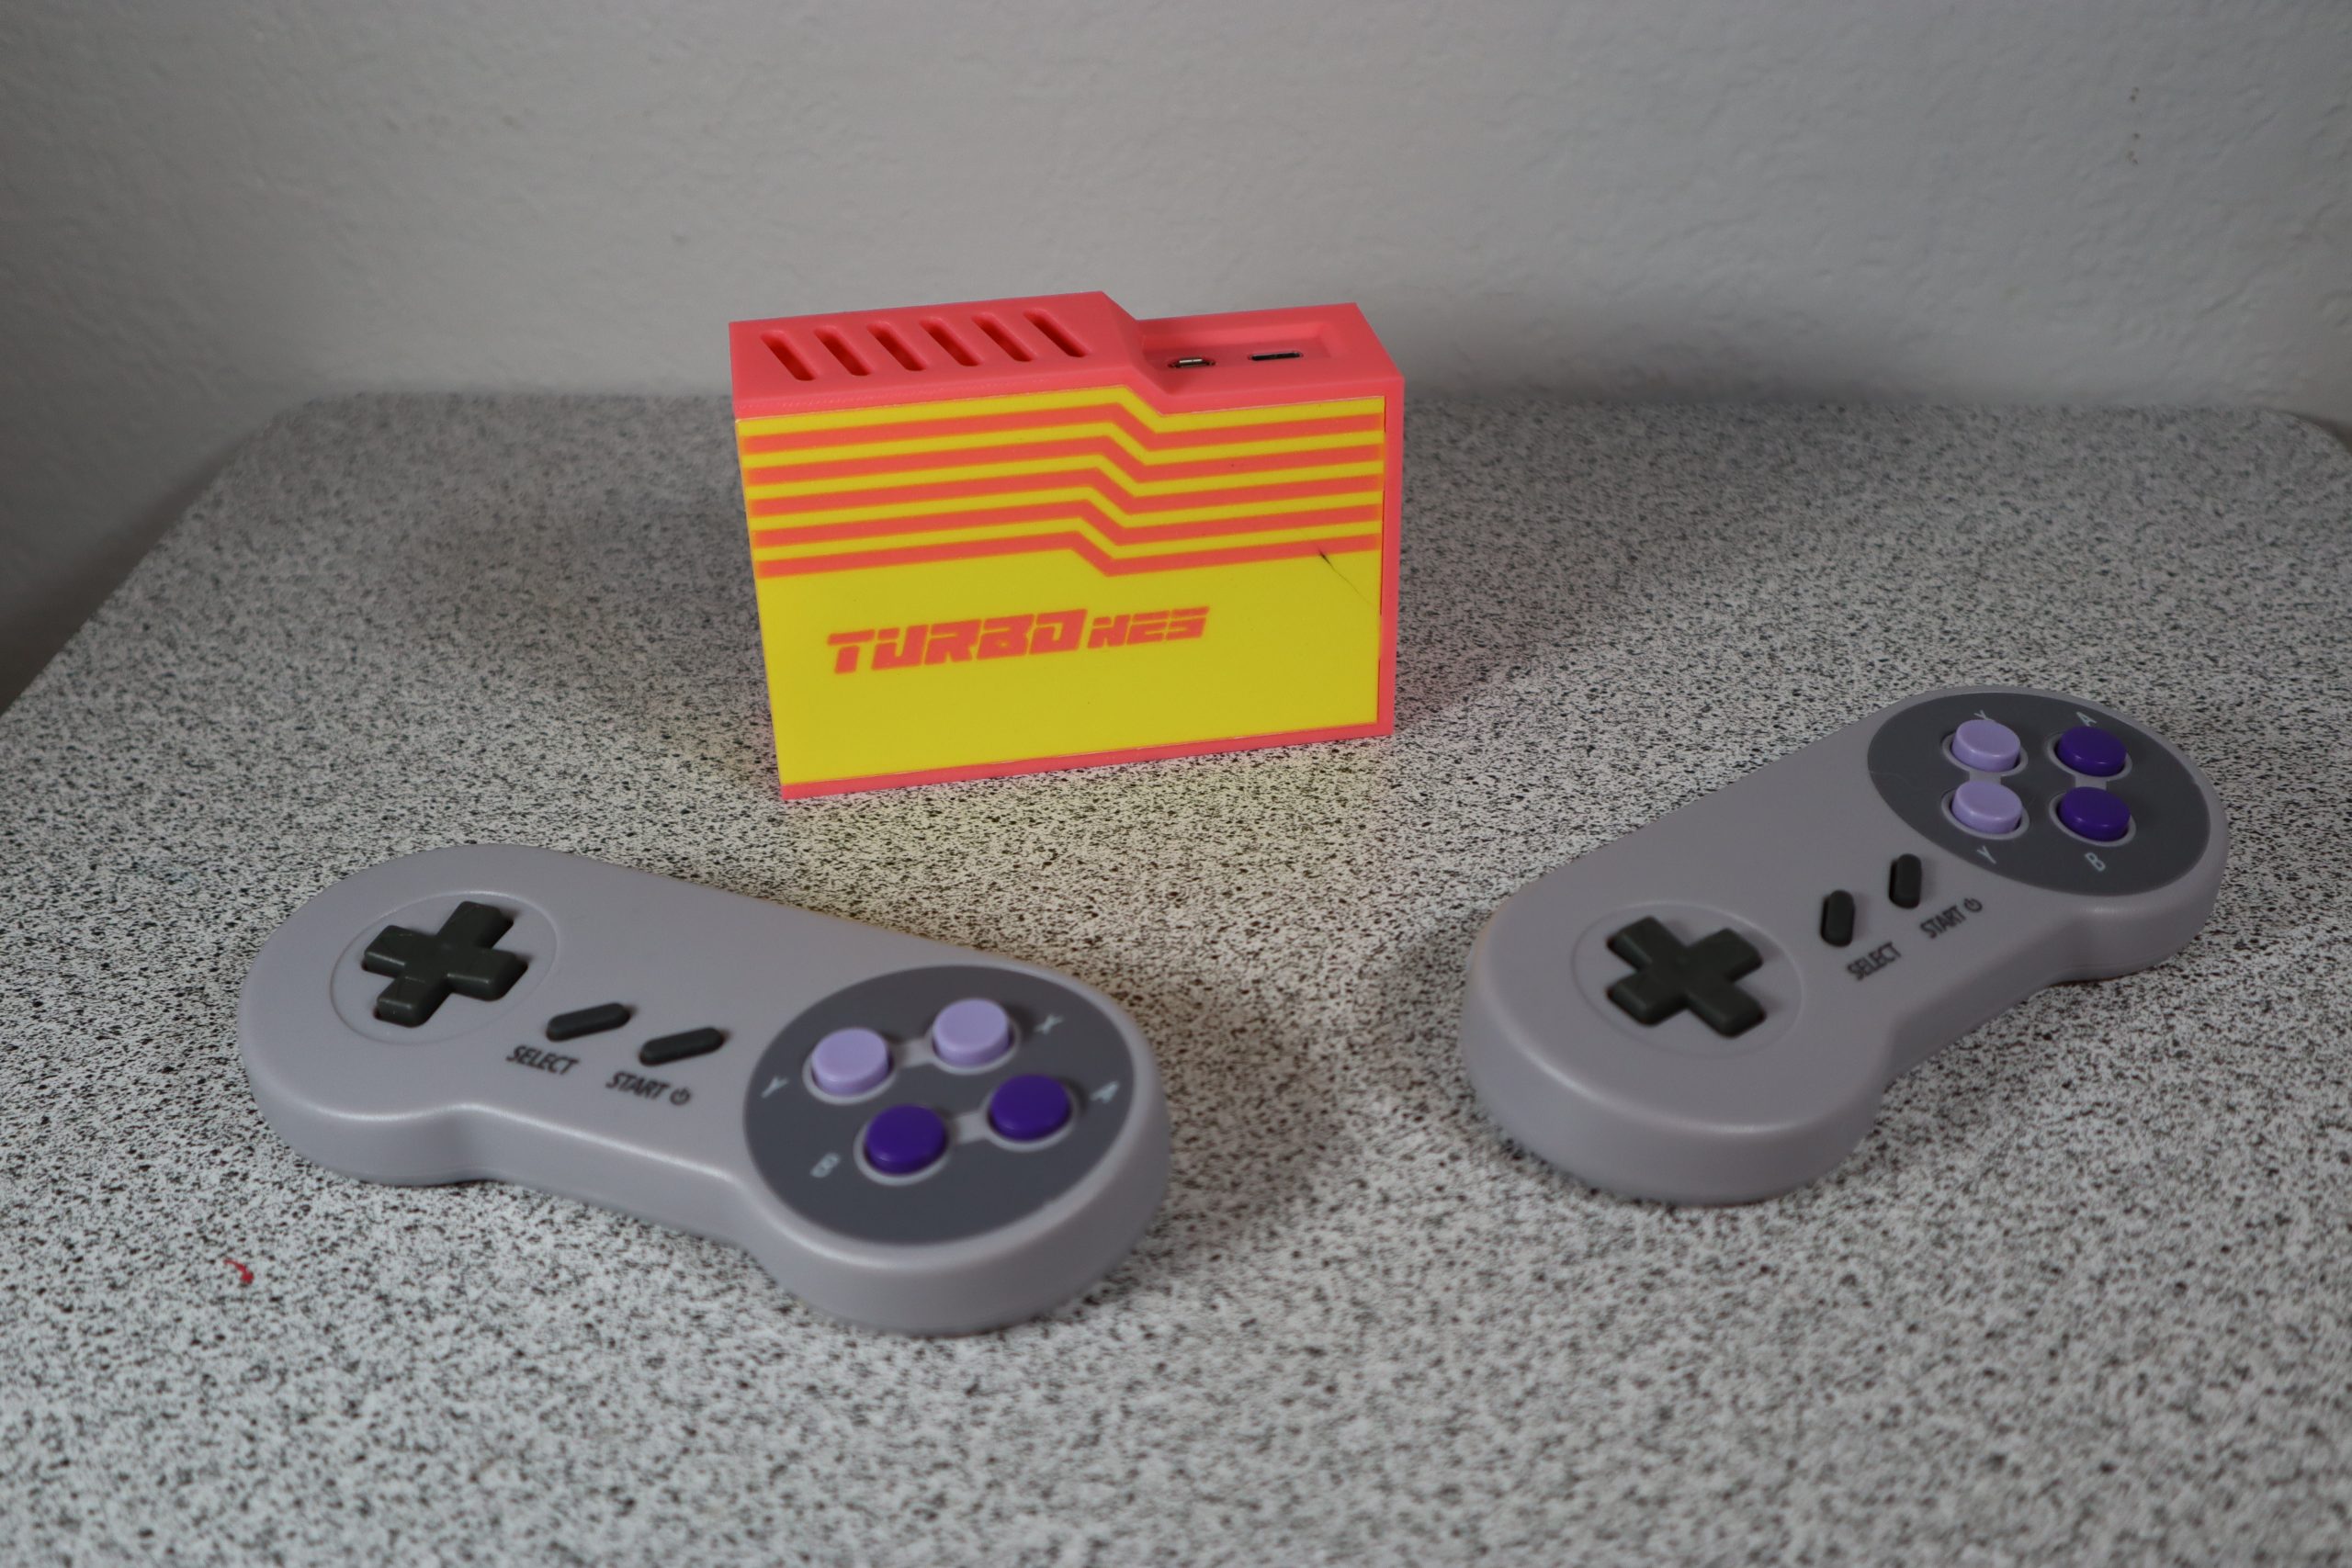
Years ago, I designed this adapter so that I could use a reproduction ZX Spectrum case to build a RetroPie gaming console. Fast forward a couple of years and I had a roommate that thought it was really cool. That former roommate (now a former friend) had a birthday coming up, so I made him…
-
KaboomBox: an RFID 8-Track Player
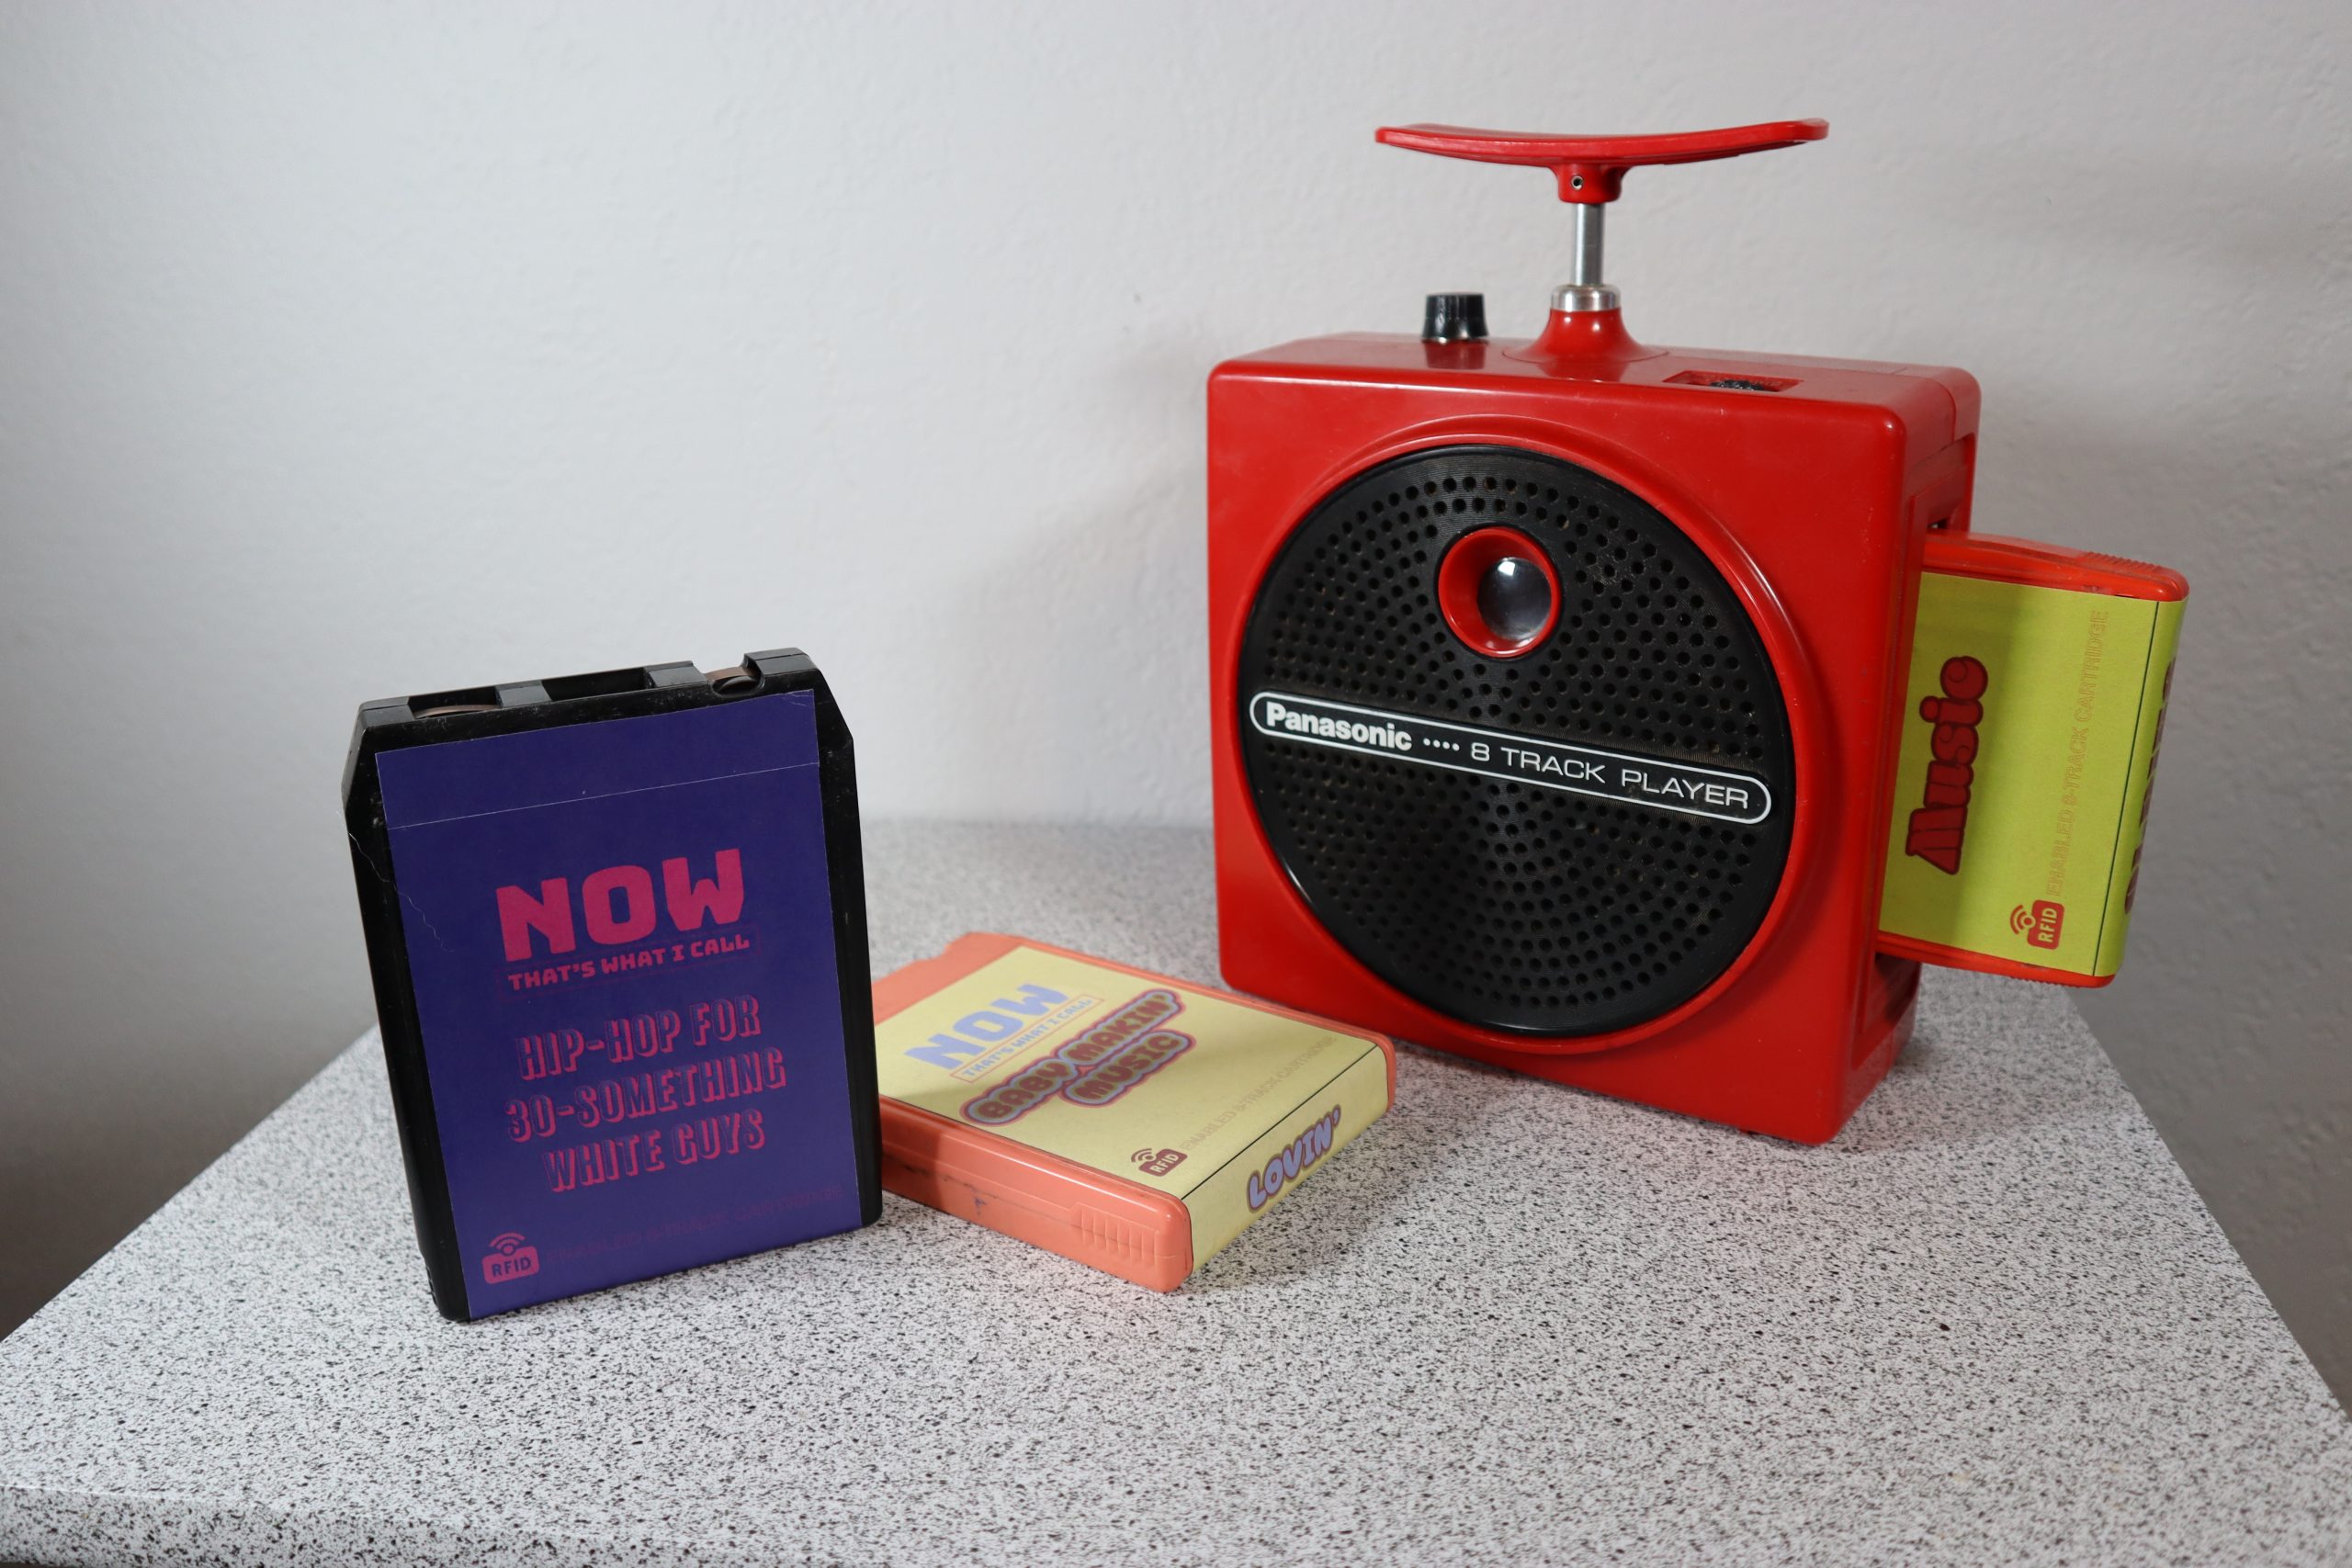
I built an RFID-controlled music player in the body of a vintage Panasonic “TNT” 8-track player. Full build details are available on Hackster here.