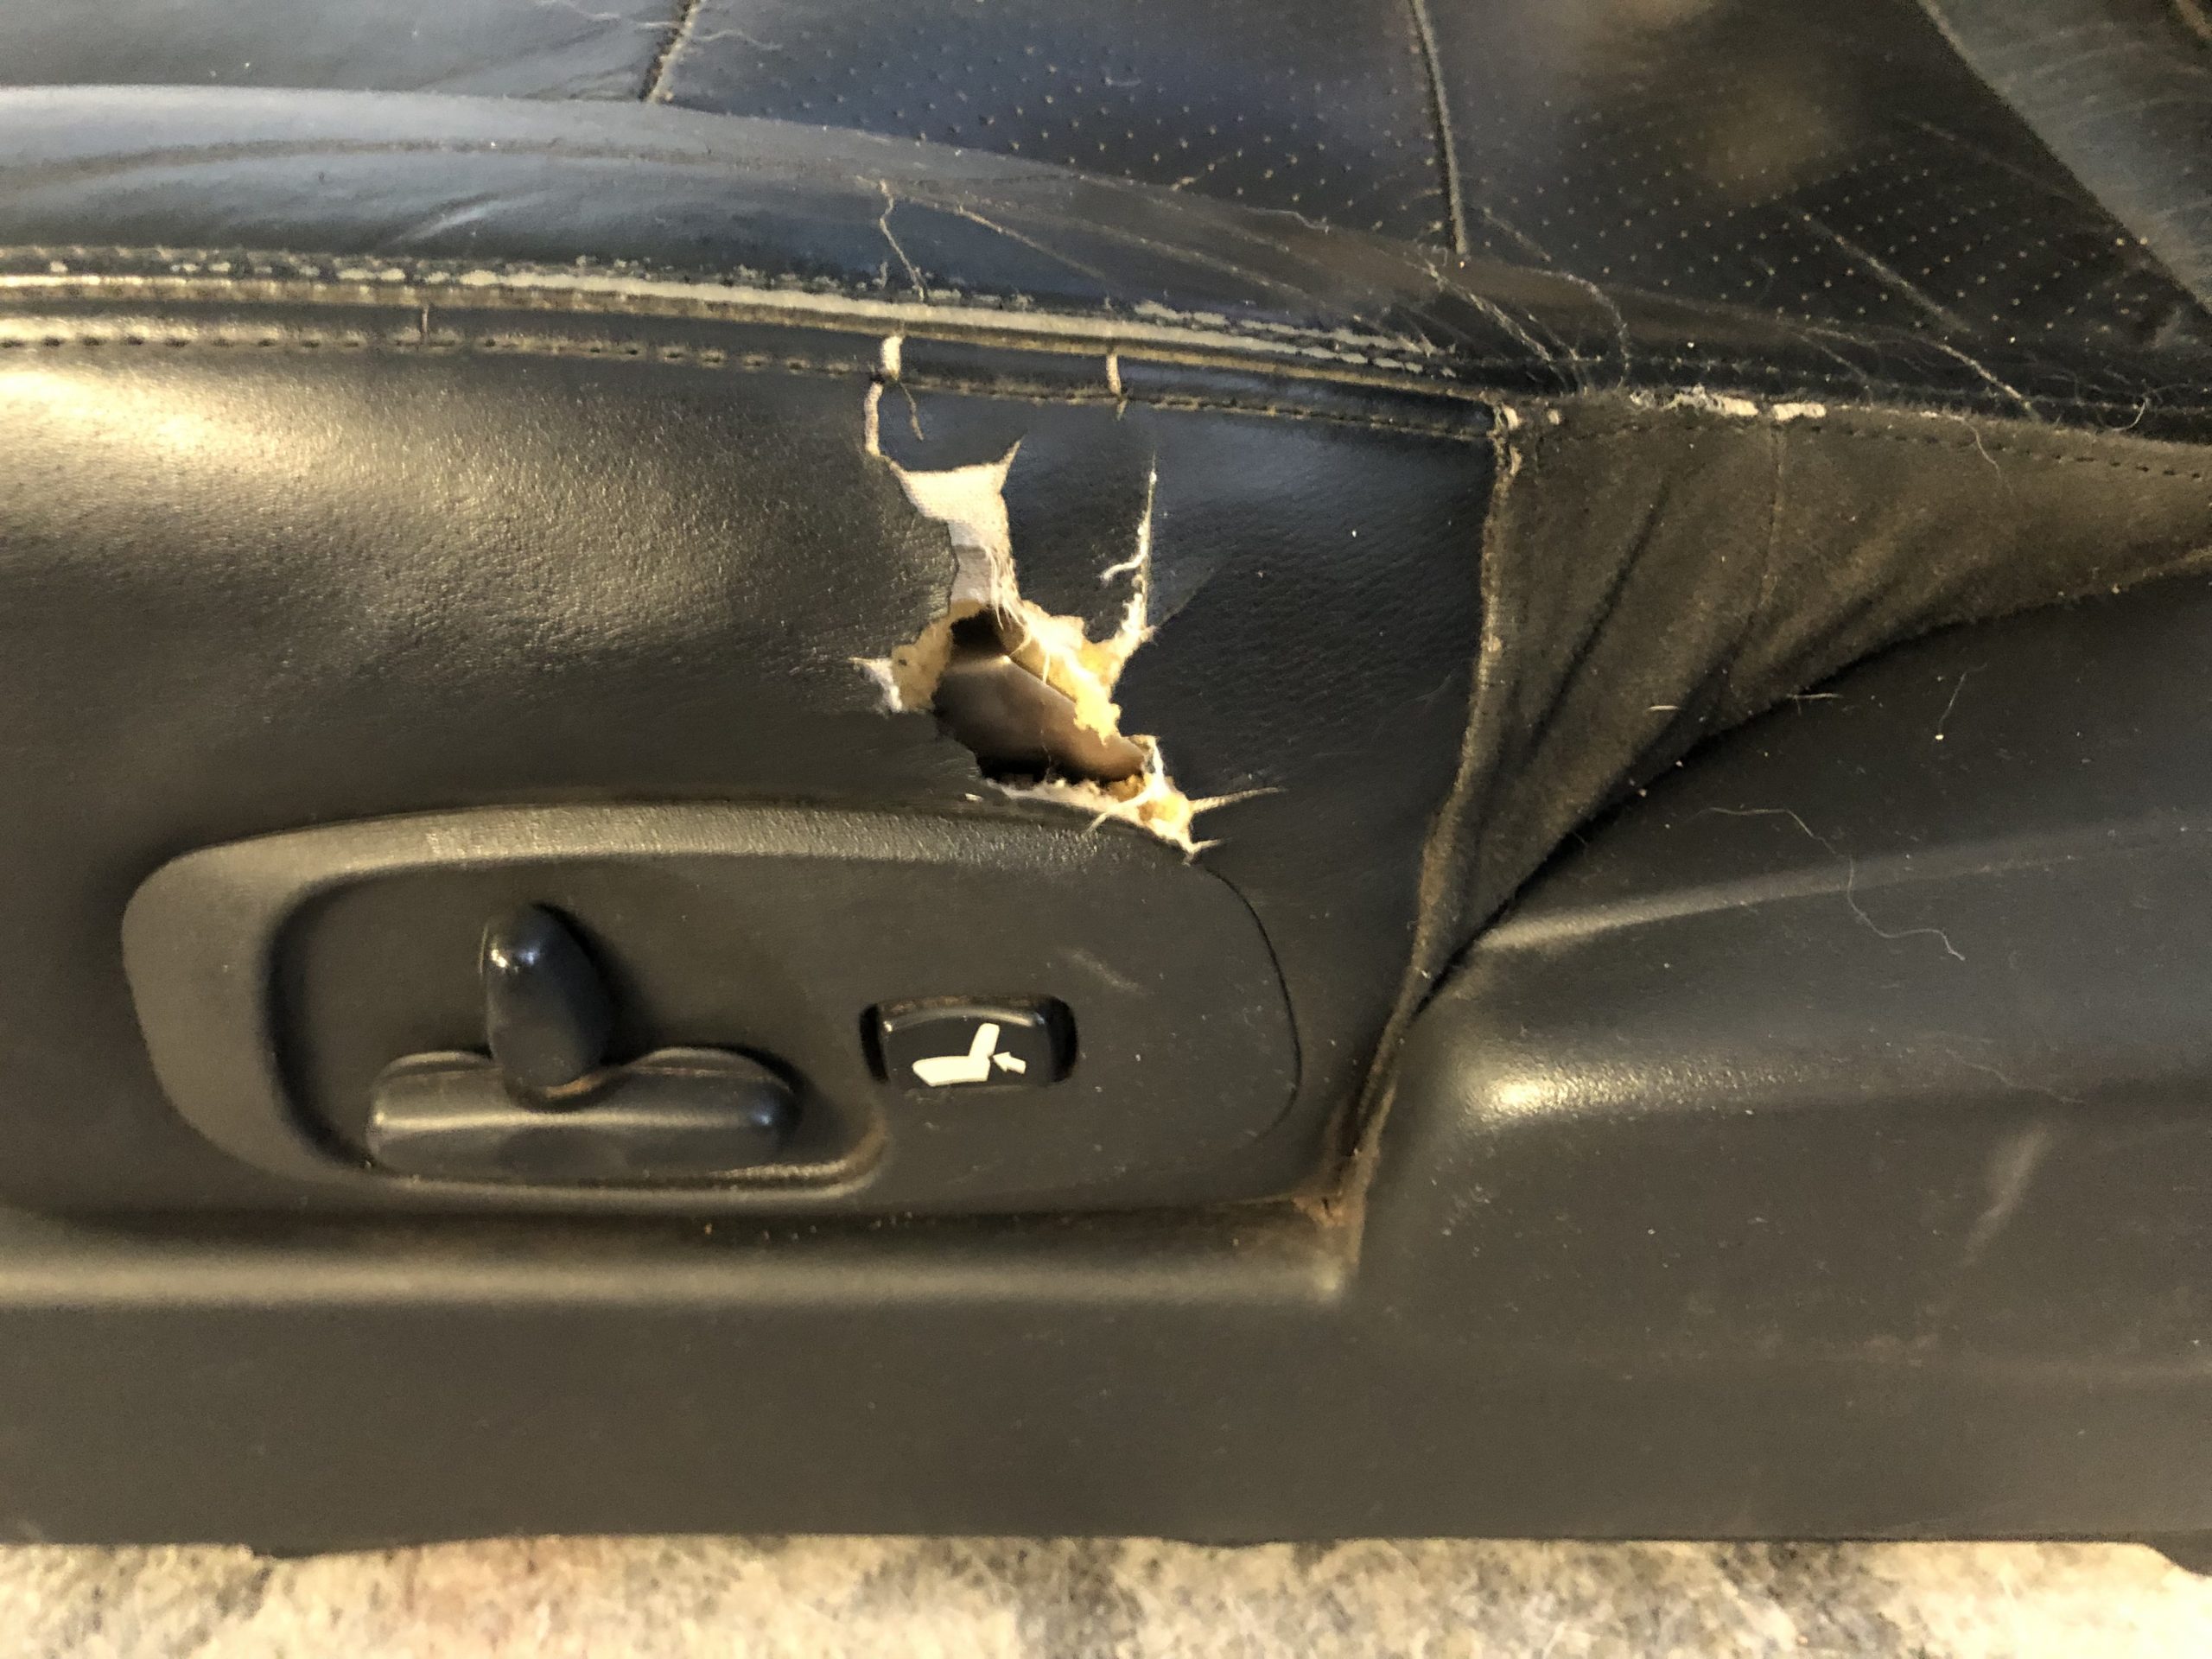
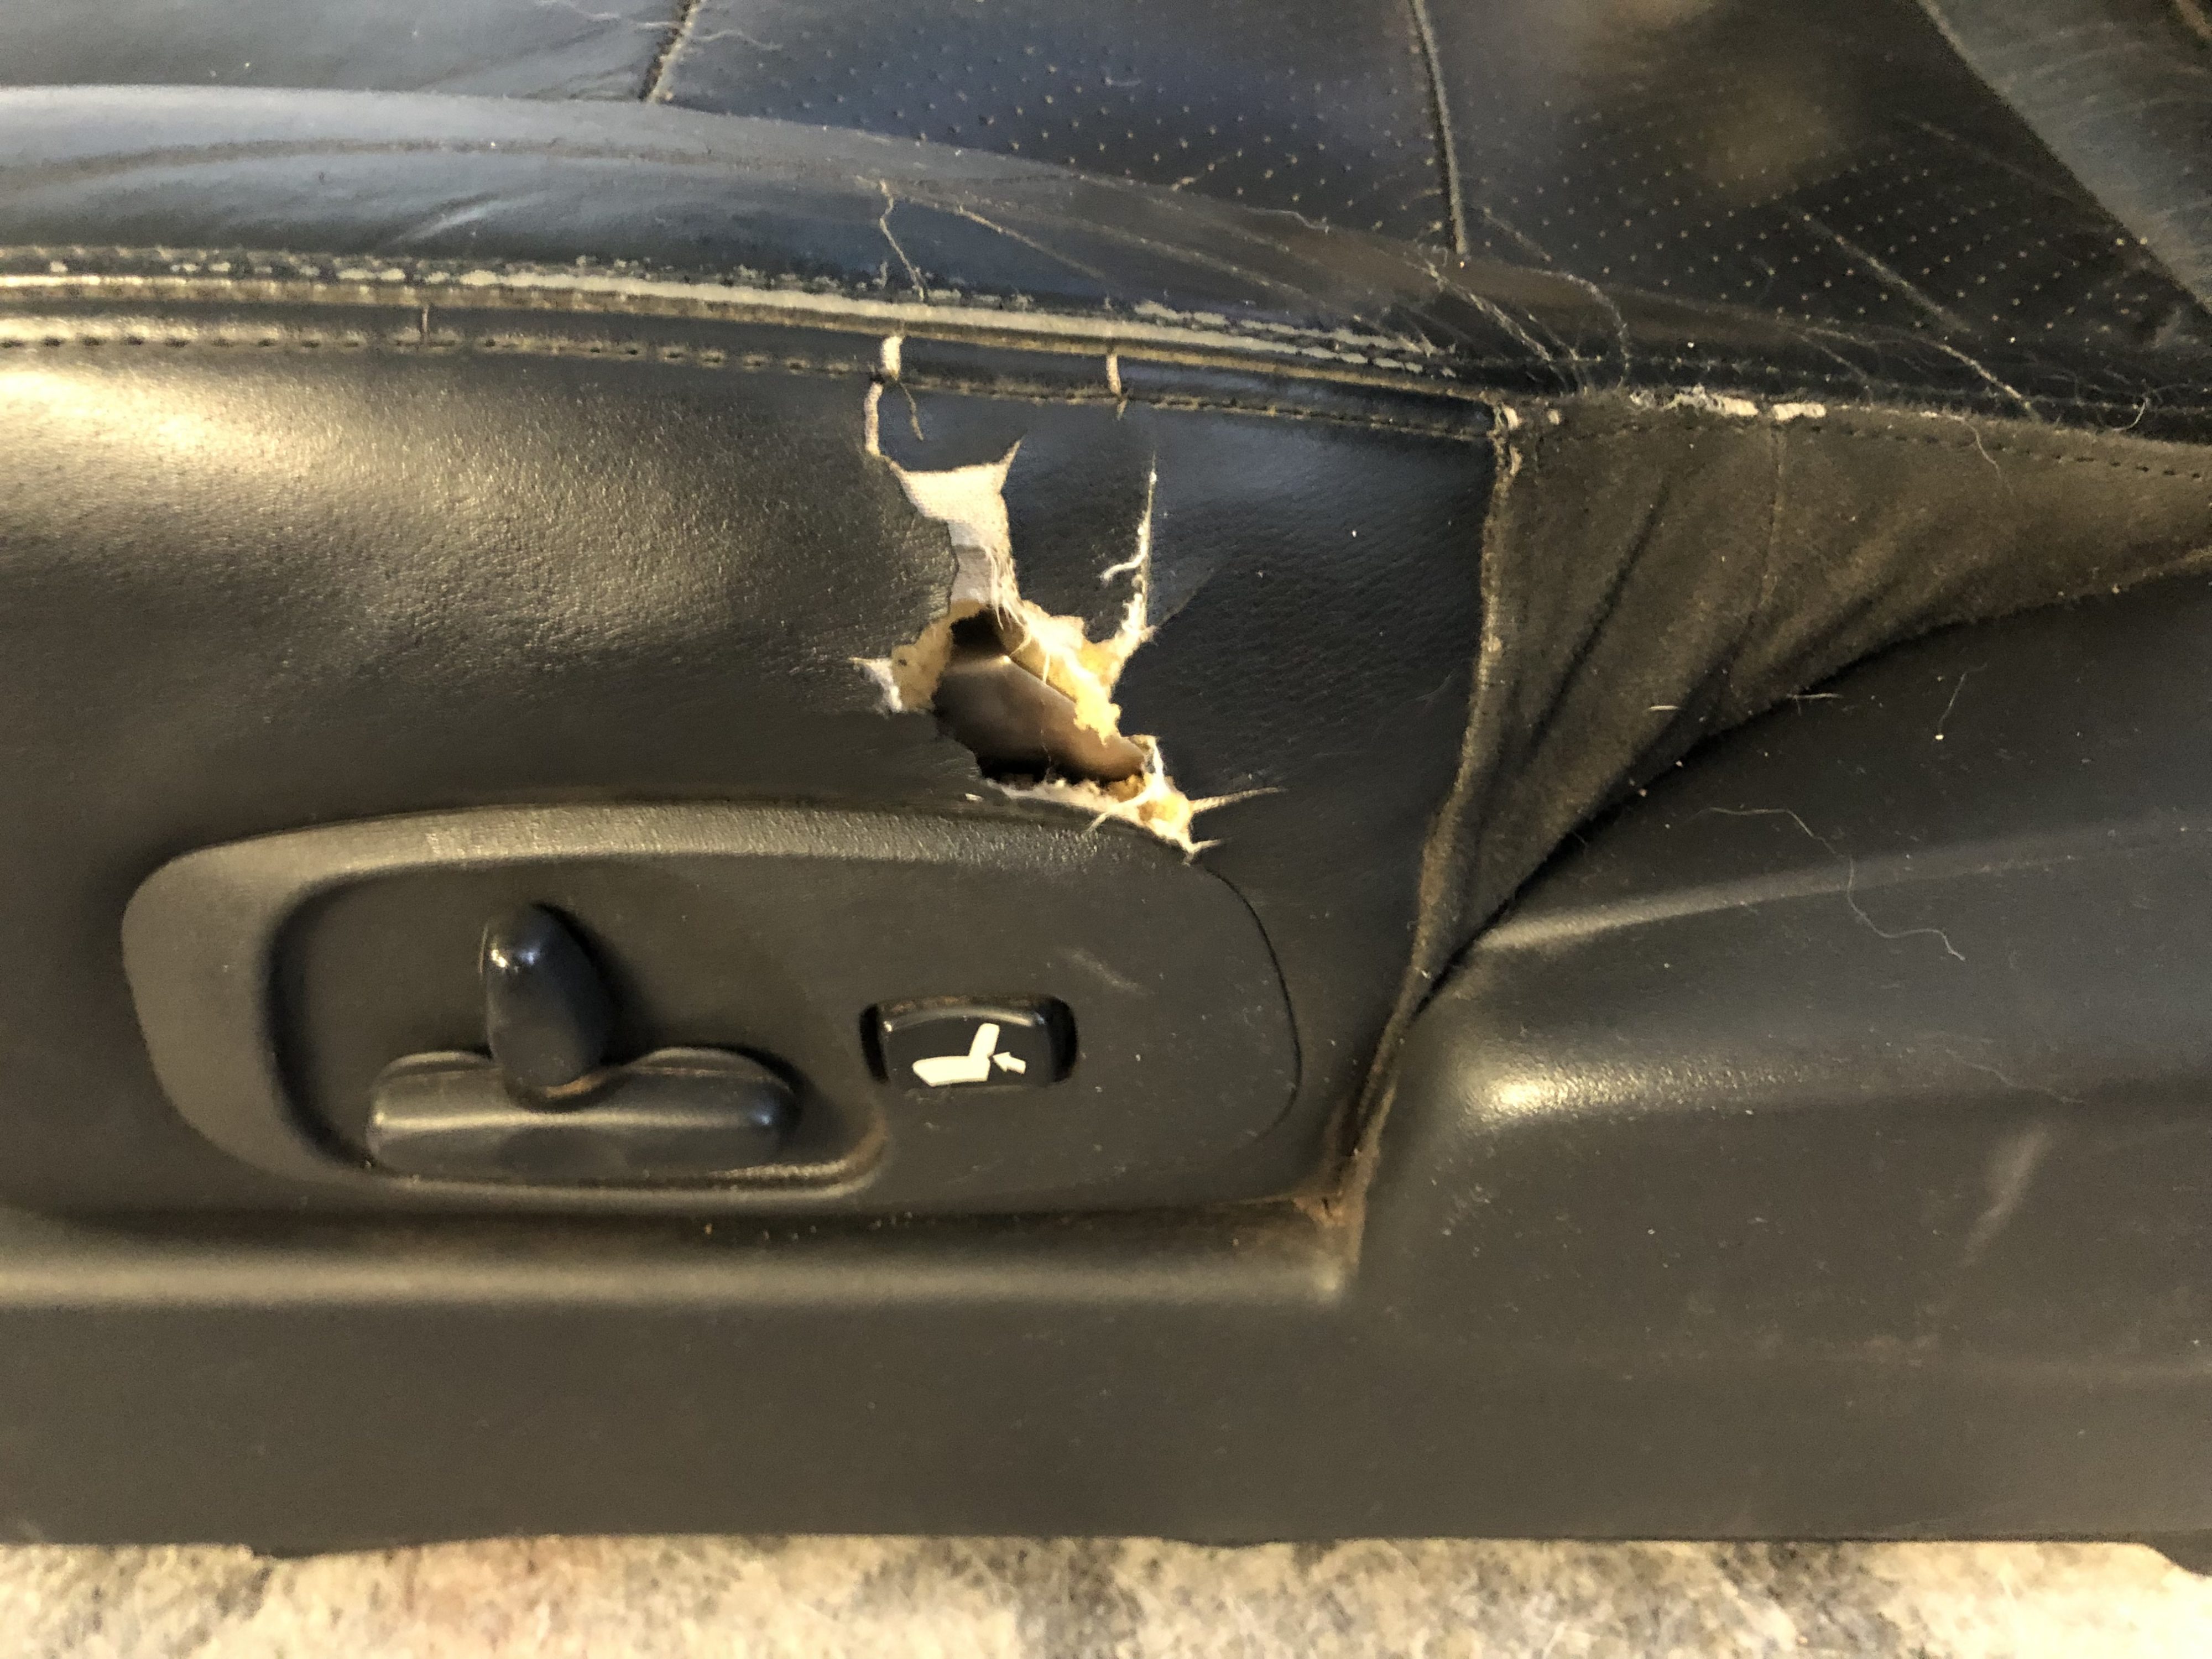
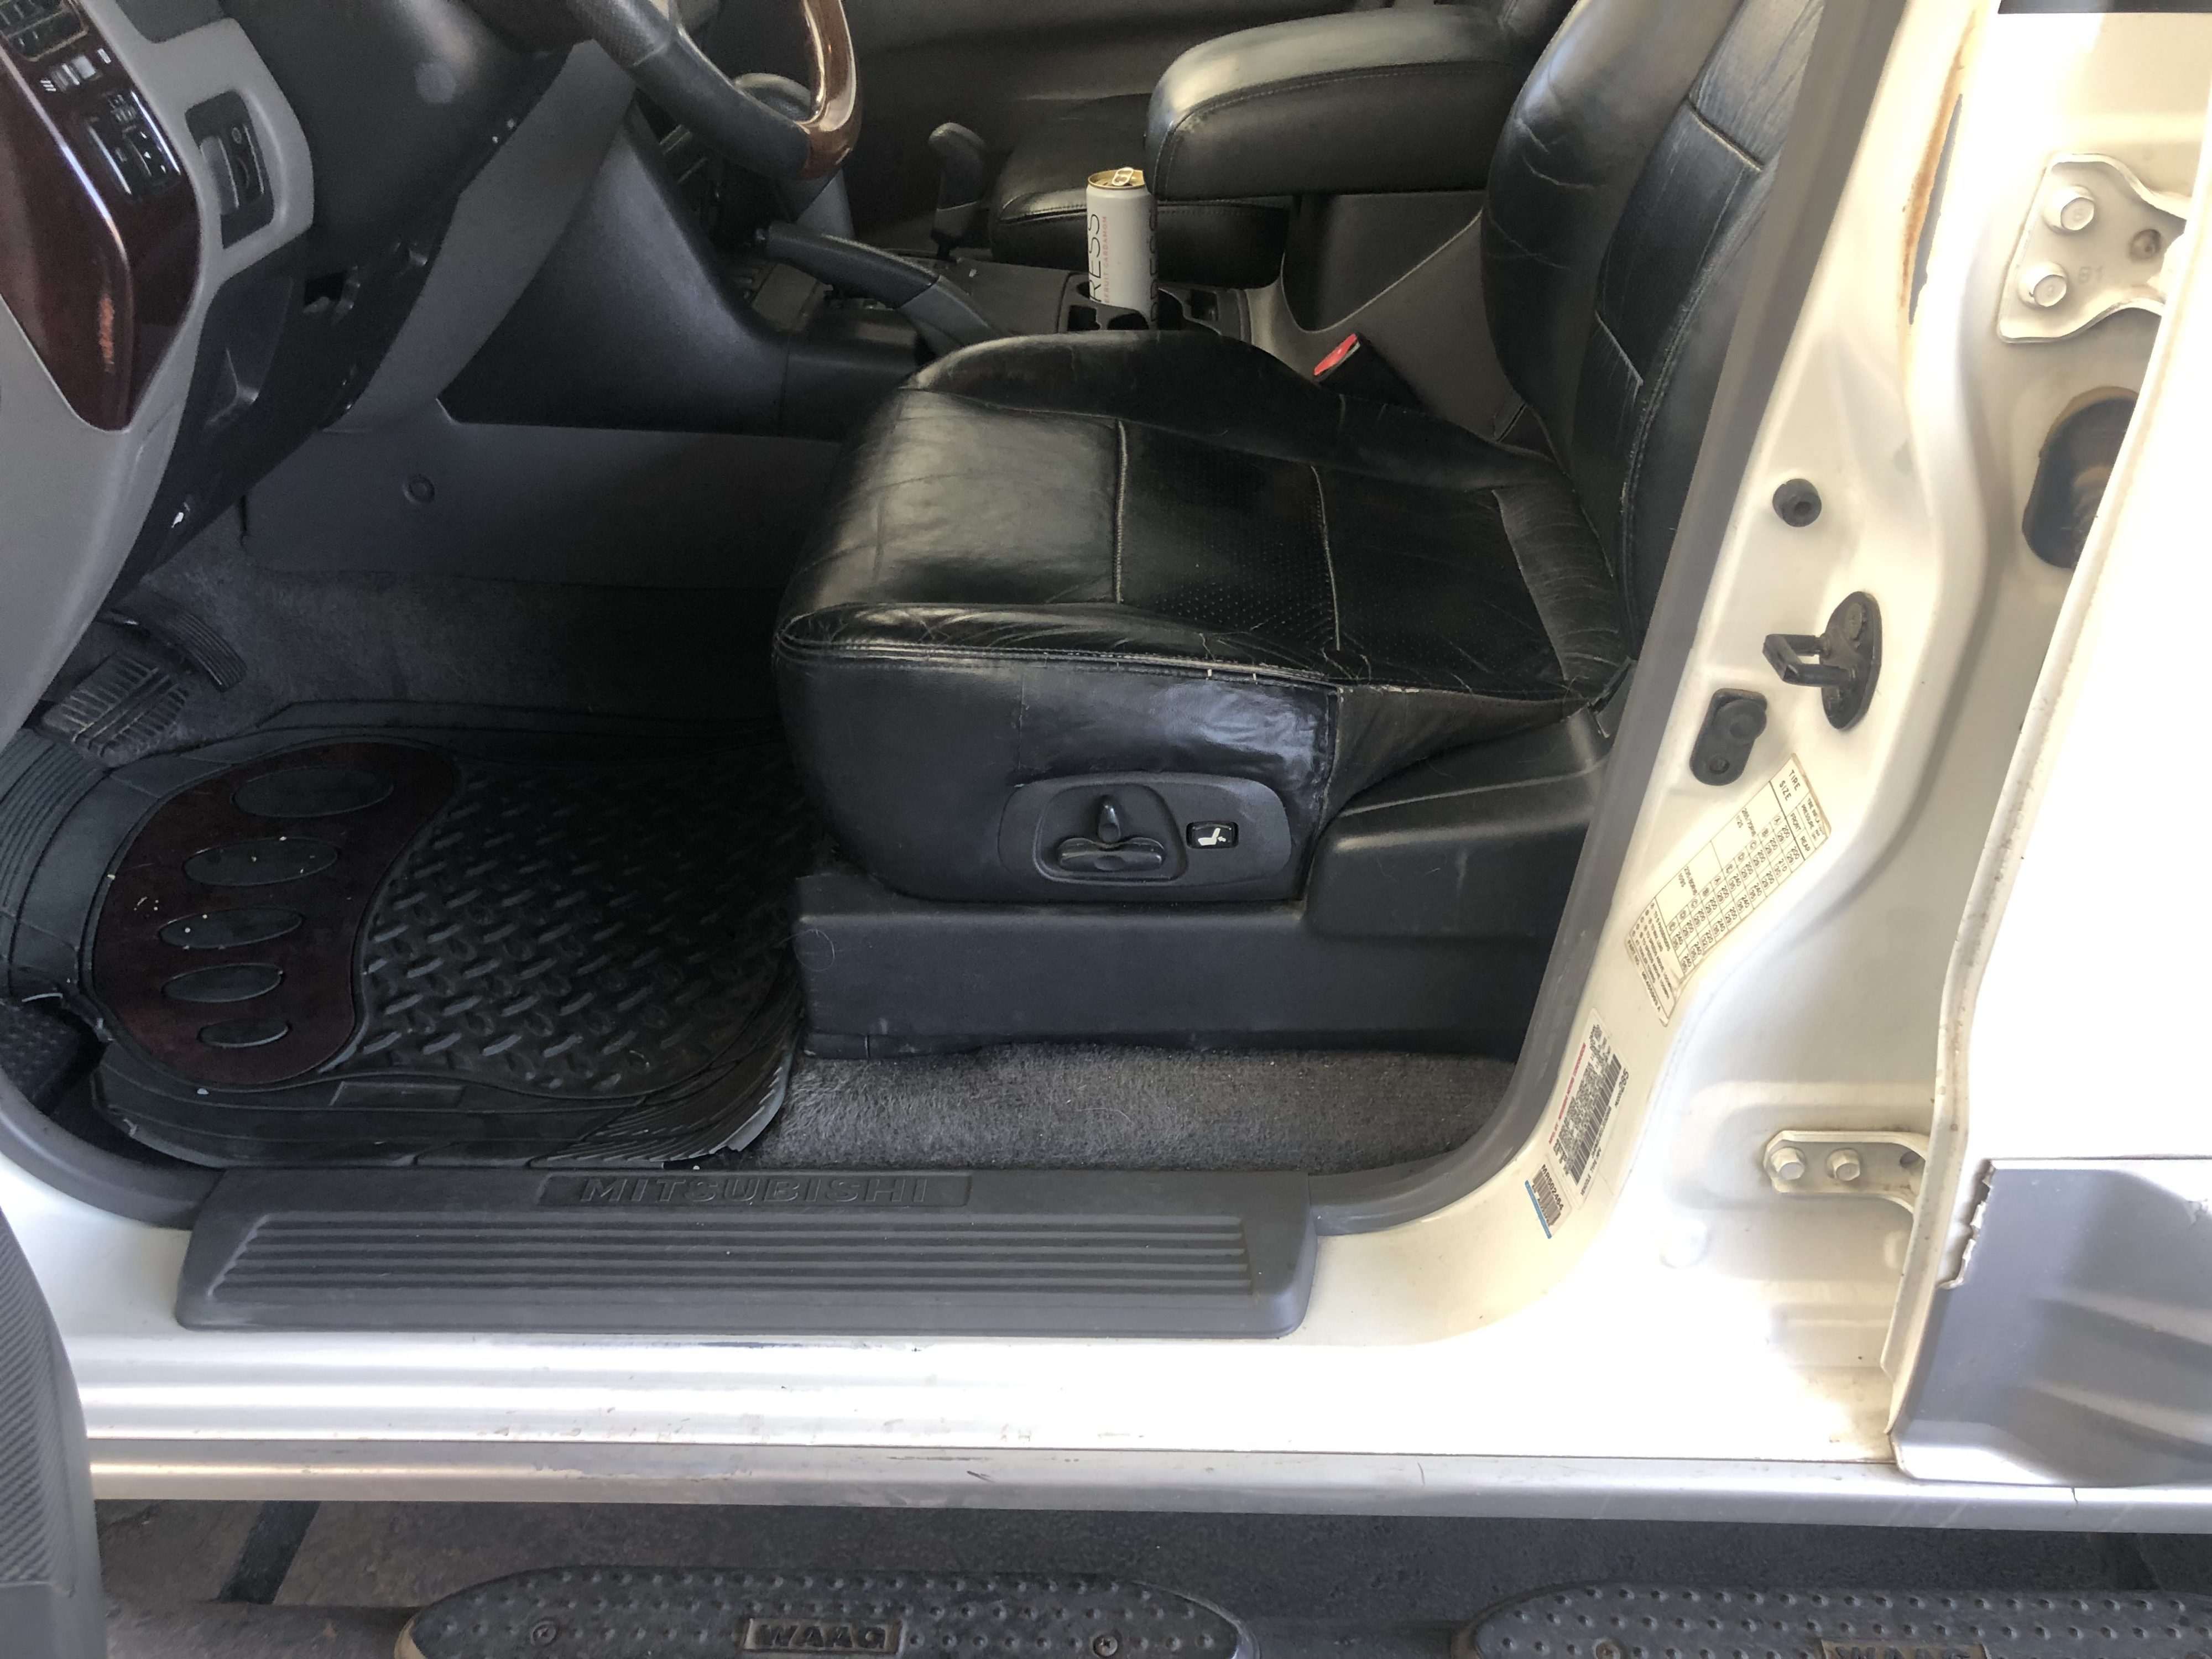
Third generation Mitsubishi Montero/Pajero models with leather seats have a very common wear point: the left side of the driver’s seat. Every Montero I’ve seen either has a tear in that spot or has already had it repaired. Professional reupholstery will look fantastic, but costs hundreds of dollars. In this guide, I’ll explain how you can repair this common tear on a budget.
Supplies
To perform this repair, you will need the following:
- Degreaser cleaner
- Vinyl repair adhesive
- Scissors
- A sharp utility knife or X-acto knife
- New vinyl
For the new vinyl (or “pleather”), I recommend going to a local fabric store. Take off your headrest and bring it with you inside the store, so you can find vinyl that matches well. You can order vinyl online, but you’ll spend more money and it will be much harder to find a good match.
Buy a lot more vinyl than you actually need. If it comes in yard-wide rolls, then buy at least a foot in length. This will give you lots of material to work with if you mess things up and should still cost less than $10.
Preparation
As you can see in the photos, I did my repair with the seat out of the vehicle. I did that because I bought an entirely new seat from a pick-and-pull junk yard and hadn’t yet installed it. You do not need to remove your seat to do this, though it may make it slightly easier to work with. If you do remove the seat, it is just four bolts/nuts and the power seat connections holding it in place.
Start by using a diluted degreaser and a clean towel to thoroughly clean the upholstery around the tear. You need to remove all of the dirt and grime in order for the vinyl adhesive to stick well later.
If there is any lose, crumbling foam padding, then you should remove the bits that are coming off. The idea is to get a clean starting point.
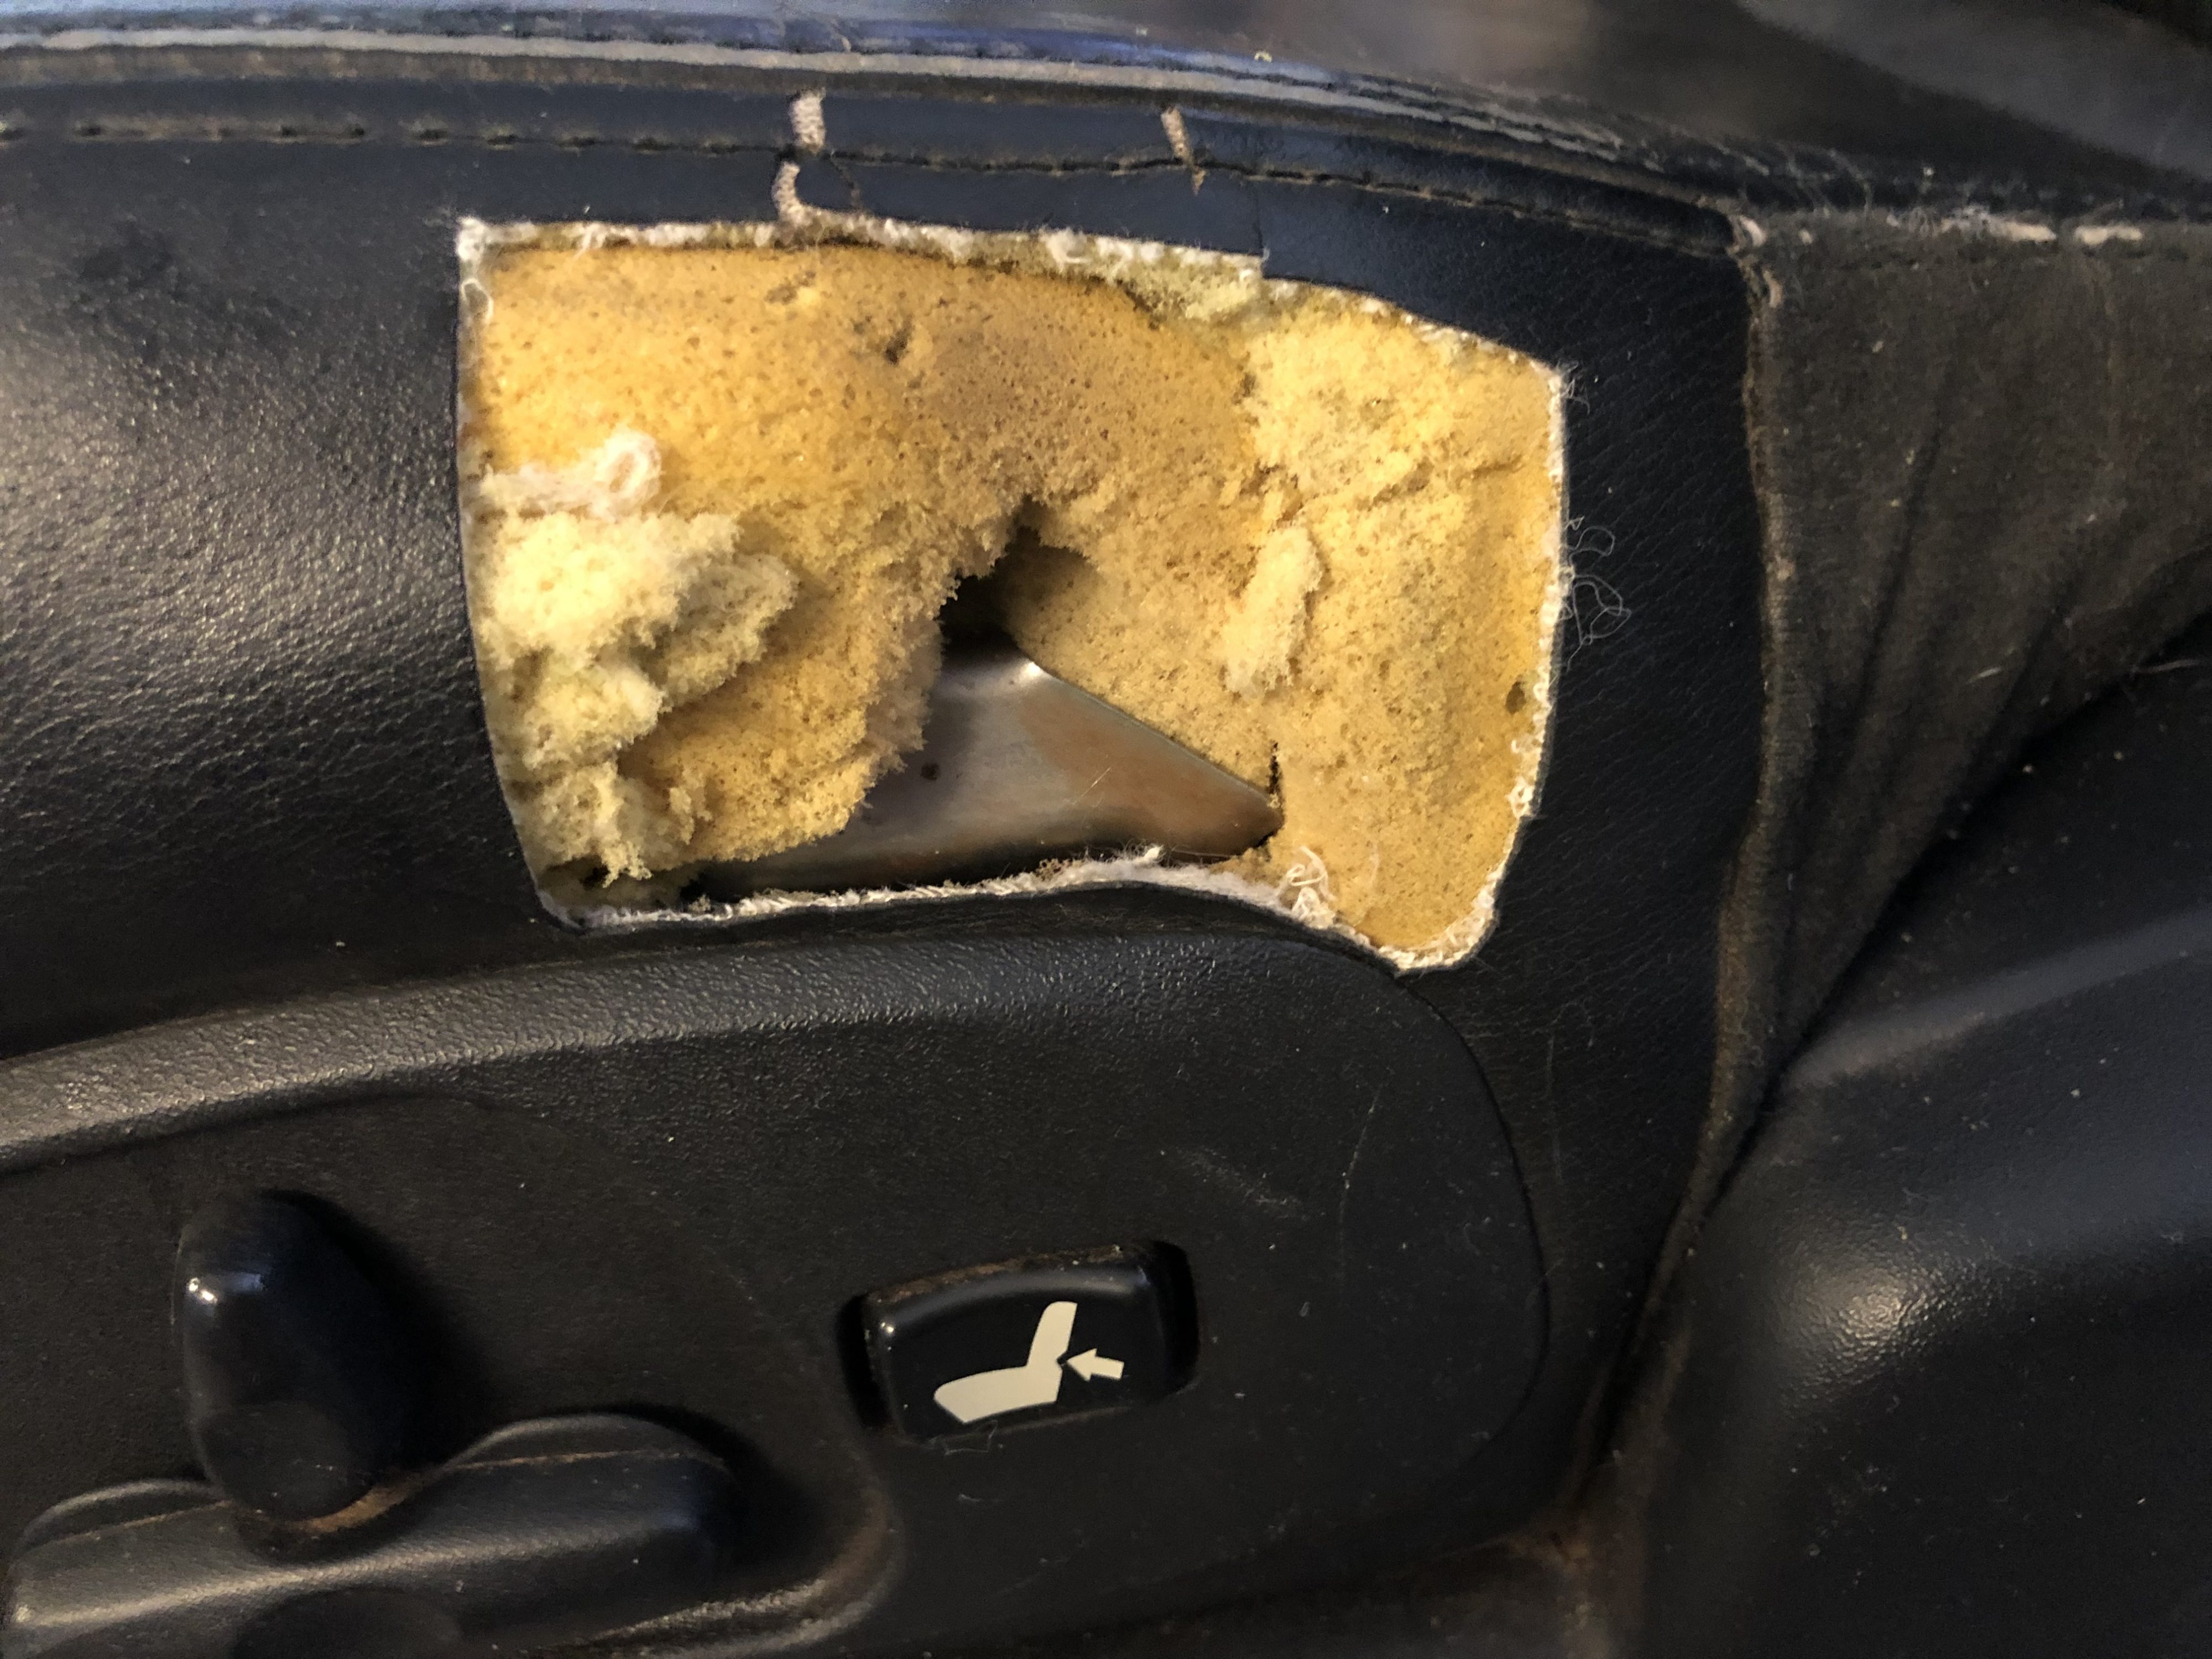
In that same vein, use your scissors or knife to cut a rectangle around the tear. You want straight, clean edges instead of the jagged natural tear. Don’t remove more material than necessary. Just enough that you have a straight-edged rectangle.
The repair
Using your new vinyl material, cut two rectangles of material. The first (inner) rectangle should be about an inch larger than the opening on the seat, on all sides. That inch will give you plenty of surface area for the glue.
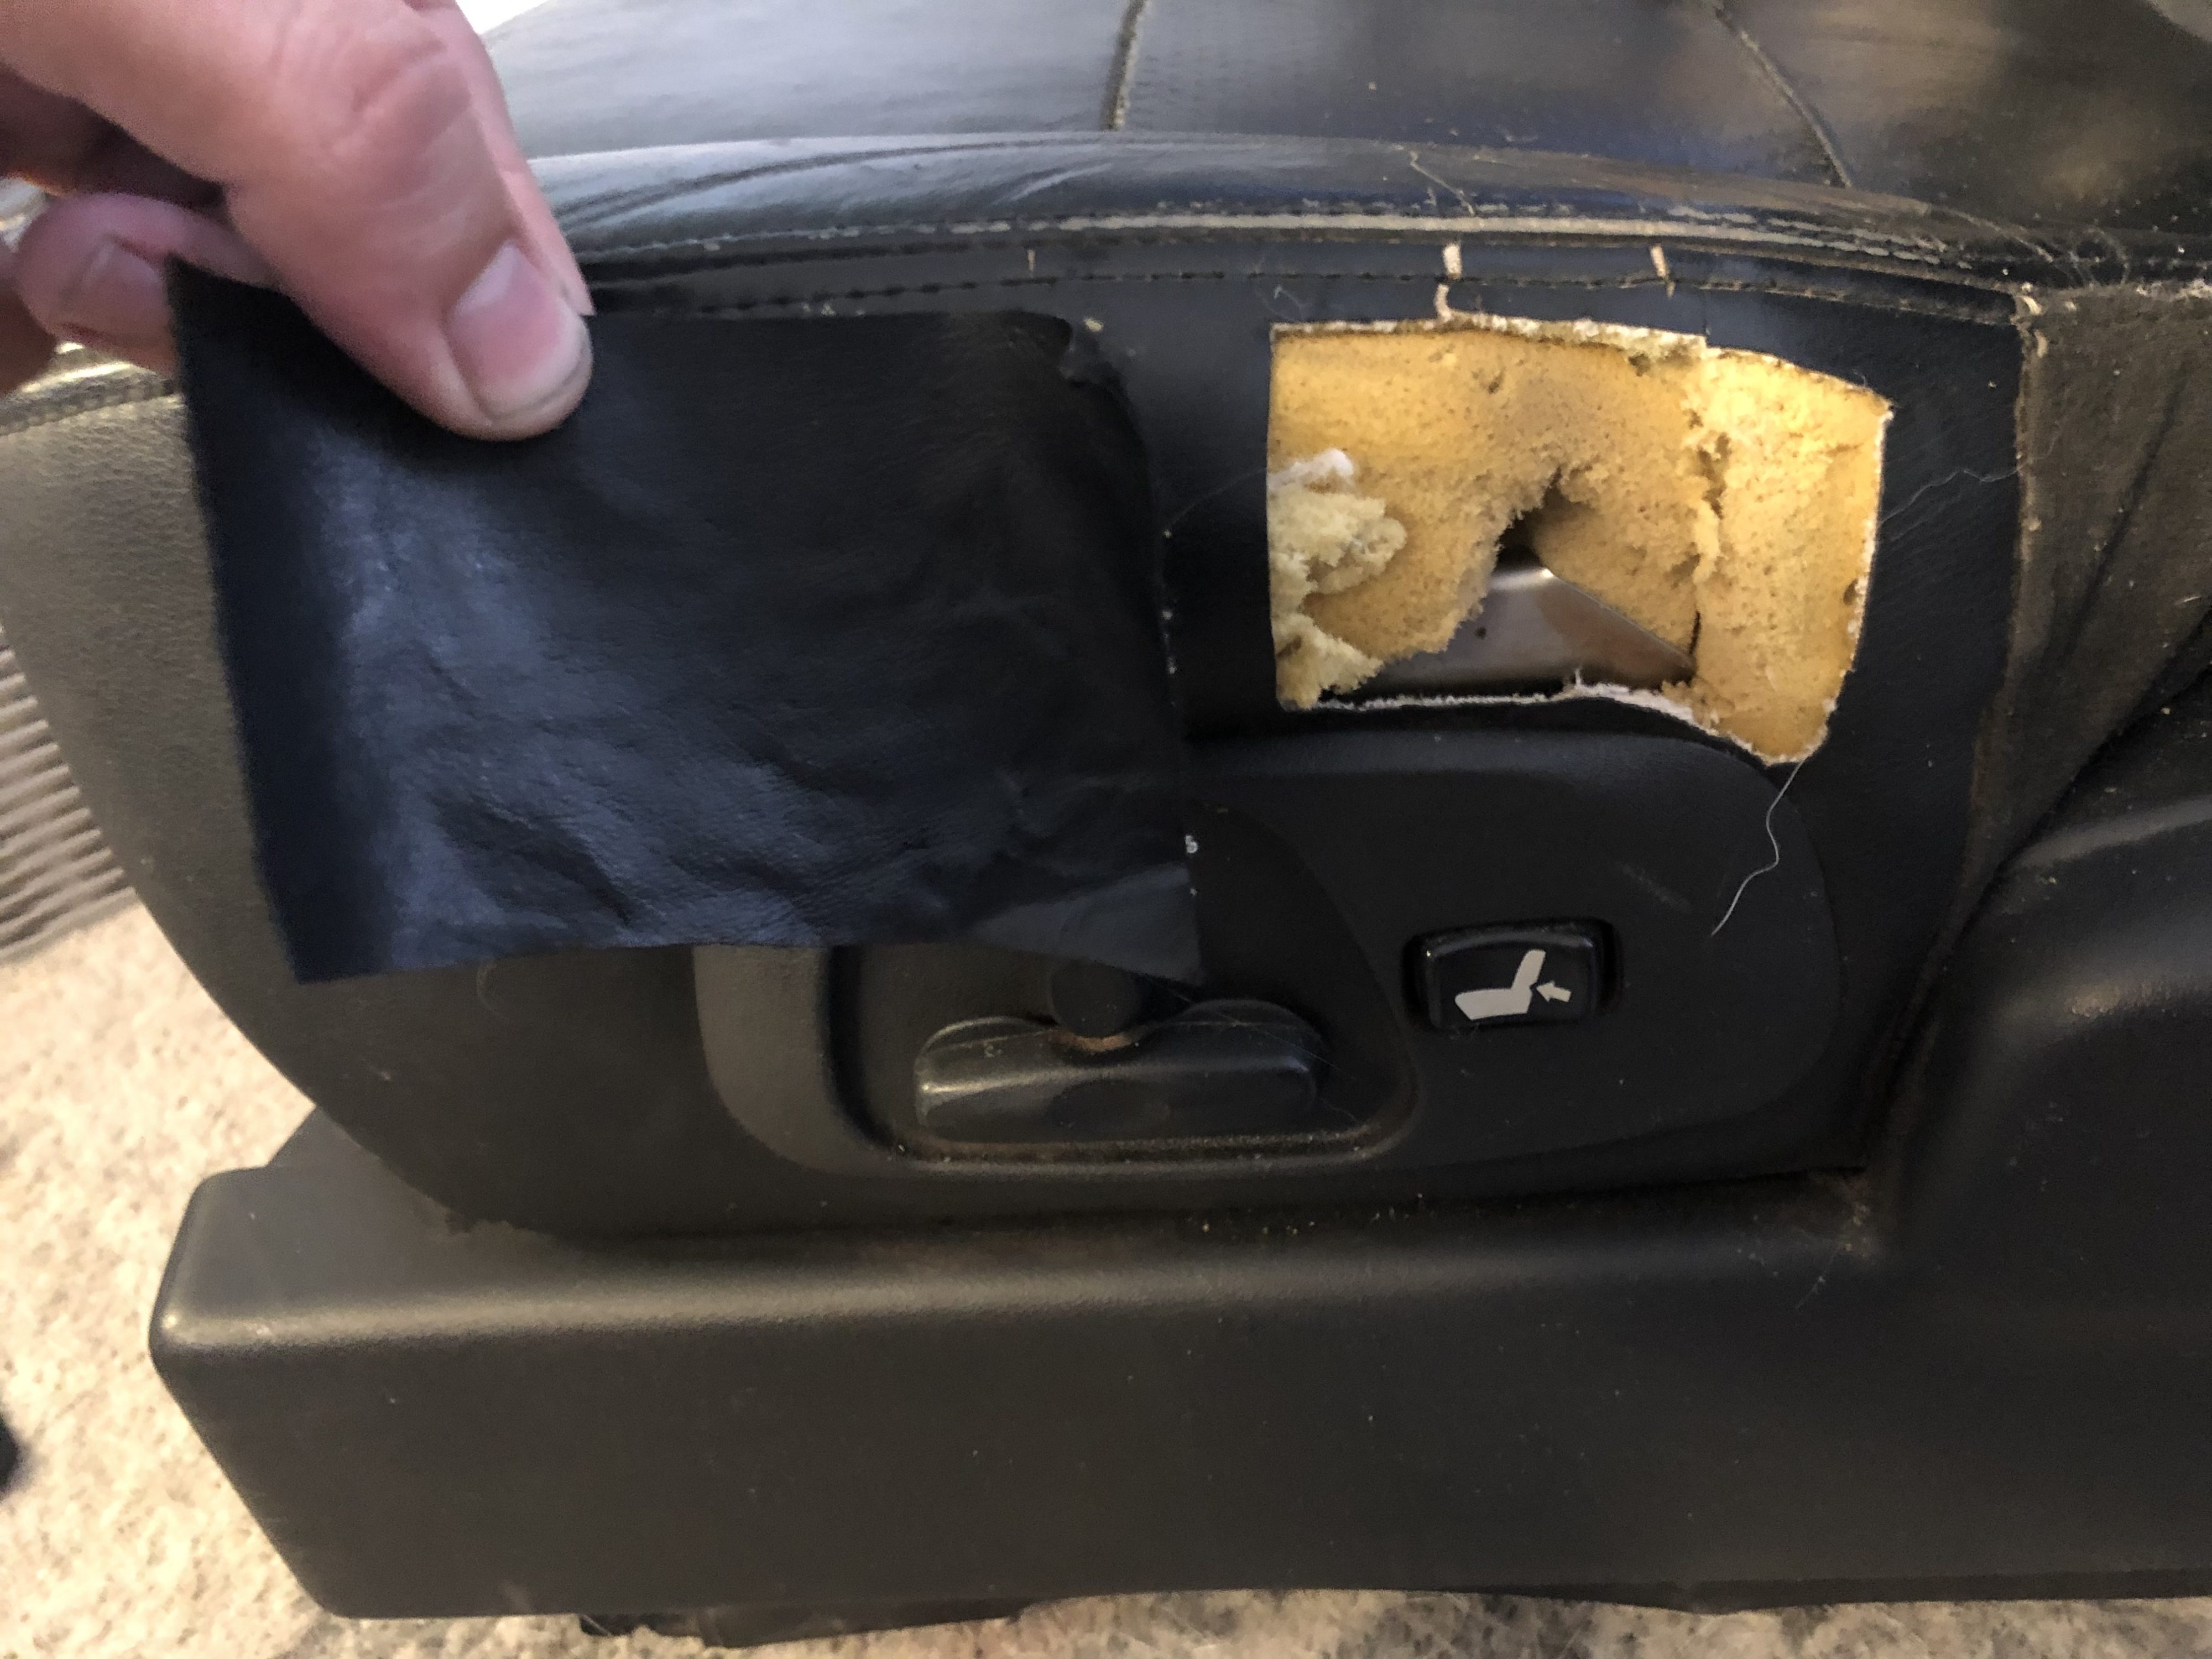
Your second (outer) rectangle of new material will probably be a little larger than that. This is what will be visible, so try to make it so the edges will line up with seams in the original upholstery. As you can see, my outer rectangle isn’t actually a rectangle at all. The bottom edge has a substantial curve to it. That was to hide the edges as much as possible.
Get your glue ready, then carefully put the inner rectangle inside the seat (under the original upholstery). Smooth it out as much as you can, so it isn’t bunching up. Then apply glue to that inch overlap. You don’t need a lot of glue, but enough that the whole overlapping surface gets coverage.
While the glue is still wet, adjust the new material placement if necessary. Avoid getting any glue on the outer surfaces of the upholstery. Give the glue 20-30 minutes to set.
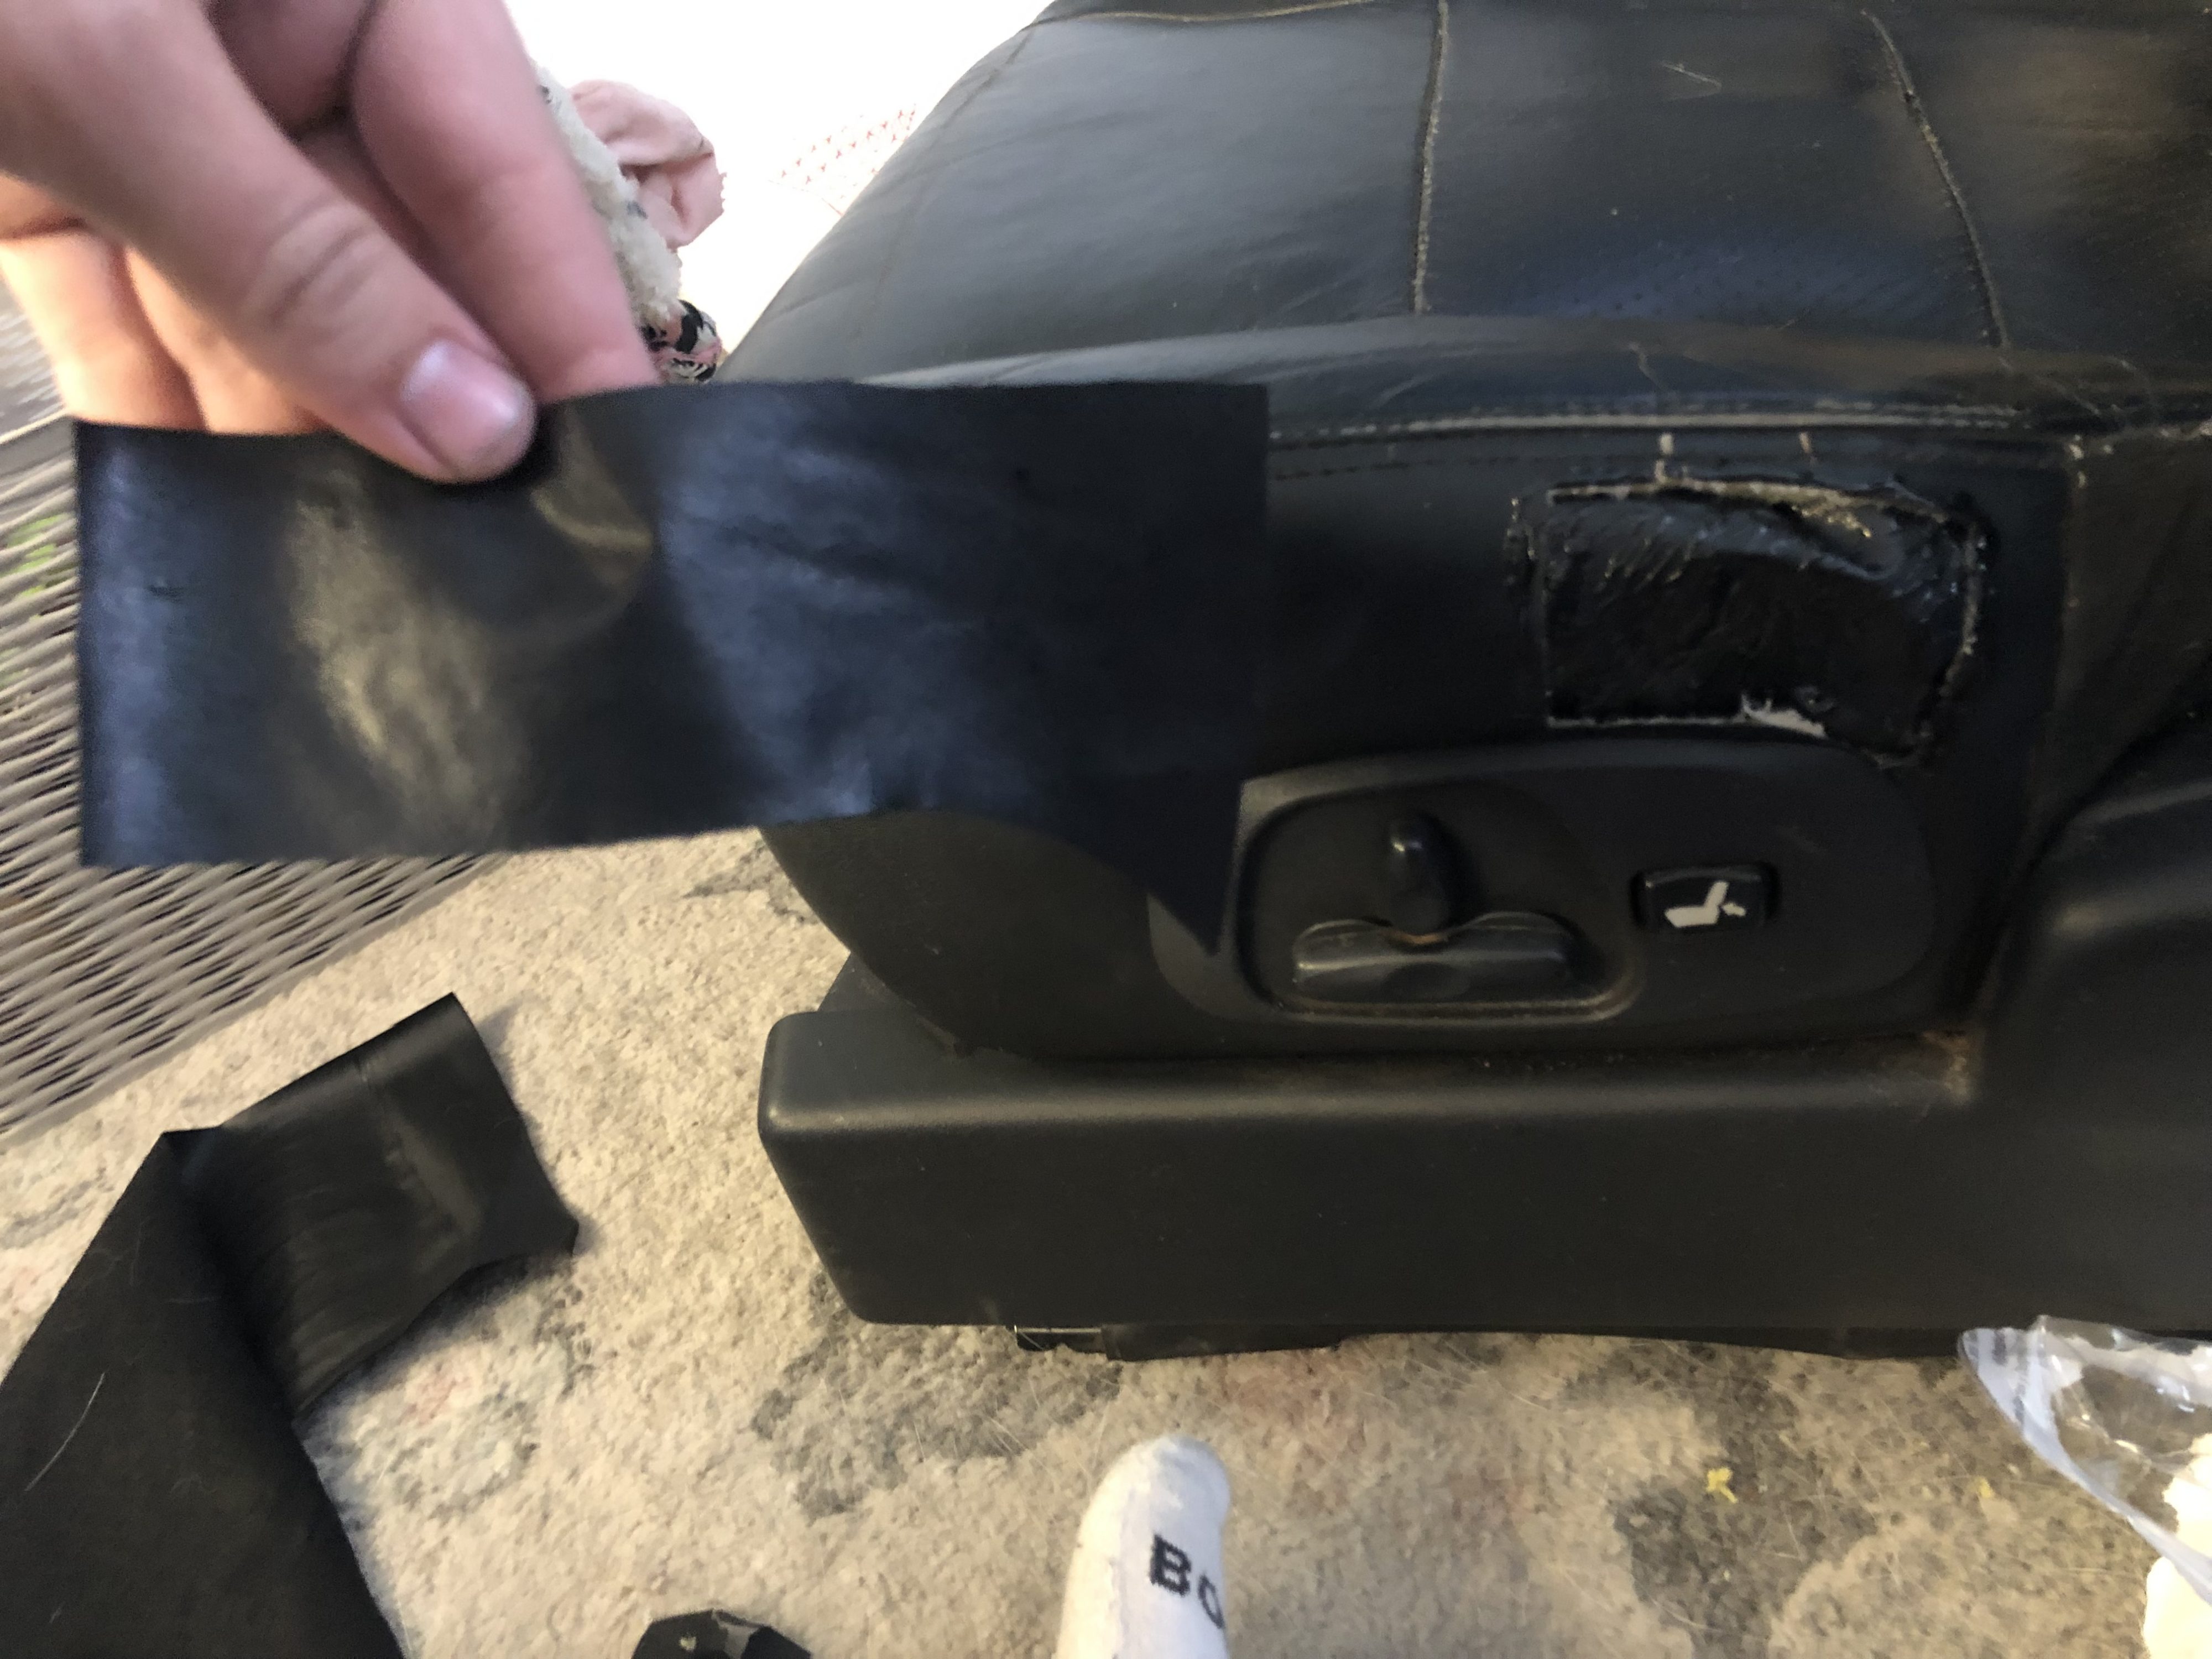
Double-check to make sure your outer patch material will lay nicely, then cover its back side with a thin layer of glue. Immediately place the patch over both the original upholstery and the new inner material. As the glue dries, smooth out the outer patch so there are no wrinkles.
When that glue dries, go back and makes sure all of the edges of the outer patch are flush and that you don’t have any edges pulling up. If you do, use a small amount of glue to keep the outer edges done.
That’s it!
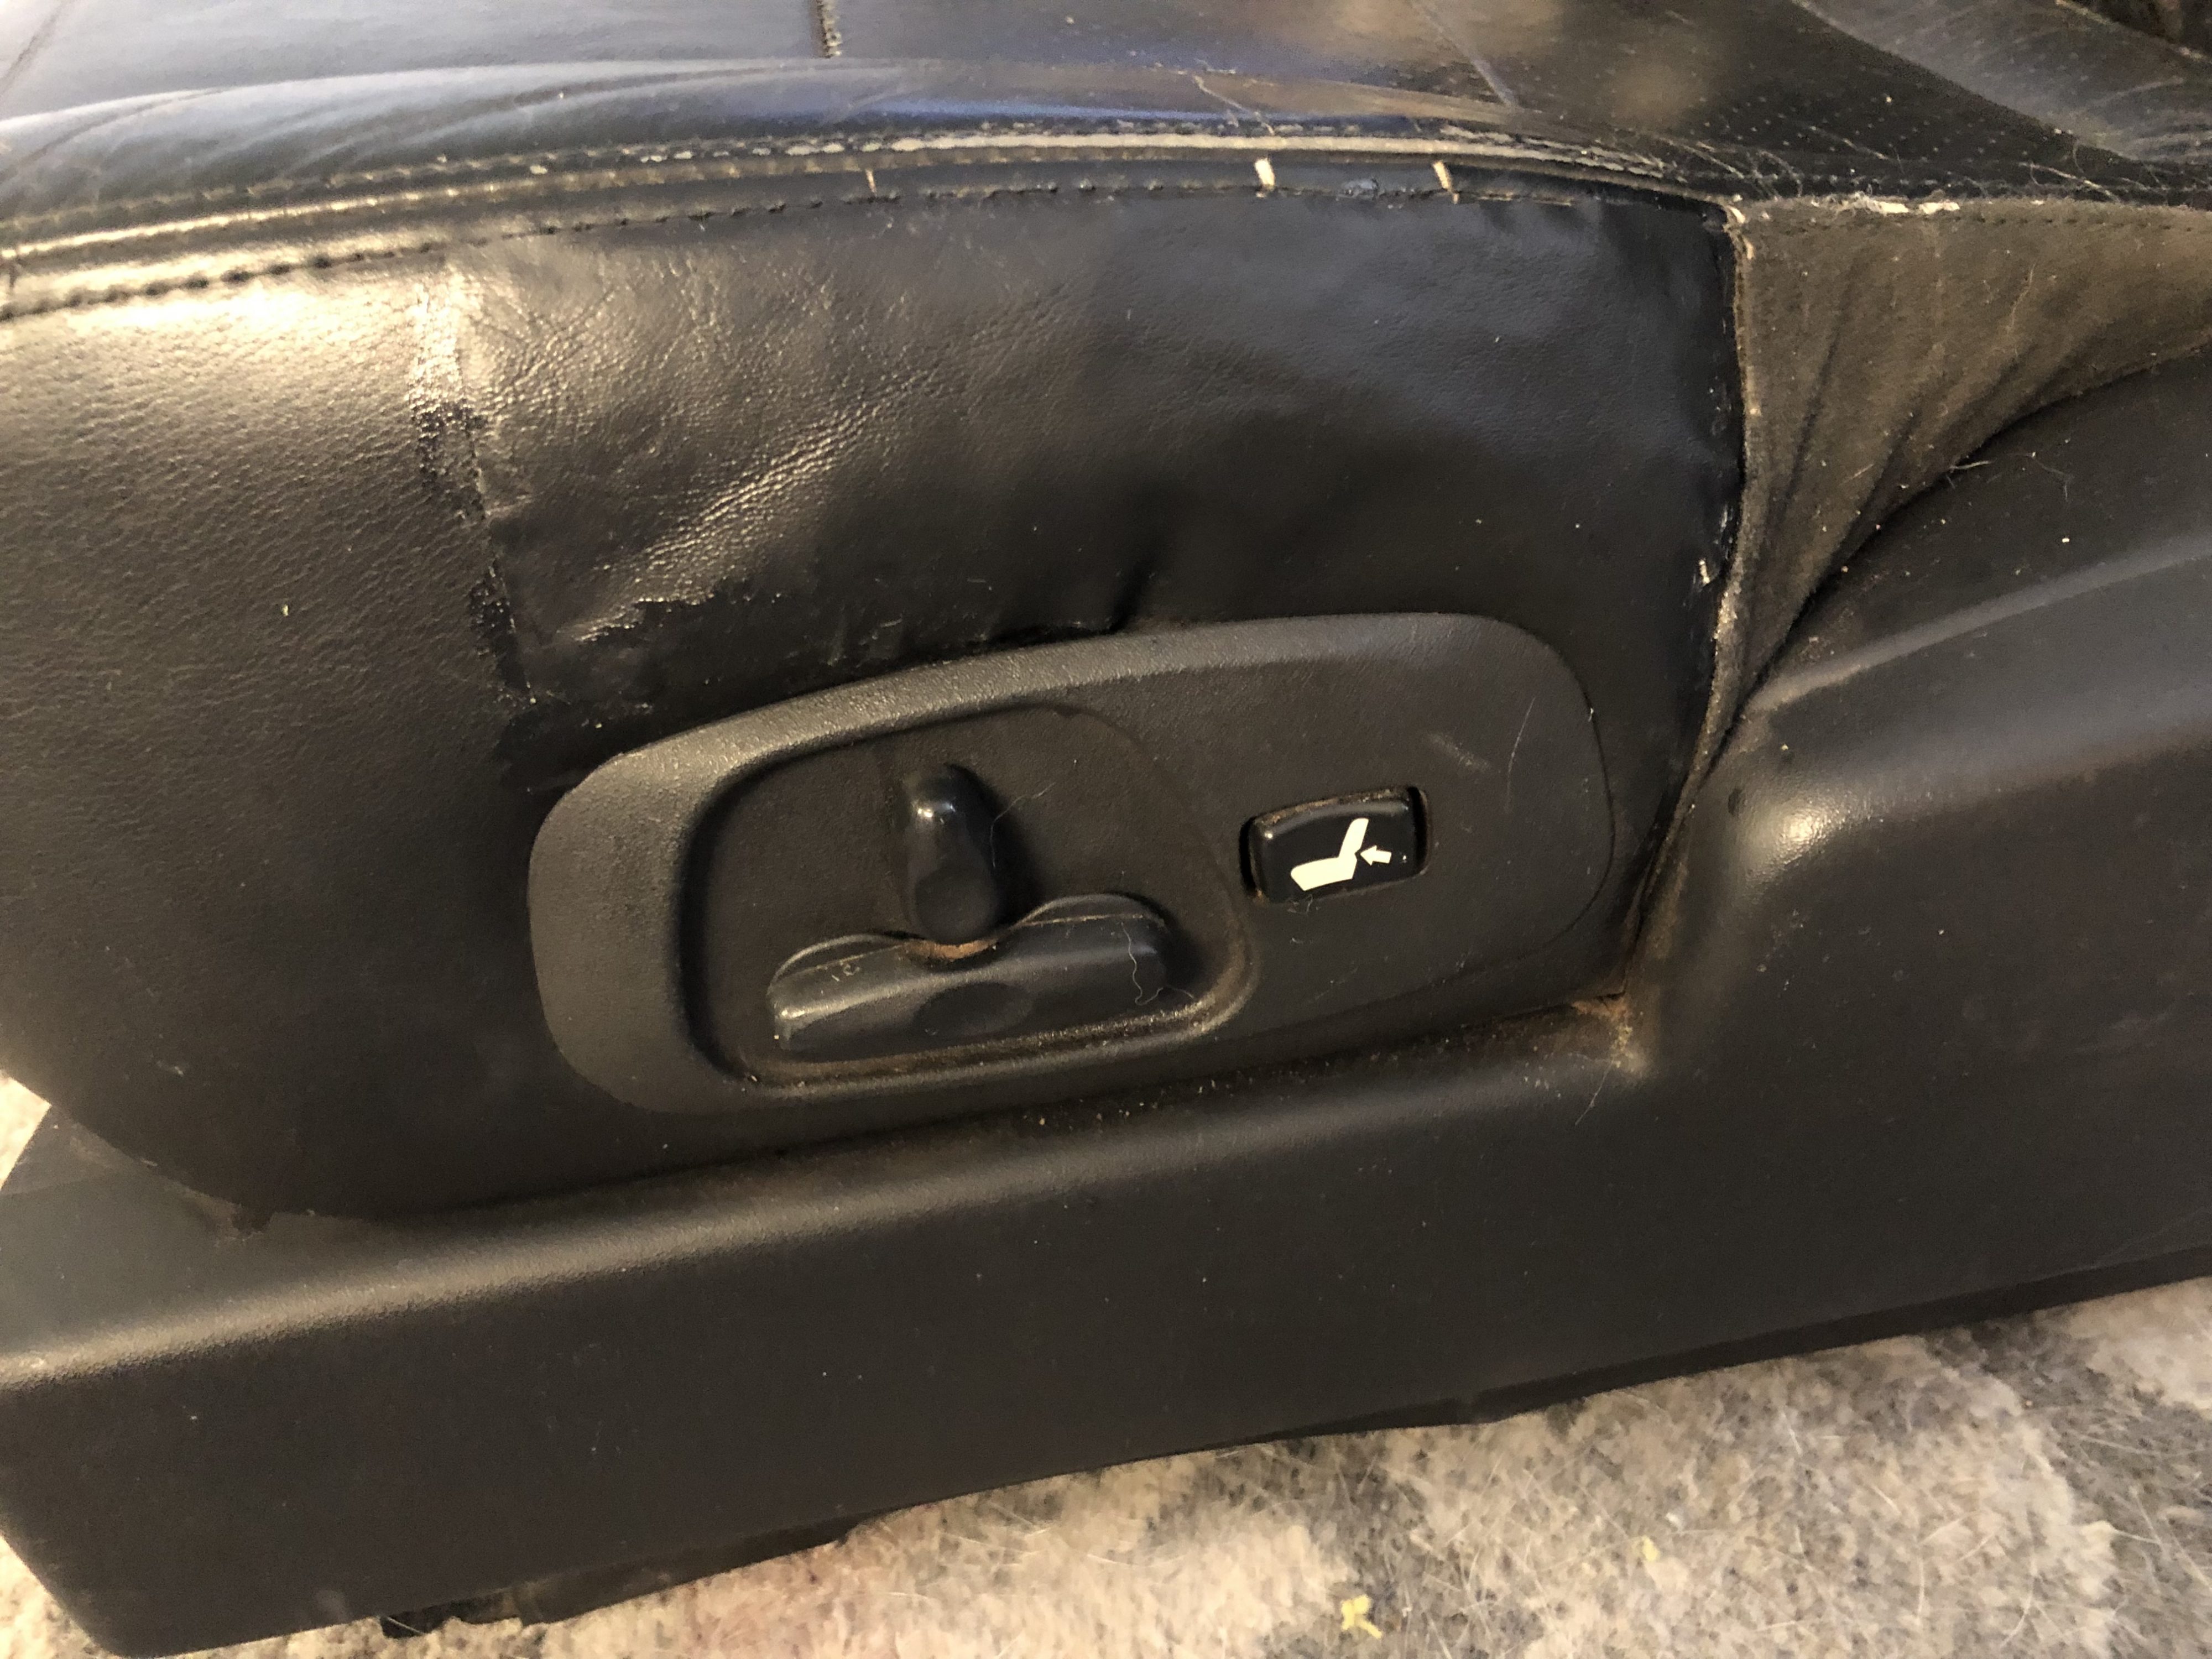
As you can see, mine turned out pretty well. It is visible, but it is only noticeable if you are looking for it. Even when you do see it, it looks decent.
I’ve had mine done for a few weeks now and haven’t noticed any issues. It hasn’t peeled or anything.
This is a cheap repair, but it still looks a million times better than a tear with foam visible.
Leave a Reply