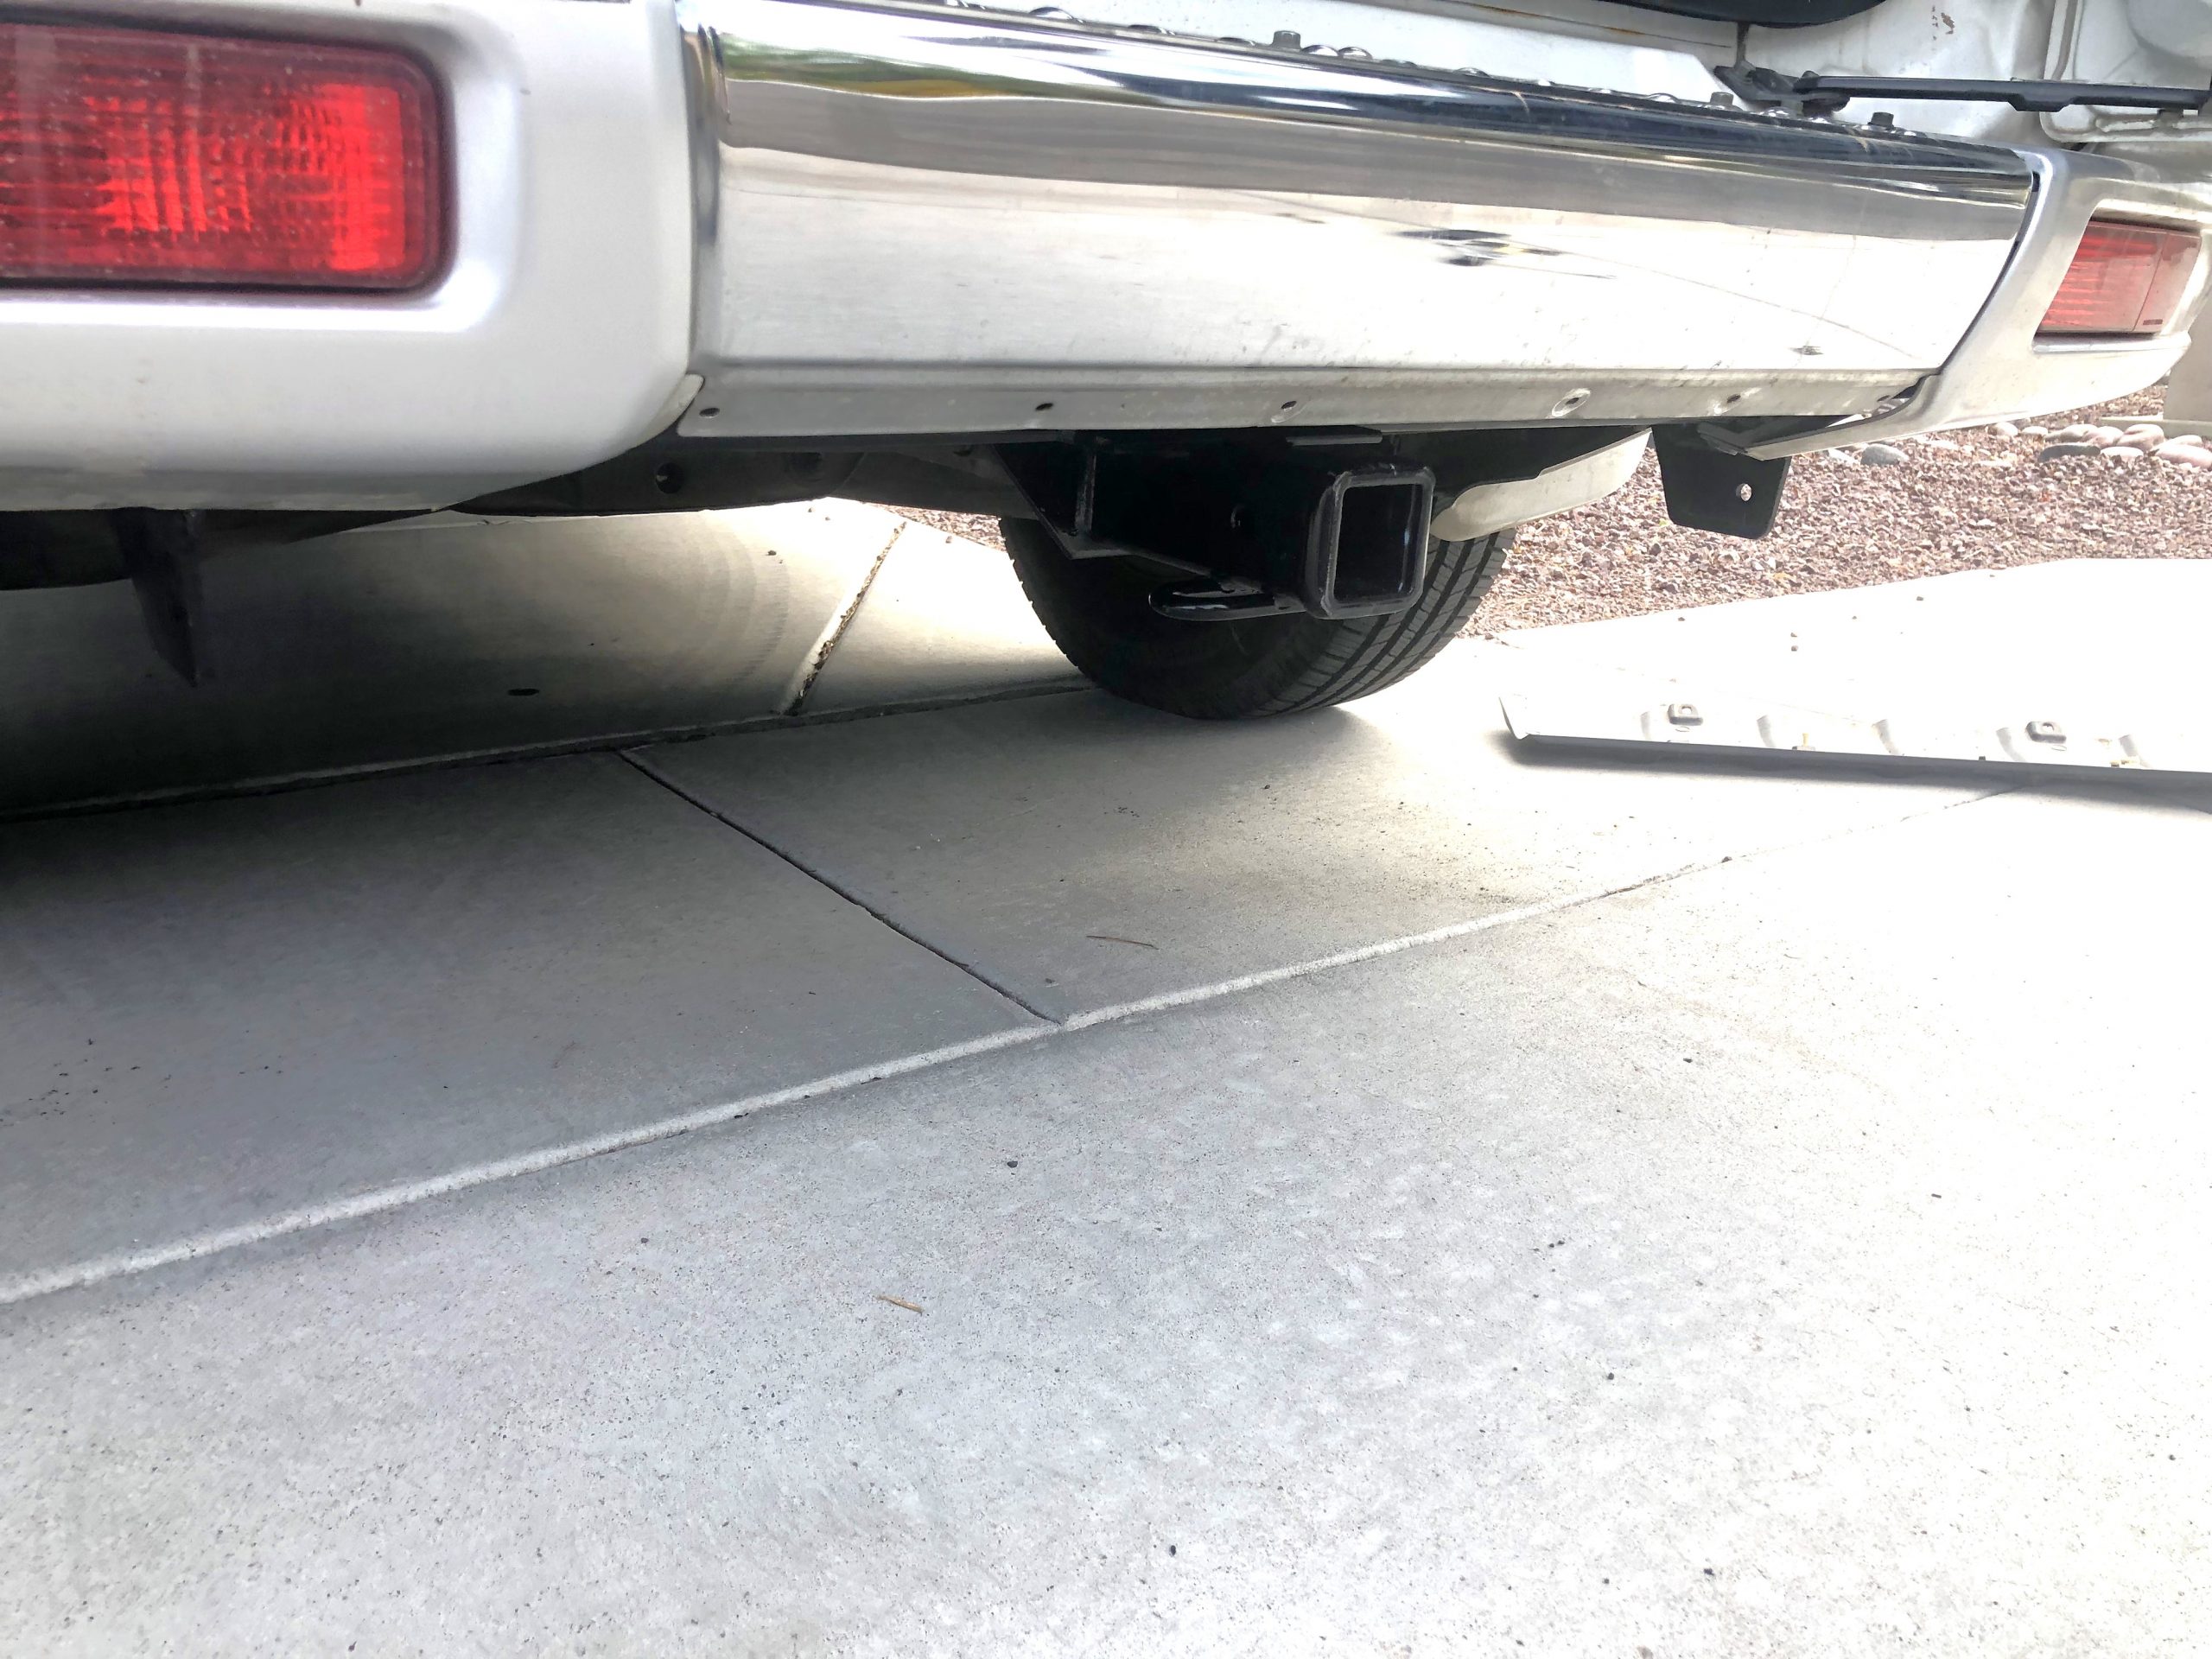
All of the trailer hitch options currently available for third generation Mitsubishi Monteros/Pajeros reduce ground clearance below the bumper by quite a lot. The Montero’s departure angle is already less than ideal, so making it worse with a trailer hitch is unacceptable. Still, some of us need to tow.

To help the situation, I modified a new Curt trailer hitch for my 3rd gen Montero. This gained me about 2.5 inches of ground clearance below the receiver tube, with the tube tucked up just below the bumper. In this guide, I’ll explain how you can perform a similar modification.
Disclaimer: I am not responsible if you hurt yourself performing this modification, if you waste your money ruining the hitch, or if it falls apart and causes your trailer to come off and kill a family in a minivan behind you on the highway. This requires proper welding and you shouldn’t attempt it if you don’t have a lot of welding experience.
Other people have done similar modifications, but some go about it in different ways. I chose to do what I felt was the simplest method: cutting the crossbar off of the upright mounts, then rewelding it 2.5″ higher up. This illustrates the basic idea:

The idea is straightforward. If you’re an experienced fabricator, you can probably figure out how to do it properly just by looking at that illustration. But I’ll go ahead and explain the whole process for people who want the full story and who want to avoid mistakes.
Supplies
- Curt trailer hitch
- Decent (powerful) angle grinder
- Cut-off wheels
- Low grit flap discs
- Paint marker
- Speed square
- Measuring tape
- Spray paint
- MIG welder
- (may need) 3-4″ inch square 3/16″ mild steel plate
Everything linked to above (aside from the hitch itself) is just a suggestion. If you prefer other brands, go ahead and use them.
I won’t get into the specifics of the welding here, because I can’t teach anyone how to weld properly in a short article like this. But you should be prepared for MIG welding on mild steel. Obviously your hitch needs to handle pulling the weight of a trailer, so it needs strong welds. This is not the time to try your hand at welding for the first time! Hire a pro if you need to.
Measurements
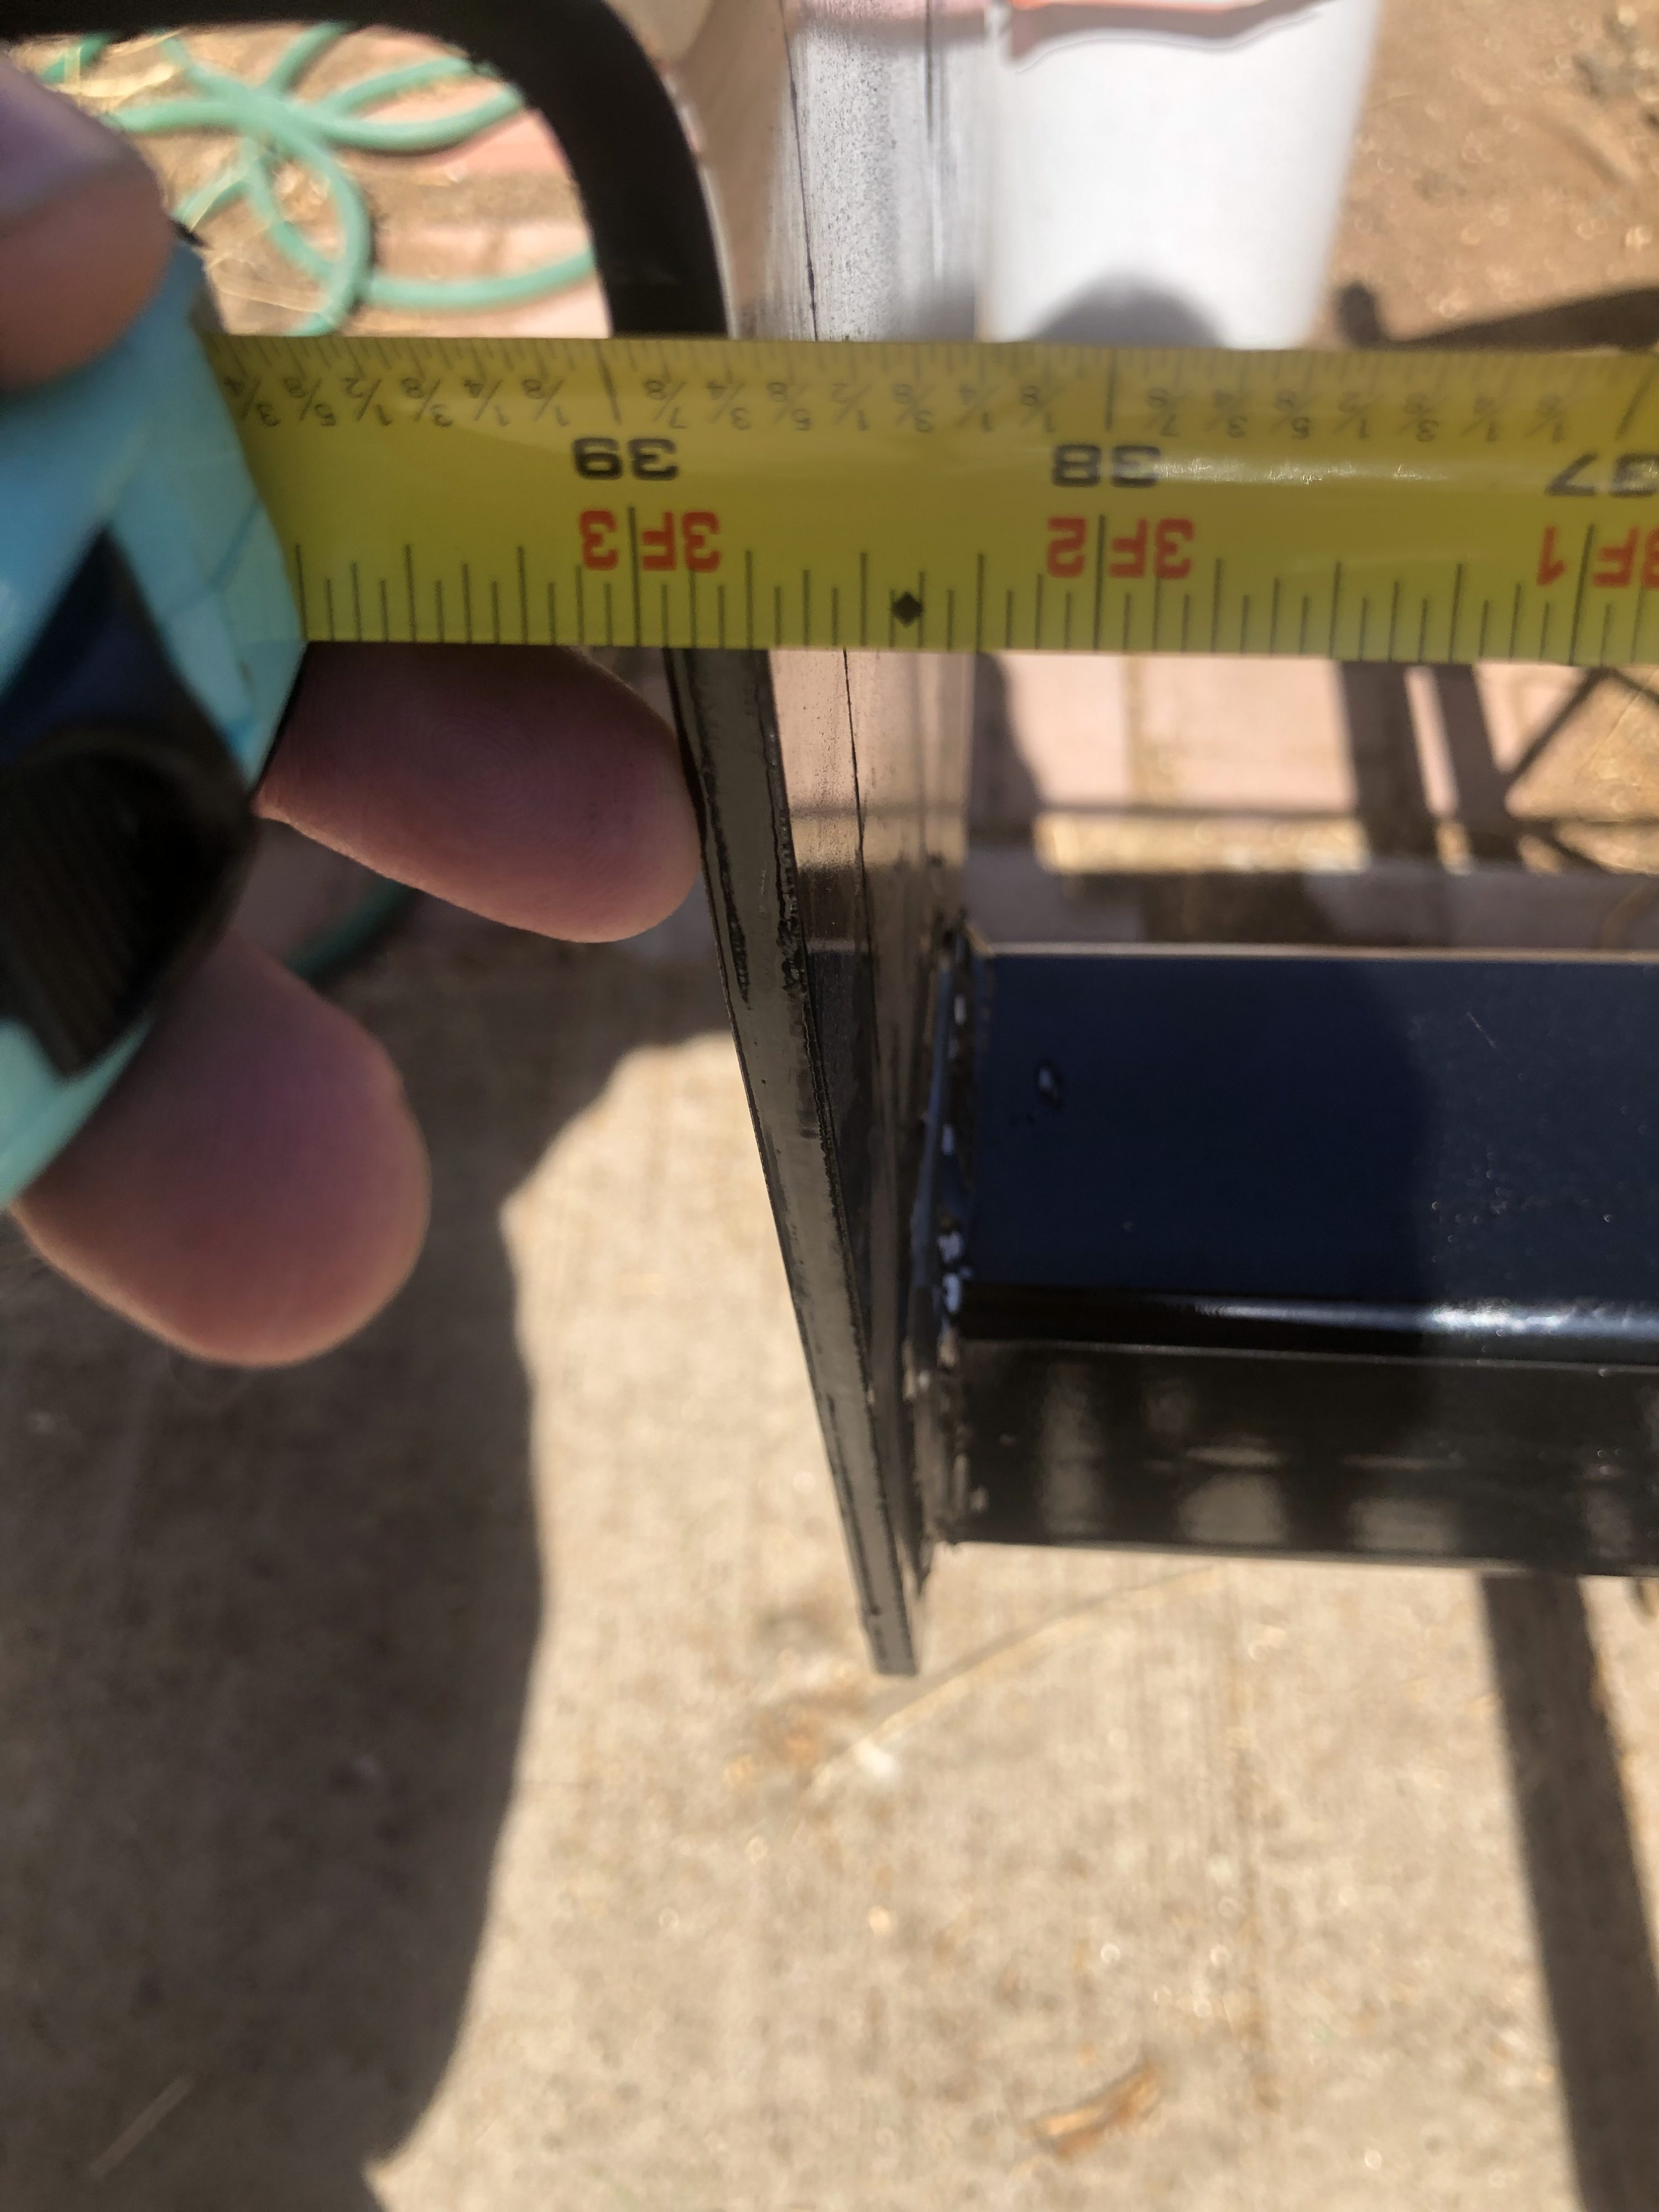
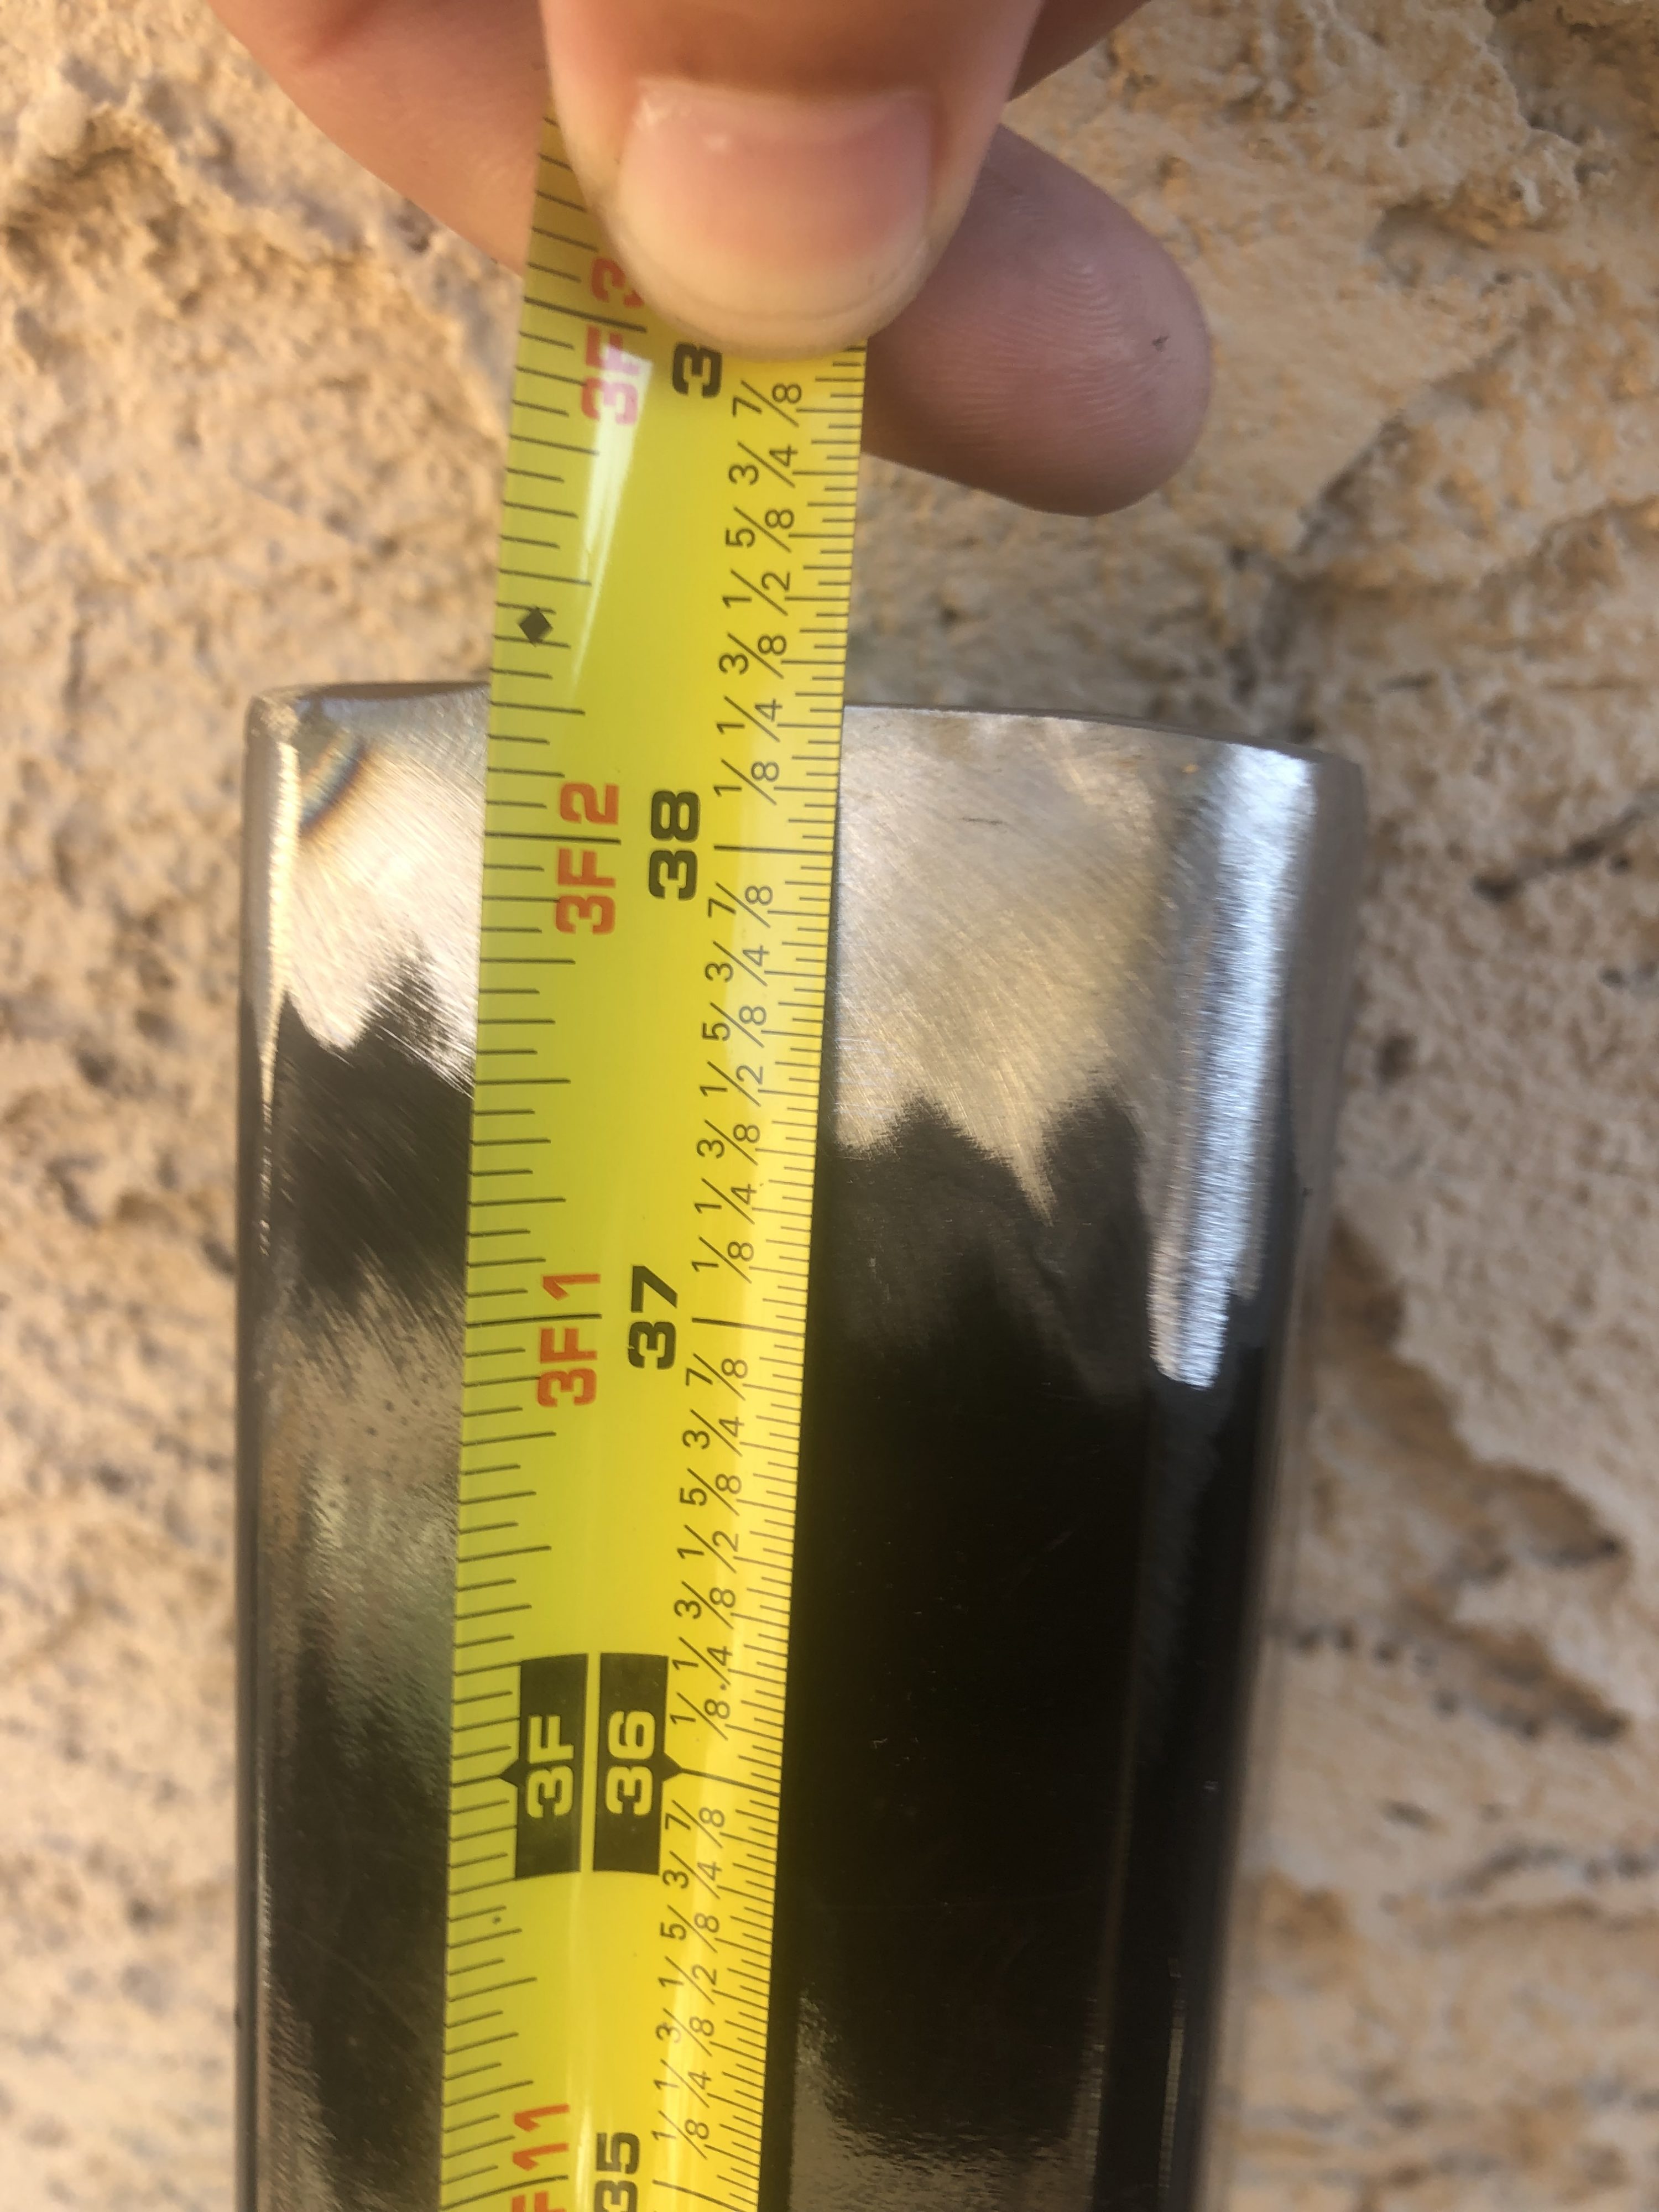
Before even looking at your cut-off wheels, you need to take thorough measurements. Later, when you weld the hitch back together, you will need to reference these measurements in order to make sure the hitch will actually bolt onto your truck. If you’re off by even 1/8″ in some places, it may not fit anymore.
A few things to note that should help:
- The two upright supports are parallel to each other, and perpendicular to the cross bar.
- The distance between the top of the upright supports (where the bolt holes are) to the top of the cross bar is equal on both sides.
- The cross bar does not need to move forward or backward at all, nor does it need to tilt. It just needs to move straight up by 2.5″.
I recommend that you take the following measurements, at bare minimum:
- Distance between upright supports (most important)
- Distance from top of upright supports to top of cross bar
- Forward/backward position of cross bar on the upright supports
It is also very helpful to use your speed square and your marker to draw guidelines before you start cutting. Those lines will be very helpful when you do your welding. If nothing else, draw vertical lines from the cross bar up.
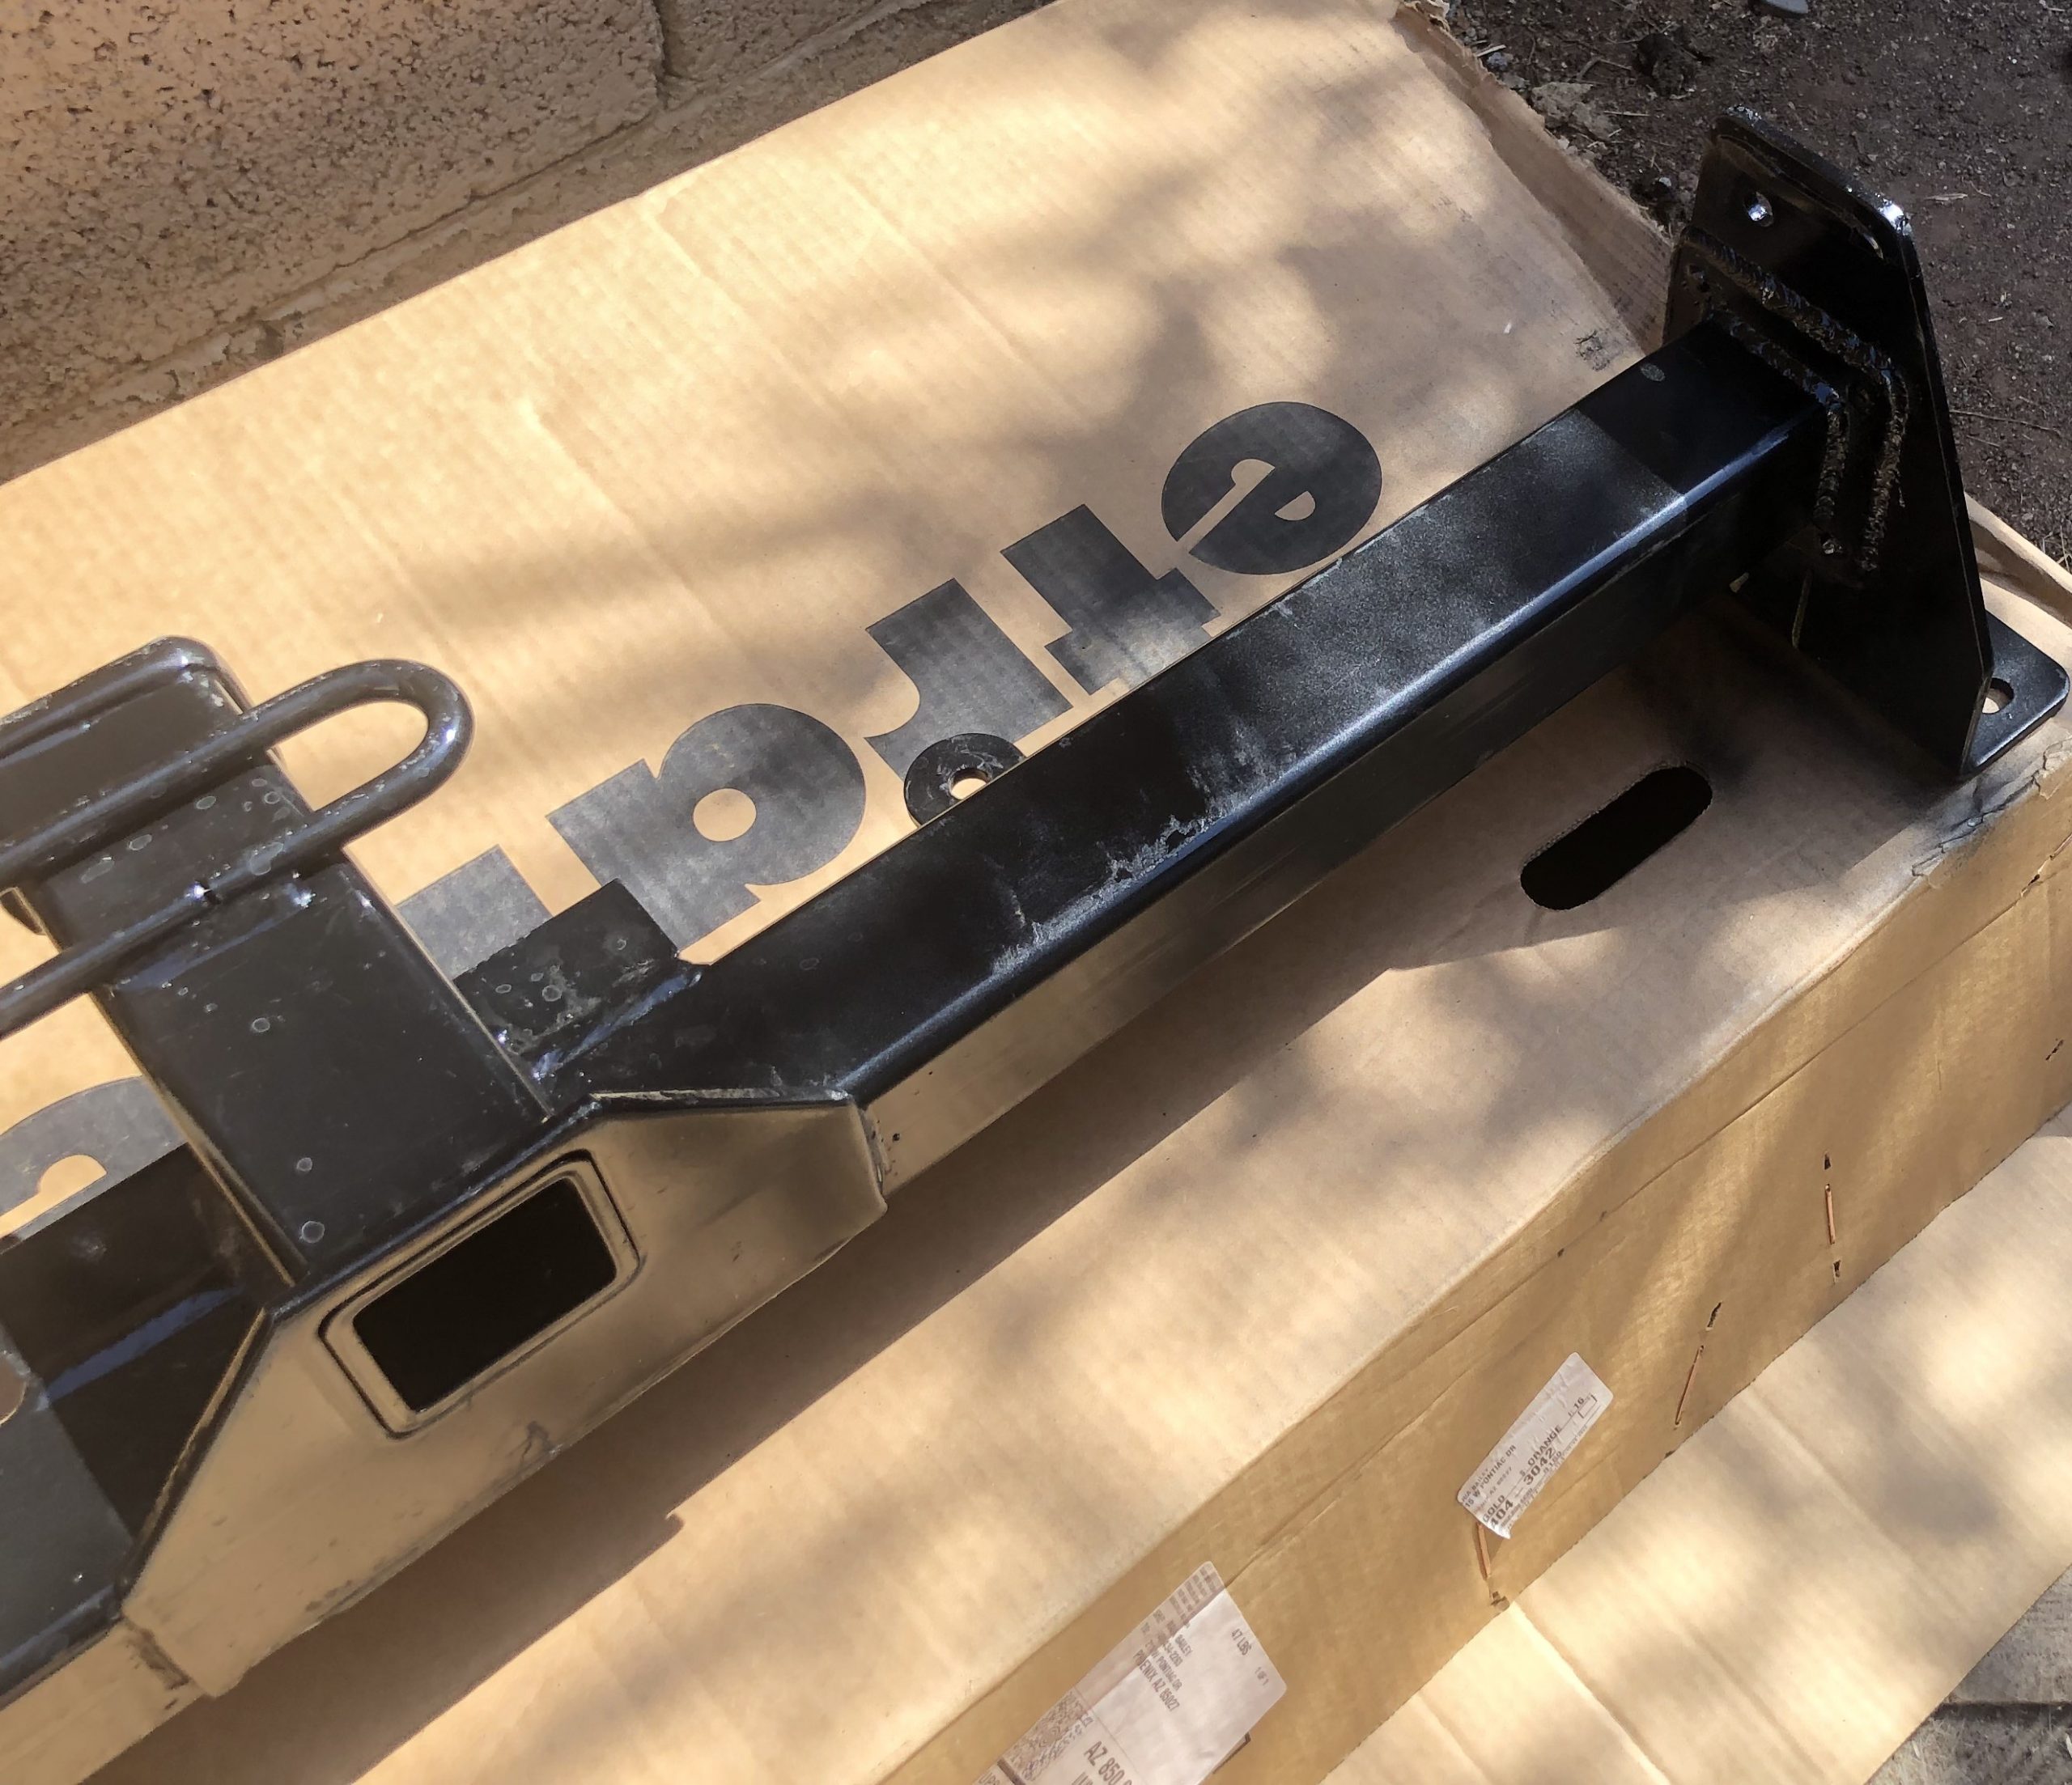
Cut the original welds
Put a cut-off wheel on your angle grinder, take a deep breath, and then start cutting.
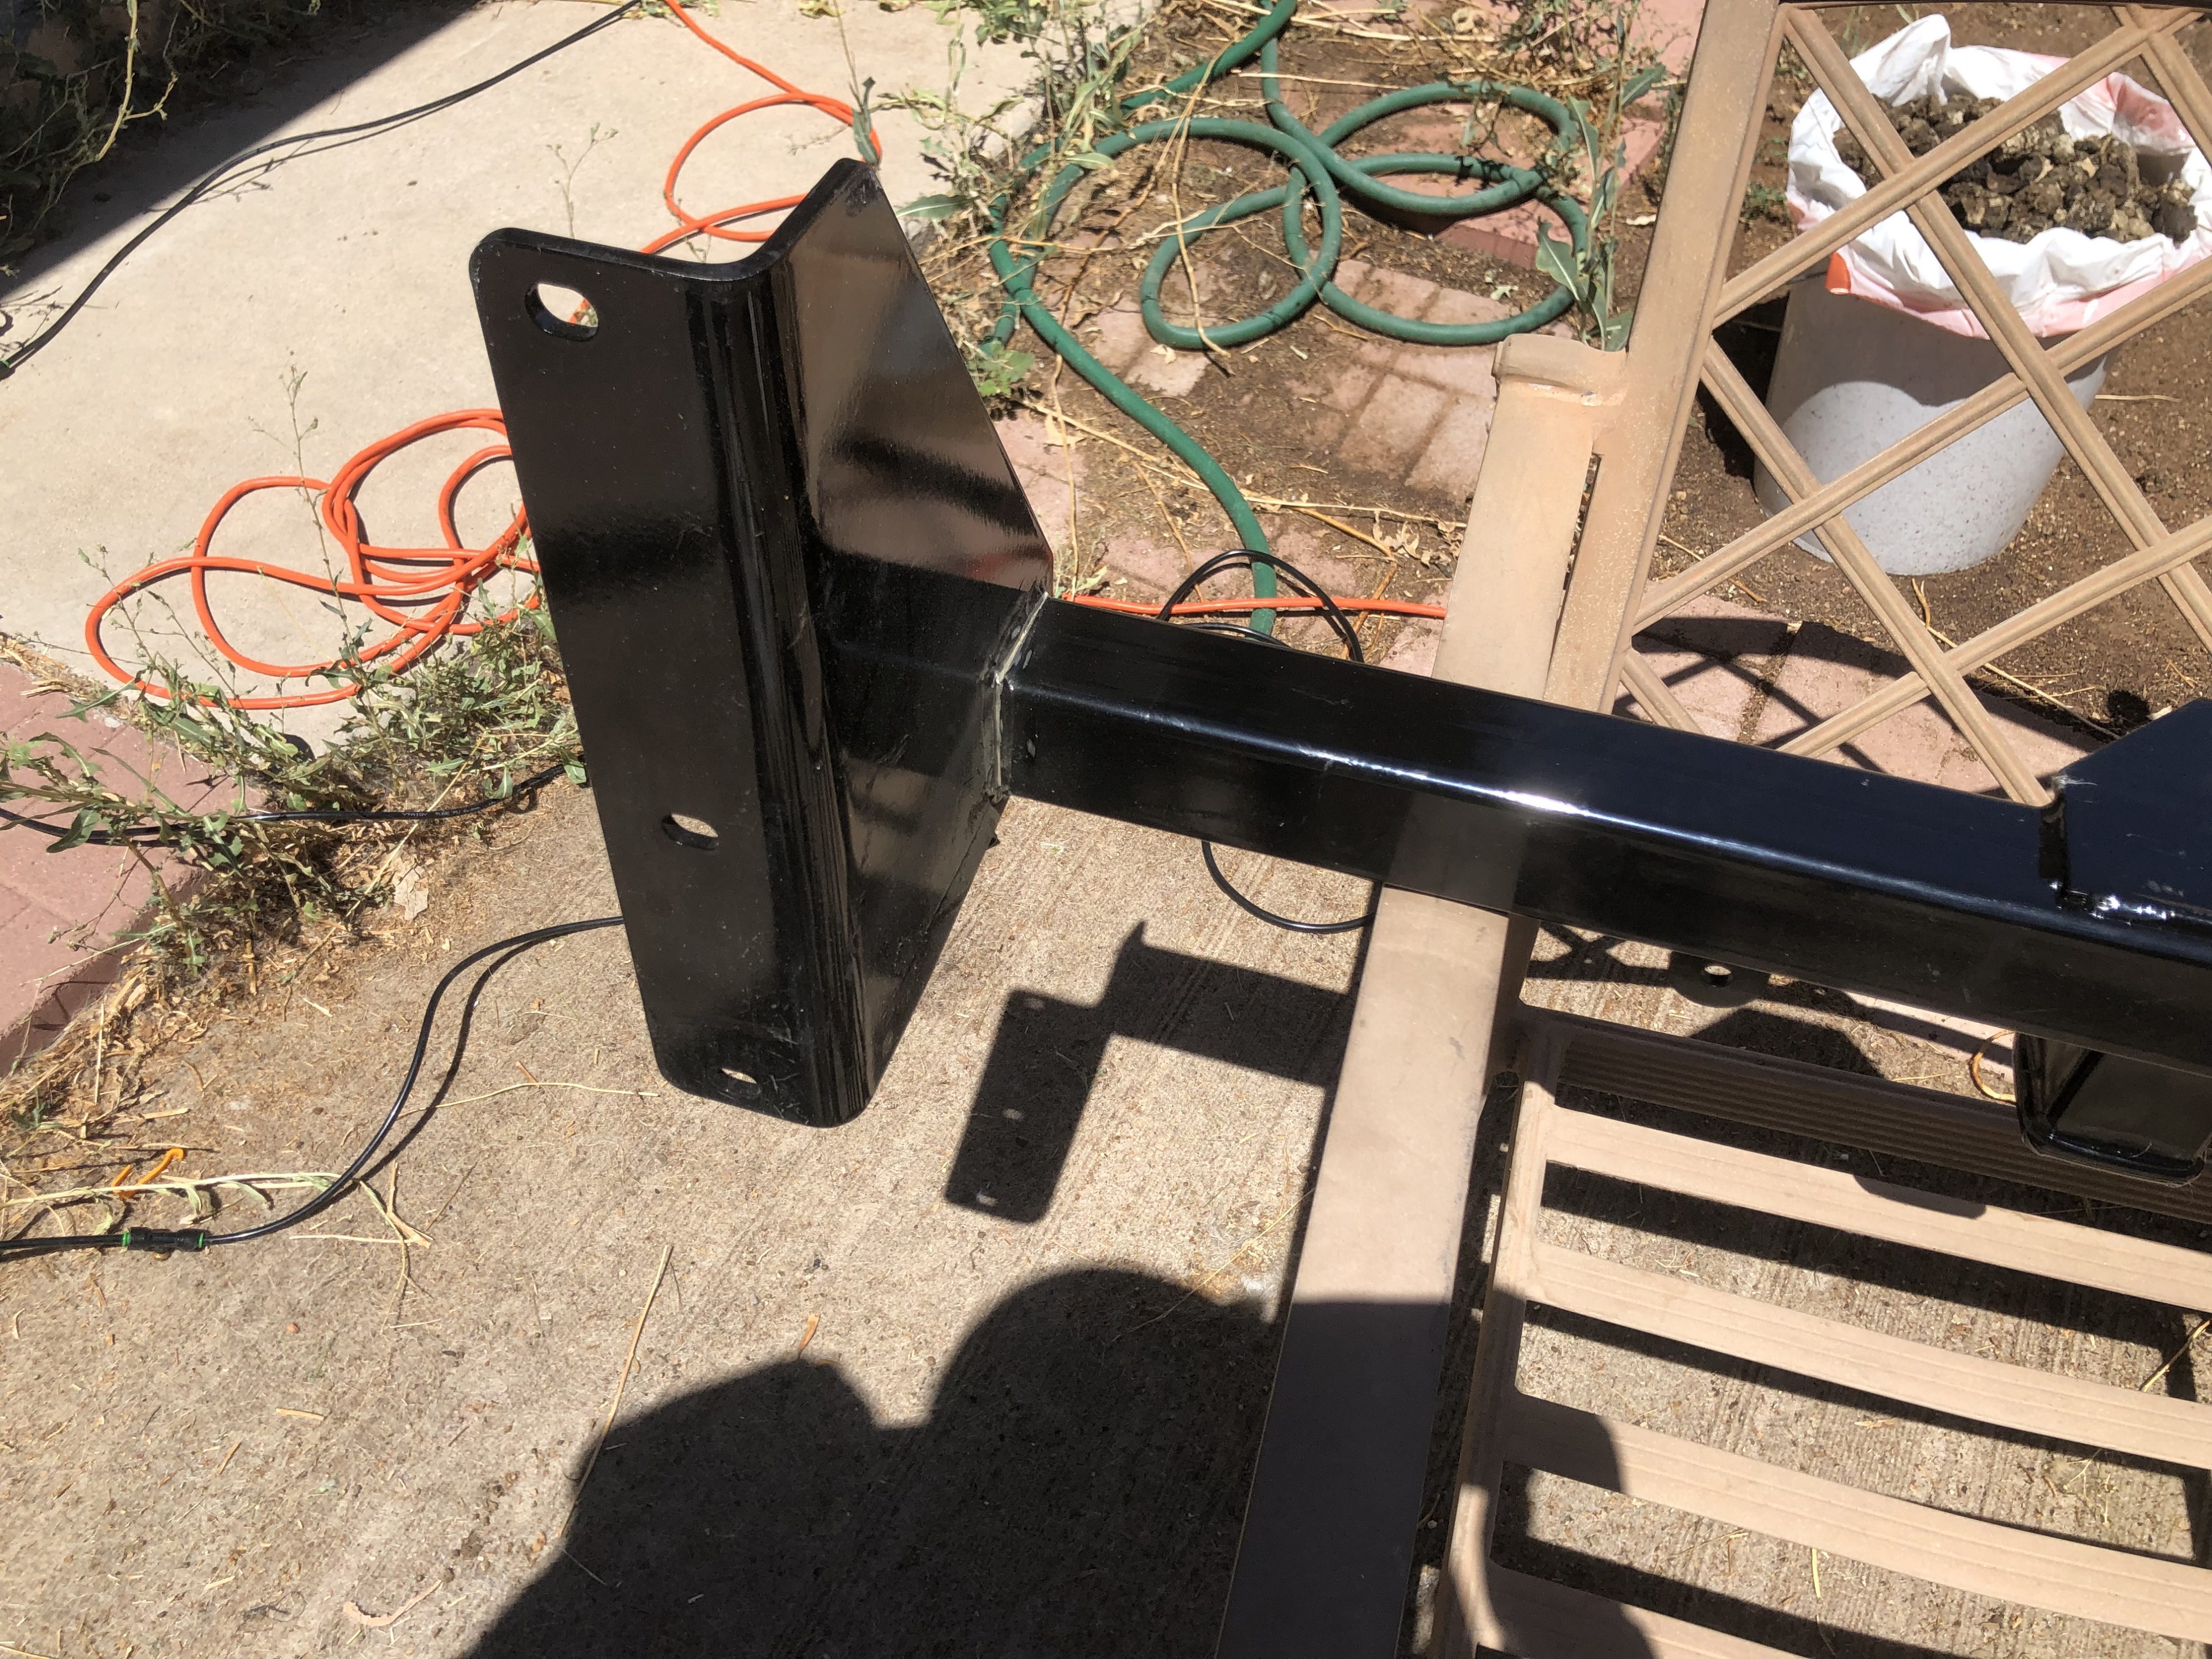
You want to cut through the welds on the four edges at each end of the cross bar (where the red lines are in the diagram above). Do your best not to cut into the upright supports at all, as that could weaken them. Just cut the welds and through the cross bar tube as close to the upright supports as you can get.
If you have a good angle grinder, the entire cutting process should only take 5-10 minutes. This is thick metal, but cut-off wheels will chew through anything if the angle grinder has enough power.
After the upright supports are off, switch to flap discs and sand down the welds on the upright supports until they are nice and smooth. Also remove the paint where you will be welding.
Smooth down the cross bar ends, as well. Try to keep the edges even, so the cross bar will be easier to weld perpendicular to the upright supports. Again, remove the paint where you will be welding.
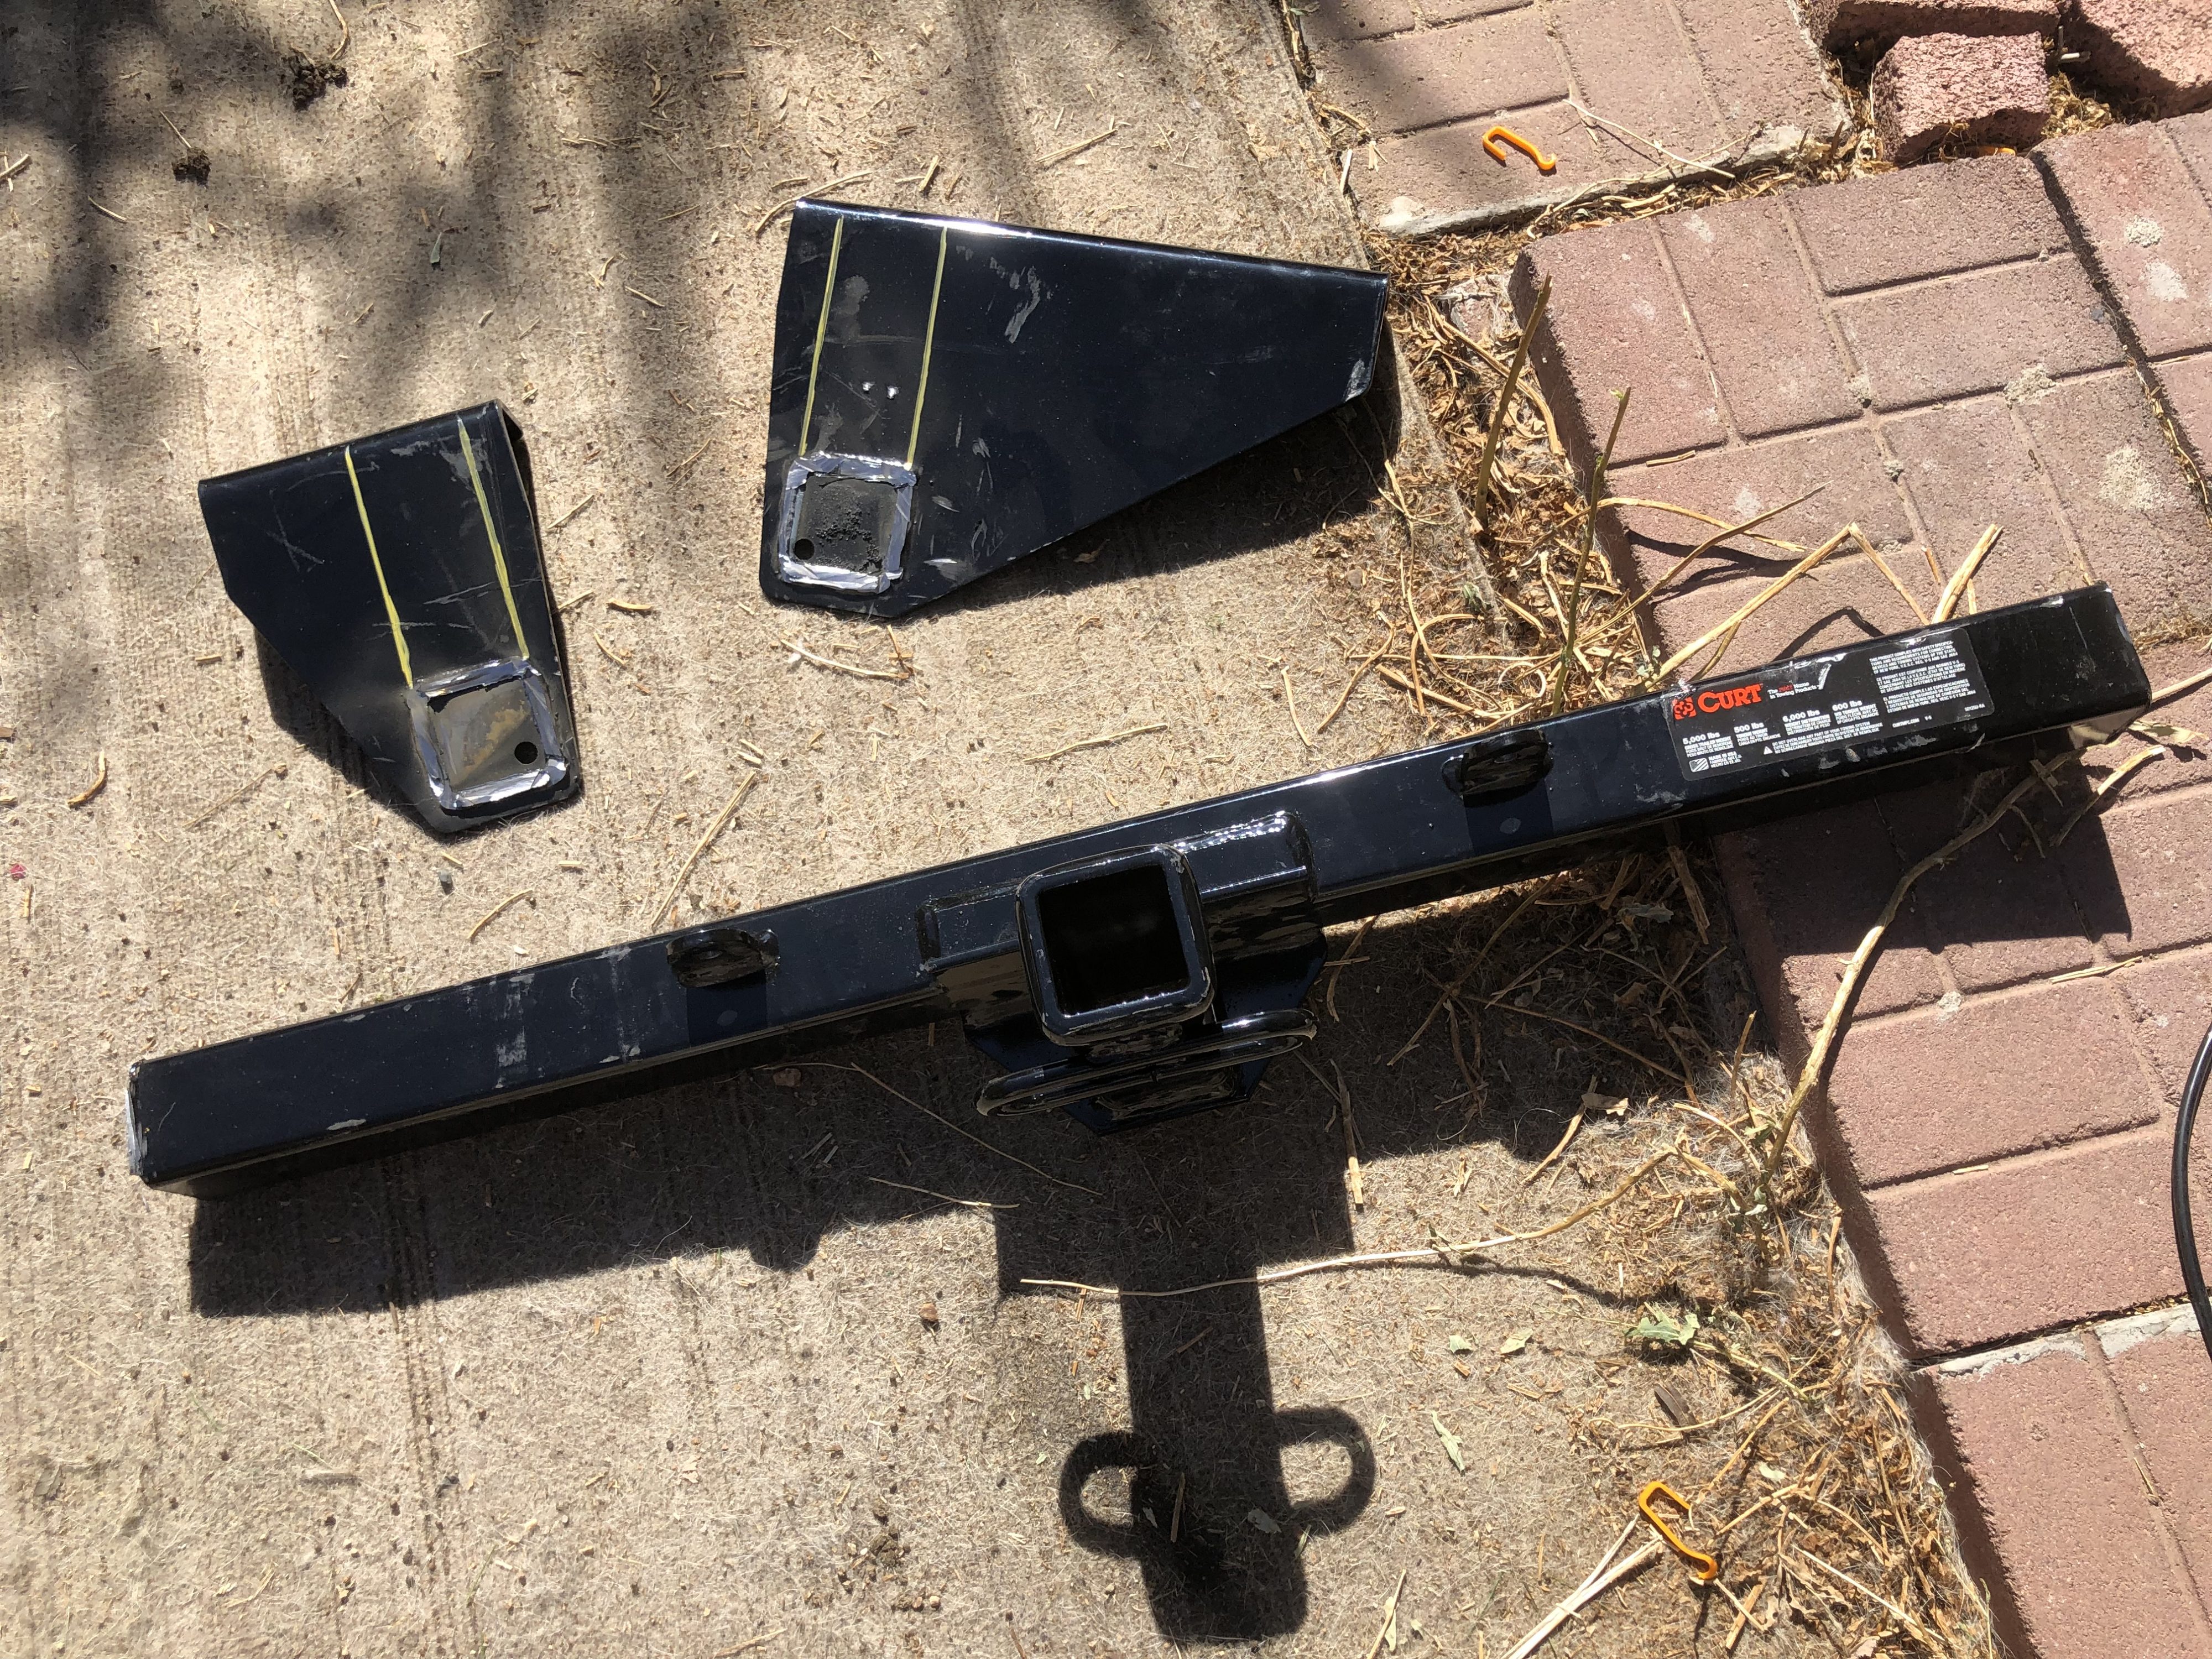
If you want, you can use your cut-off wheels to trim off the bottom ends of the upright supports. I didn’t do so, as they are at the outsides by the tires and don’t hang any lower than the receiver tube. But if the excess length bothers you, you can trim it off.
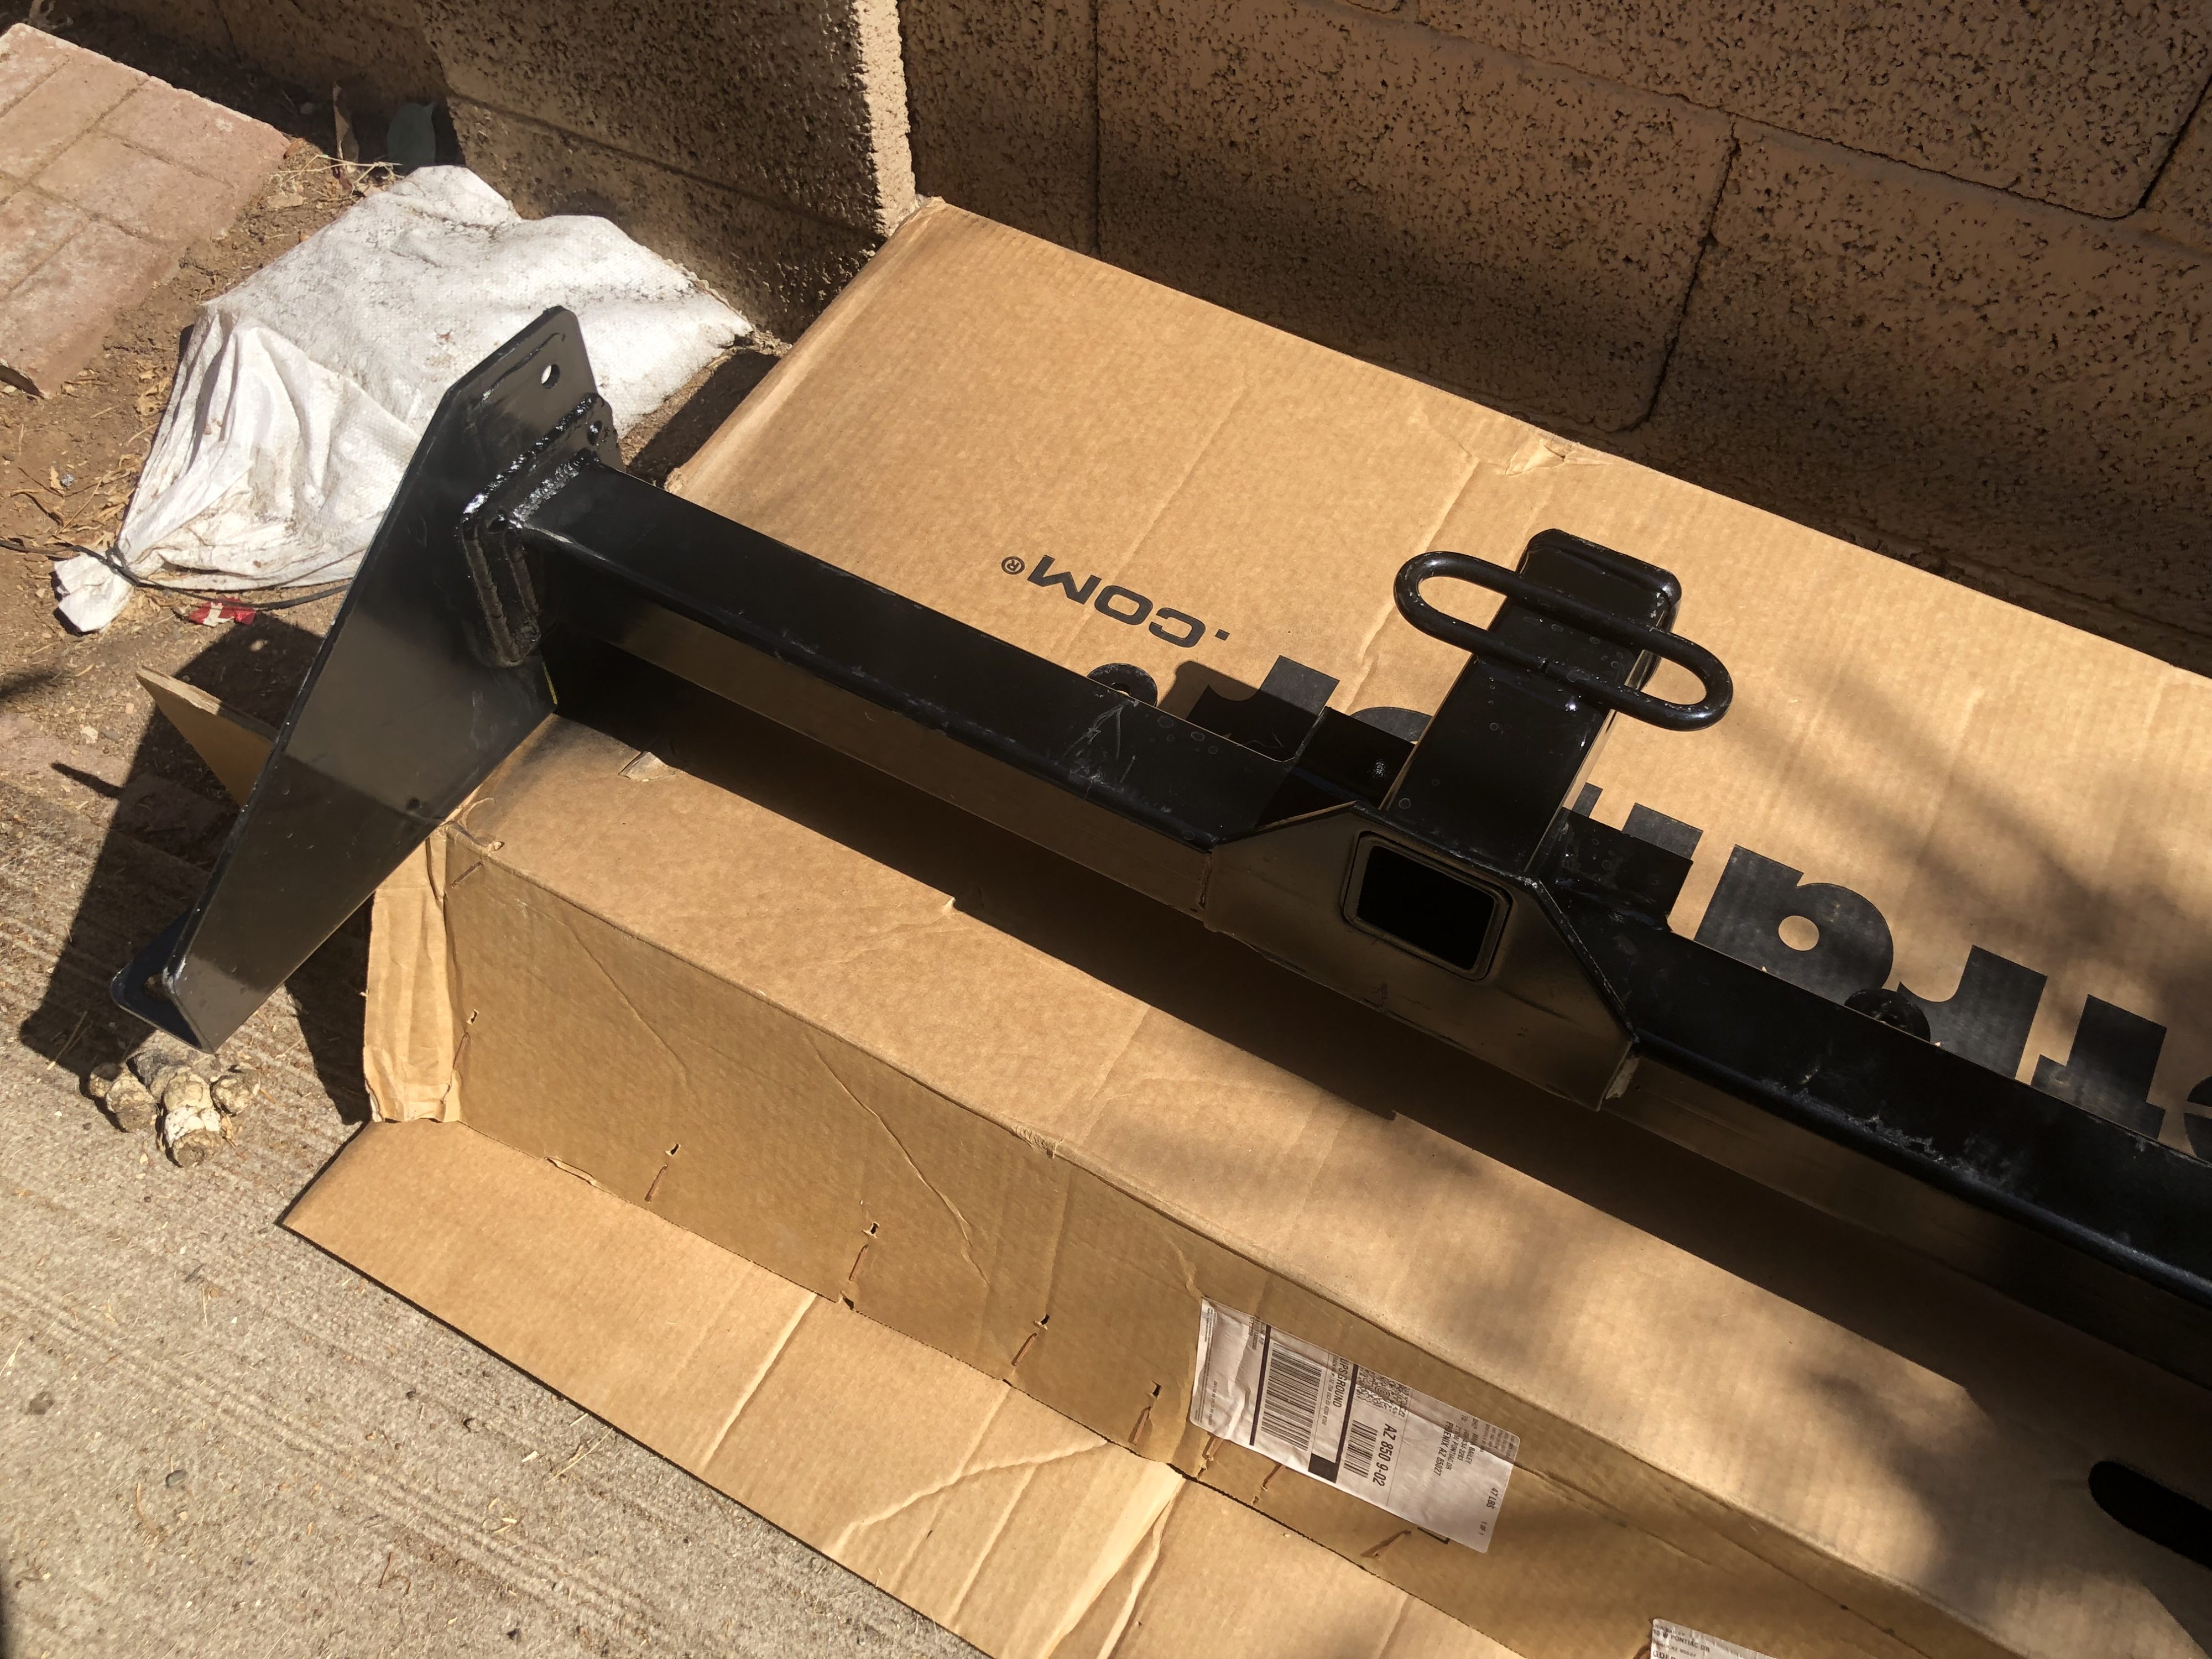
Spacers
While cutting through the welds, you will have inevitably removed some material from the cross bar, which shortened it. If you don’t compensate for that, the overall width will be too short and your bolt holes won’t line up.
You can compensate for the shortened cross bar in one of two ways: leave a small gap when welding, or add more material.
This is where your measurements come in. If the length of your cross bar is now more than 1/8″ shorter than the original distance measurement between upright supports, then you will need to add material. If it isn’t, then you can get away with a small gap.
In my case, my cross bar was about 0.35″ shorter than it needed to be. So I purchased two 3/16″ thick mild steel plates to act as spacers.
I wouldn’t recommend plates any thinner than 1/8″, though. If need be, you can use a space on one side and not the other. This will mean that your receiver tube is very slightly off center, but that shouldn’t have a negative effect (as far as I know).
Welding
Other than ensuring that you are getting solid welds, the most important thing here is to ensure that the upright supports are perfectly perpendicular to the cross tube and that they are the proper distance apart.
Triple check your measurements, use your marker for positioning lines, and make good use of your speed square.
When you’re positive that everything is lined up properly, tack weld the upright supports to your cross tube. Then measure everything again. If it is still good, then finish up your welds. Follow standard techniques to avoid heat warping. If you’re using spacers, make sure they’re solidly welded to both your cross tube and your upright supports.
Once everything is cool, check your measurements one more time.
Cleaning up
As with any other welding, you can use your flap discs to clean up your welds and any spatter, if you want to. Just don’t weaken your welds by grinding them down too much.
Then use something like degreaser or plain isopropyl alcohol to wipe the whole hitch down clean.
Finally, use your spray paint in a few thin coats to cover any bare metal. I found that a standard gloss black enamel from Ace Hardware matched pretty well, but use whatever you prefer. You won’t be able to see it, so this is mostly for rust protection.
Install
After the paint dries, you can follow the standard Curt installation instructions. Yes, the bolt behind the rear AC compressor sucks. No, there isn’t any real trick to it. Just be patient.
With this modded hitch, you will either need to remove the plastic fascia under the bumper entirely or cut an opening in it for the receiver tube. I just removed it, since I can’t think of any reason to bother keeping it.
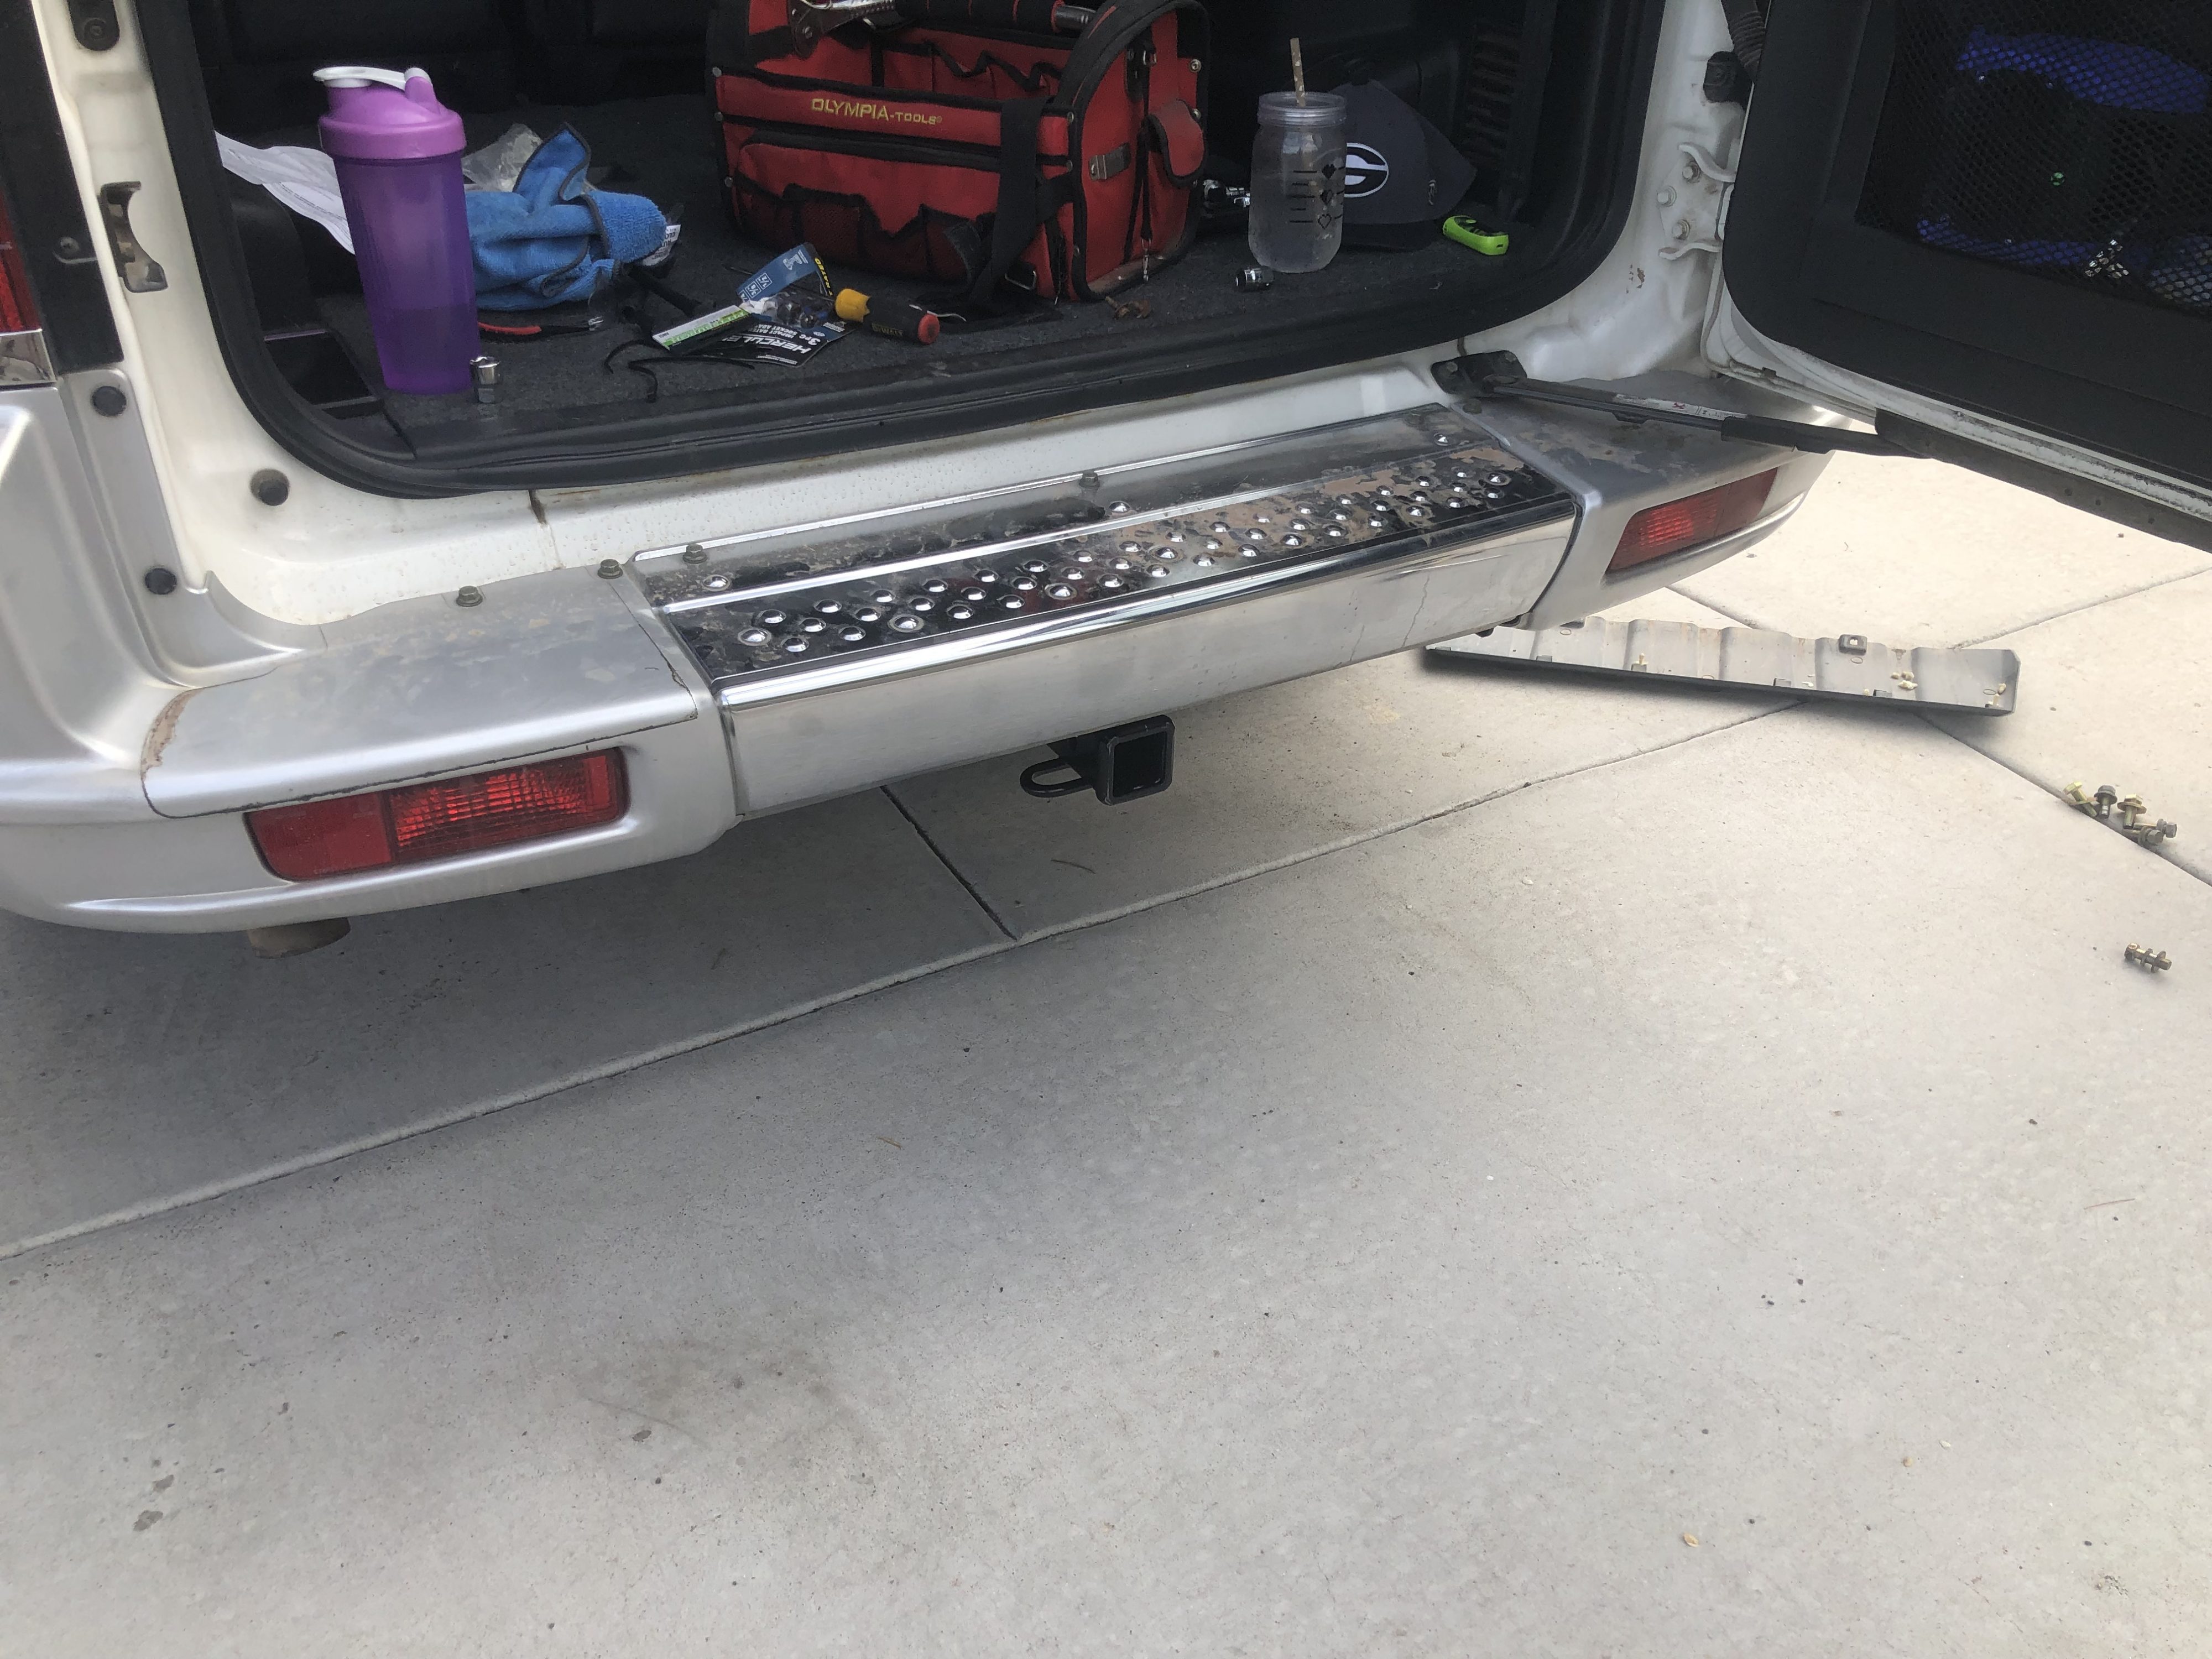
That’s it! Now you can tow without hurting your departure angle much. The receiver tube should hang down roughly the same amount as the exhaust pipe tip, so you this is about as good as it gets for departure angle.
Have any tips? Maybe a better way of doing this? Comment below!
Leave a Reply