I recently bought a 2011 Jeep Grand Cherokee (WK2) Laredo 4×4 w/ 5.7L Hemi. It came with the UConnect stereo, which was nice. But it didn’t have navigation and I missed Carplay. I wanted to install an aftermarket stereo, but it turned out to be pretty difficult to figure out what parts are required.
I successfully installed mine, so I thought I’d give you all a list of all of the parts you need so you can do the same. I’m not sure which other years this works for, so you’ll want to check on that. Importantly, these parts will let you use the steering wheel control buttons, the factory backup camera, and the factory amp/subwoofer (if you have them).
The parts:
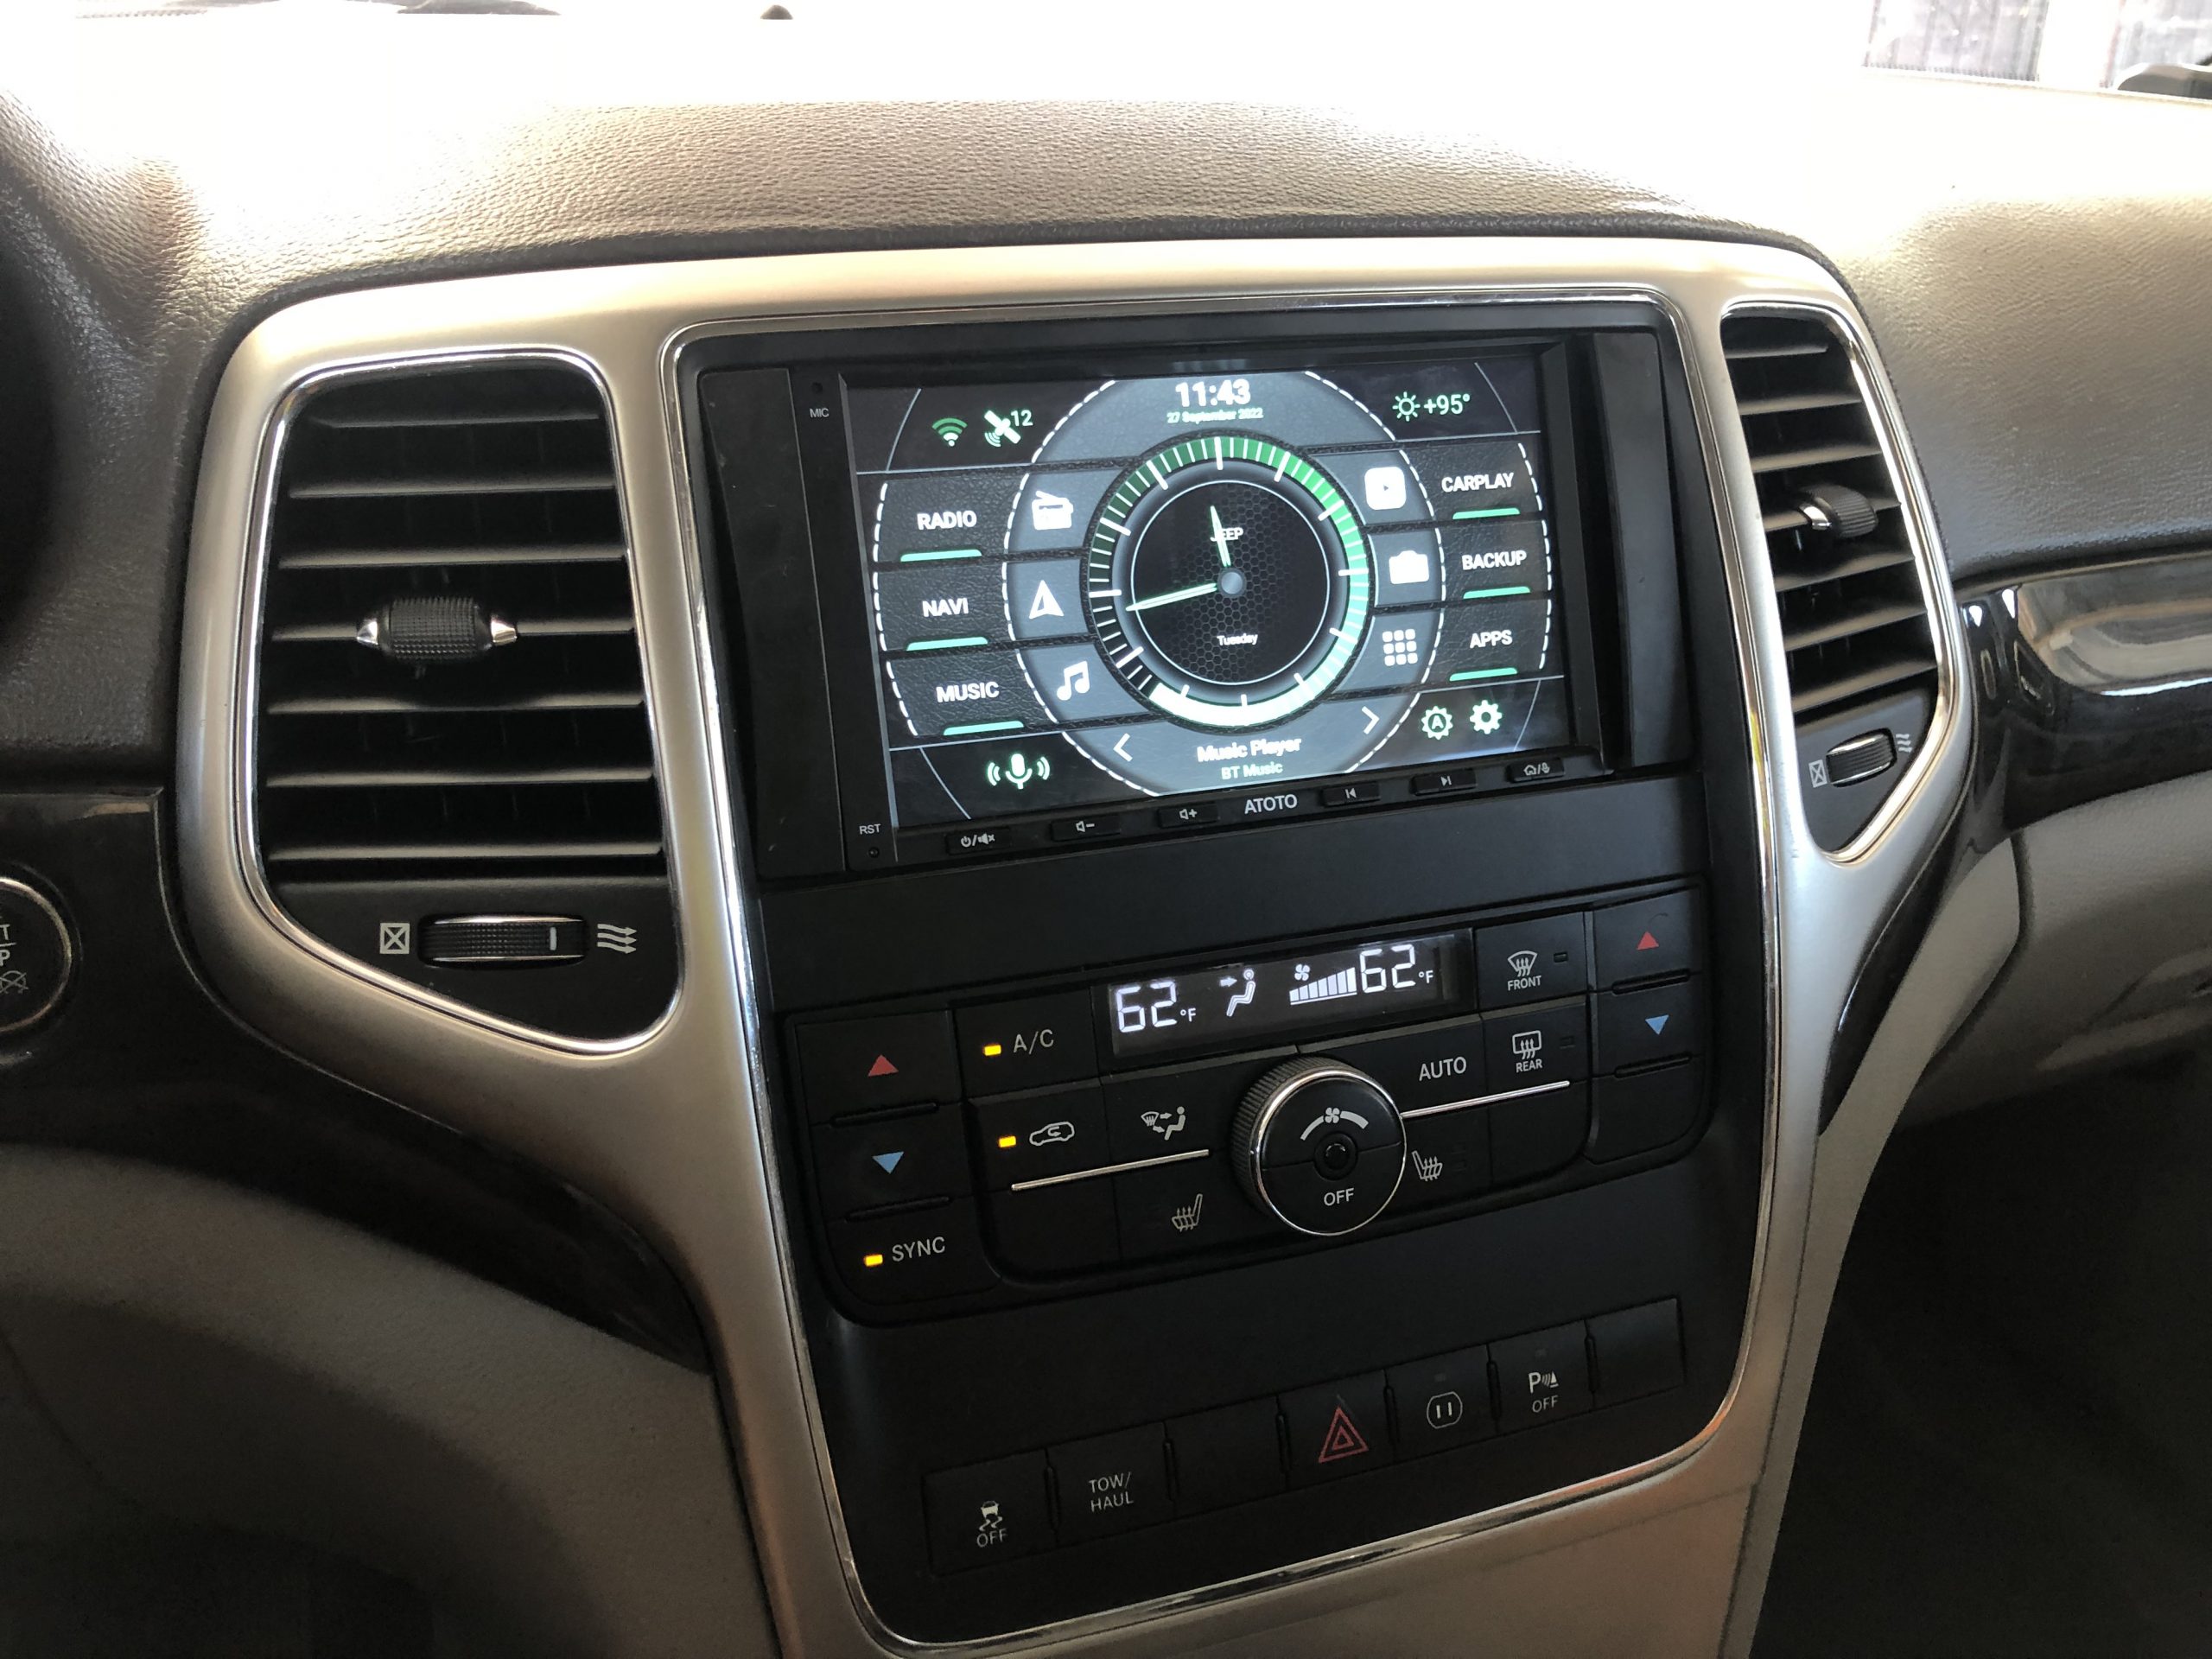
Stereo: I used an ATOTO A6 PF, which I like a lot. You can use other models, but I would recommend finding one that is shallow. Some info I’ve found online suggests that you need to modify that sub-dash, but I didn’t have to do much for this stereo (more on that later).
Wiring adapter: The main adapter you need is the PAC RP4-CH11, which has a special adapter for your steering wheel controls.
Retention harness: The AXXESS Chrysler RSE Retention Harness provides the connection for the backup camera. I believe if you have rear seat entertainment screens, it might also let you connect those to your new stereo but I don’t have those and can’t confirm.
Antenna adapter: This Metra 40-EU10 adapter lets you connect the factory antenna cable to conventional coax antenna ports most aftermarket stereos.
Dash install kit: I used the Metra 95-6513B, but it didn’t fit my stereo quite right and I had to trim the plastic. Another option is the AI CDK652, but I can’t confirm if that works better or not.
Trim removal tools: You’ll need basic tools (wrenches, screwdrivers, wire strippers, etc.) for the install, but on you thing you might not have is a set of trim removal tools. These will help a lot and keep you from damaging your dash.

The install and modifications
I’m not going to cover the full process here (there are videos on YouTube), but I do want to give you some tips:
The PAC RP4-CH11 will come with two harnesses (with the gray plugs) and you only need to use one of them. If your Grand Cherokee has the subwoofer in the cargo area, then you’ll need the “B” unit. If it doesn’t, then you’ll need the “A” unit. The plugs aren’t compatible, so you shouldn’t be able to accidentally plug in the wrong one.
The PAC RP4-CH11 control unit (the blue box) has a dial to select your radio brand. This is to set the steering wheel control (SWC) buttons to the right functions. For my ATOTO stereo, I used the “other” setting. But it probably doesn’t matter, since the stereo lets you configure each button’s function in software.
There are two cables that the antenna adapter will fit in. You want the white plug, because the yellow plug is for the satellite radio antenna.
There is a cable with a small gray square plug that you disconnect from your stock stereo. You won’t connect that to anything on your new stereo. I believe it does something for the Uconnect. I mention this because I was confused about if it was supposed to go somewhere.
You’ll need to remove the metal frame inside the dash. There are three bolts that hold it in place. You can get it out by twisting it around. Replace one of the bolts for your chassis ground wires.
Some sub dash modification may be required. Online info suggests that some double-DIN stereos require substantial modification of the sub dash. But all I had to do was file down some of the plastic at the corners of the outer frame so that I could slide the new stereo.
You may need to modify the dash install kit plastic parts. My Metra kit didn’t fit the ATOTO stereo properly and I had to trim down the side with a Dremel to get it to fit.
Leave a Reply