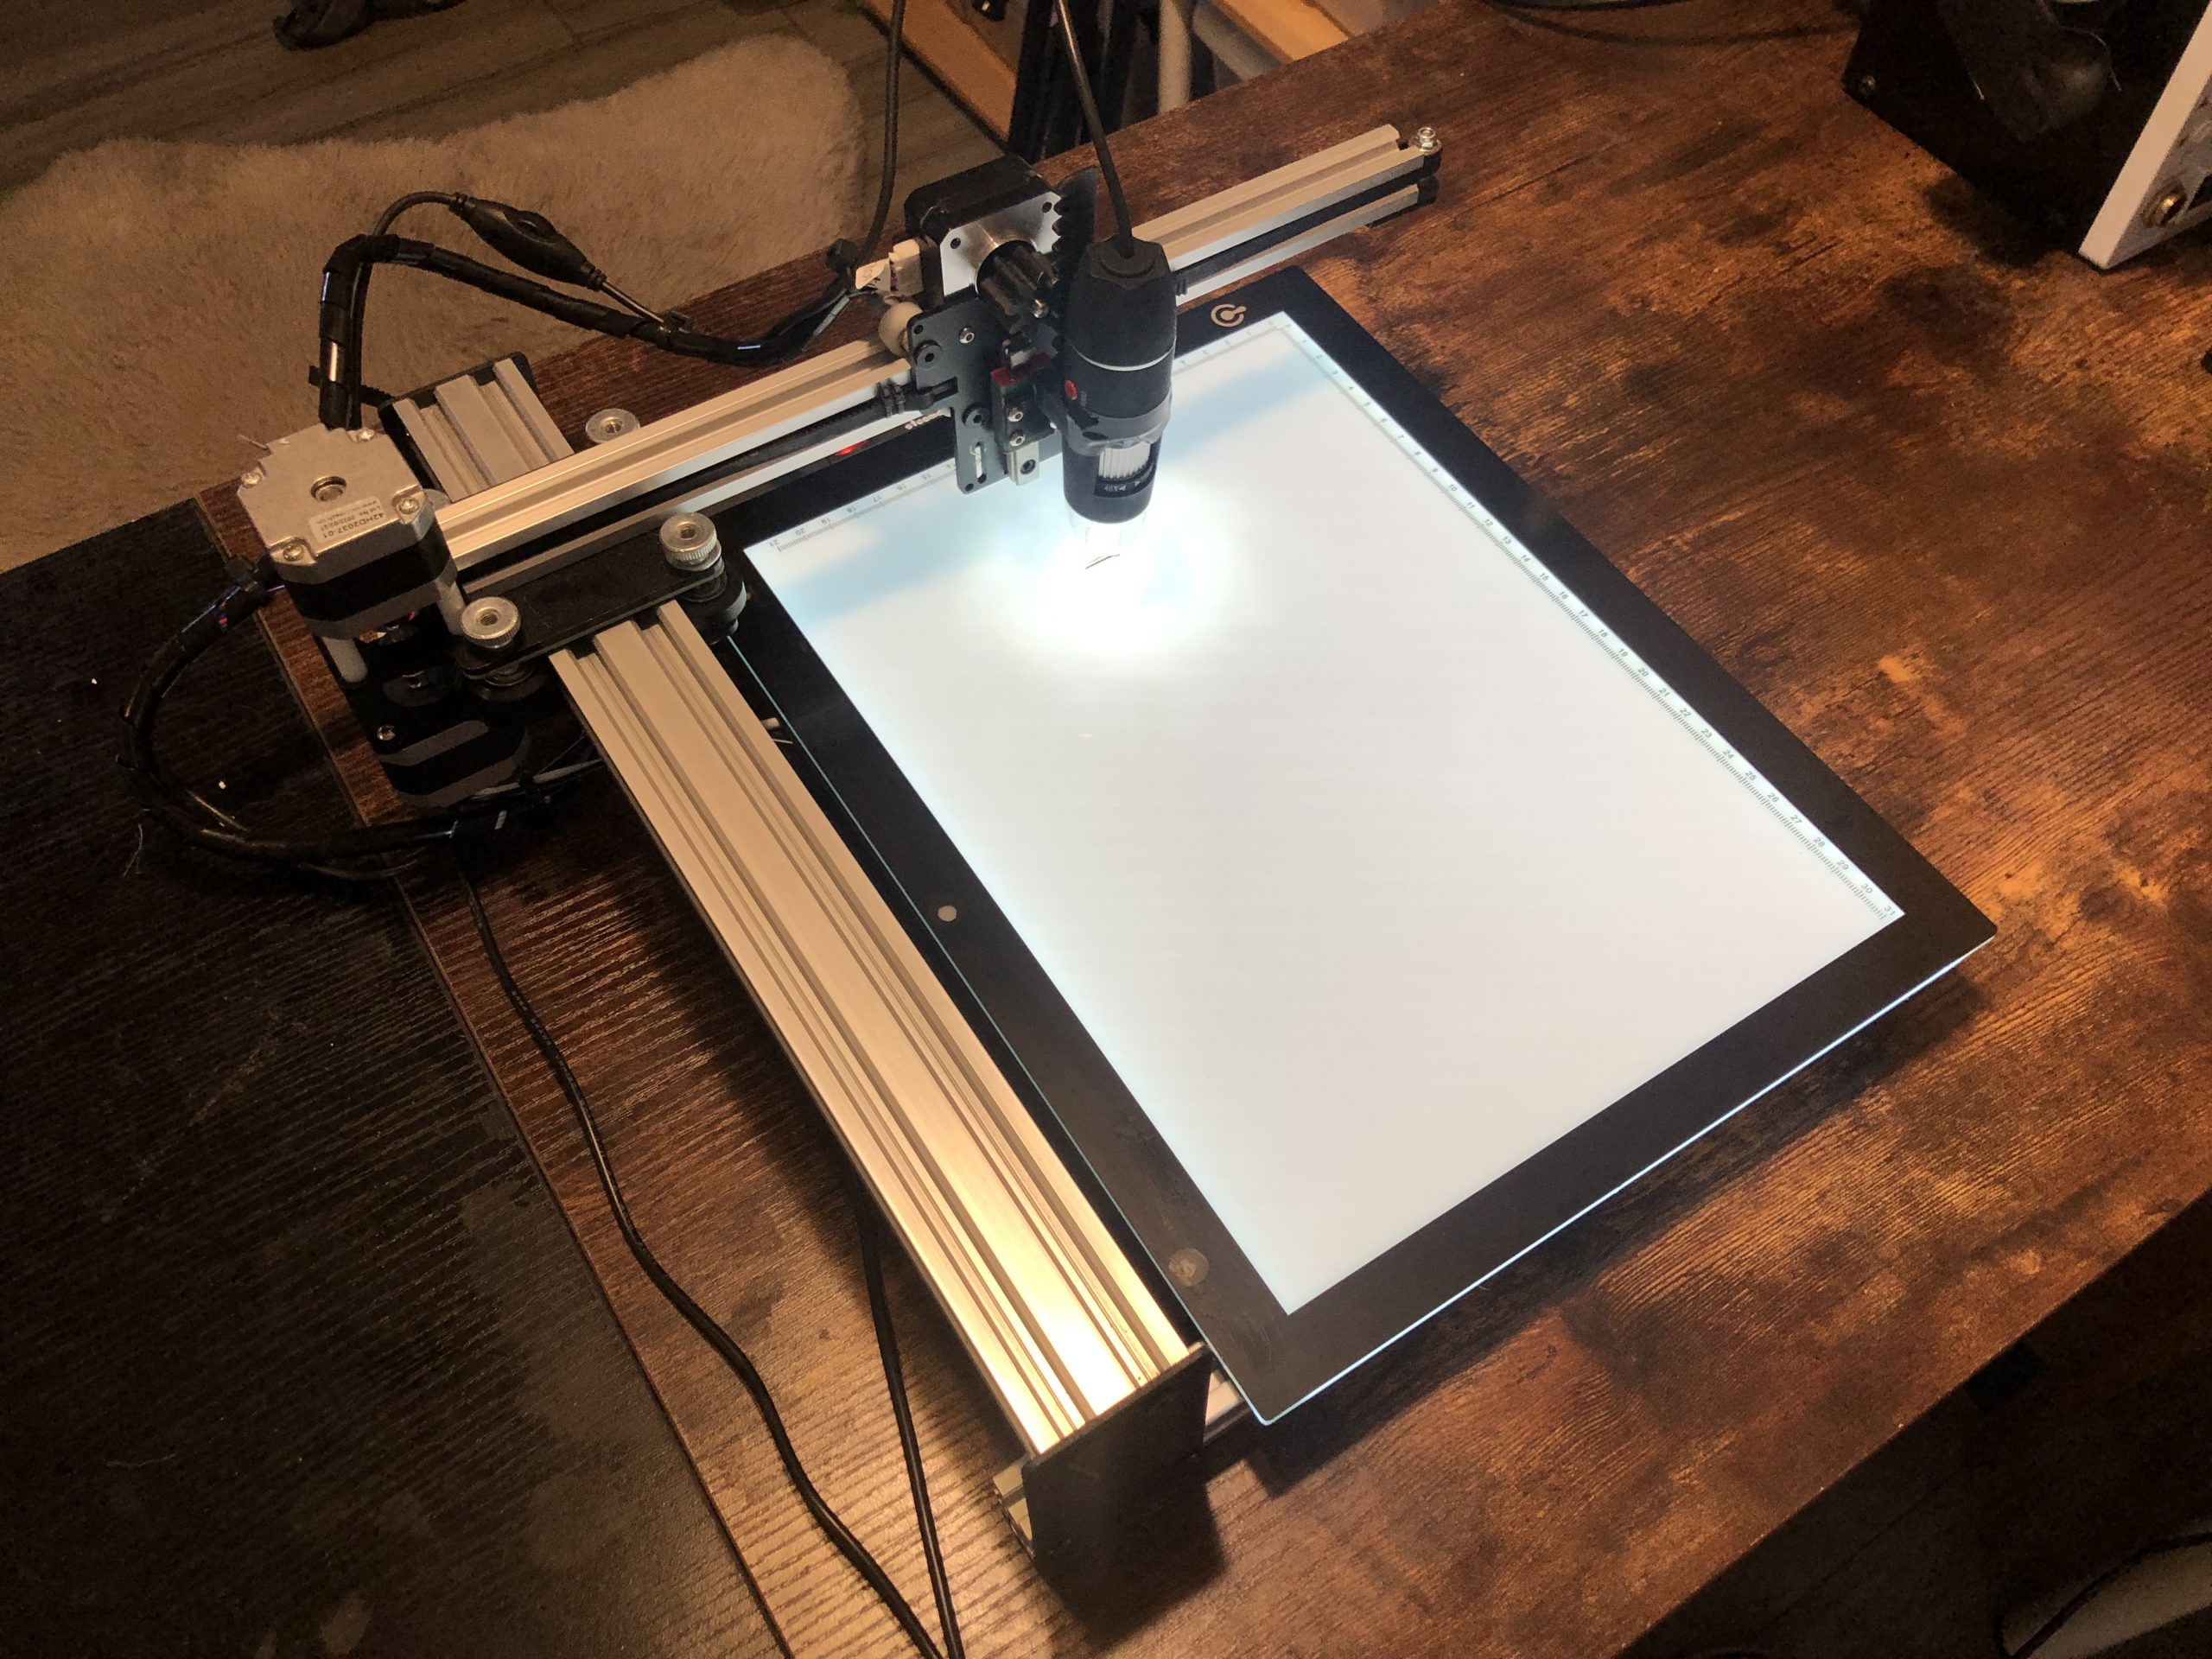
Comparatron won the Grand Prize in the Instructables Reuse Challenge contest!
Many of my projects interface with existing devices or items, which means that I have to obtain accurate dimensions of those objects to ensure a good fit. That’s easy to do with calipers if the object is simple, but it is very difficult when the object has a complex shape.
Back when I was a mechanical designer, I worked for a medical company where my job involved reverse-engineering tiny medical devices (like bone screws). To get precise measurements, I used an instrument called an optical comparator that lets you measure distances and angles through a microscope.
Optical comparators are very expensive instruments (easily tens of thousands of dollars), so I decided to build an affordable version that I’m calling Comparatron.
Building this requires the following parts:
Good news! The folks at iDraw liked this project so much that they’re giving everyone 15% off their pen plotters. Just go to their store (https://idrawpenplotter.com/shop) and use the coupon code “CAMERON” to get the discount.
Building and using
Full build instructions, 3D-printable files, and software are available on Instructables here: https://www.instructables.com/Comparatron-an-Affordable-Digital-Optical-Comparat/
Additional information and a standalone executable version of the Python software is available on GitHub here: https://github.com/theserialhobbyist/comparatron
But here is a basic breakdown:

Print the two parts on any 3D printer. Then remove the iDraw Pen Plotter’s pen lift mechanism and attach the microscope mount, and press-fit the spur gear to the motor shaft.
Connect the USB cables to your computer (a USB hub makes things easier).

Launch the software (either the Python script or the standalone executable) on a Windows PC, connect to the pen plotter, then move the microscope over your part and start marking points.
When you’ve marked all of your points, export the DXF file. Then import that DXF file into the CAD/design software of your choice and use the points as references for your design.
That’s it! I think this is a very useful tool and I’m quite proud of it. If you decide to build one, please let me know!

Leave a Reply